
Everbrite Tooth Whitening: Results and Safety
You've got a wedding photo, a job interview, or just a bathroom mirror moment that's made you notice the color of your teeth, and now you're looking at a name you don't quite know how to place. Everbrite shows up as a tray kit you wear at home and as a light-activated treatment done in a dental office. Those two versions aren't the same product with different packaging, and treating them as interchangeable is where most confusion, and most sensitivity, starts.
What Everbrite Tooth Whitening Actually Is
A shopper we'll call Maya finds Everbrite Tooth Whitening in two places on the same afternoon. One listing shows a take-home tray kit she could wear while reading in bed. The other describes a single office visit with a bright light pointed at her smile. The name matches. The routine, strength, and supervision don't.
That's the first thing to get straight. Everbrite has been evaluated in dental-materials research as both an at-home system and an in-office system. Researchers didn't test it only as a consumer purchase. They also used it as a standardized bleaching agent to measure what whitening does to enamel.
The manufacturer identified in that research is Dentamerica Inc., based in City of Industry, California.
Think of Enamel Like a Sponge
Enamel isn't a flat, sealed surface. It's better pictured as a hard sponge with tiny pores. Coffee, red wine, dark berries, and tobacco leave color that settles into those pores over time.
Peroxide whitening works inside that structure. The gel releases oxygen that breaks up the colored compounds trapped in enamel, so the tooth reflects light differently and looks lighter. The tooth itself isn't painted white. You're lifting stain out of a porous surface, which is also why teeth can feel sensitive while you're doing it.
If you remember one distinction, make it this one. The home kit and the office treatment use different peroxides, at different strengths, for very different amounts of time.
Readers usually ask five questions about this brand, and they're the right ones. Which peroxide is in the kit you're holding? How long do you wear it? Which kinds of color can it change? What has research measured on enamel? And how does it sit next to the dentist-recommended gels you may already know by name?
You don't need a chemistry degree to answer any of that. You need to read the label correctly, know what type of stain you're dealing with, and know when a dental exam should come before any tray goes in your mouth. Start with the two formats, because everything else, from wear time to sensitivity, flows from which one you have.
At-Home Trays Versus the In-Office System
Two chemicals do the work in whitening, and they behave differently. Carbamide peroxide is a slower-release precursor. Once it's in your tray, it breaks down into hydrogen peroxide and urea, releasing the active whitening ingredient gradually. That slow release is why it suits a tray you'll wear repeatedly at home.
Hydrogen peroxide skips that step. It's the active oxidant delivered directly, so it works faster and is typically used at higher strength in a supervised setting. Everbrite's professional system uses it that way, with light activation during the session.
What the Documented Protocols Look Like
A 2016 peer-reviewed study tested an Everbrite at-home kit containing 15% carbamide peroxide, applied for 2 hours daily over 14 days, and compared it with an in-office Everbrite protocol using light-activated 35% hydrogen peroxide for 40 minutes, with the study identifying the manufacturer as Dentamerica Inc. in City of Industry, California.
Read that again slowly, because the contrast is the whole point. One format spreads a lower-strength gel across two weeks of repeated sessions. The other delivers a much stronger gel once, in about the time of a lunch break, while a clinician controls where it goes.
Related product documentation places the at-home strength at approximately 15 to 16% carbamide peroxide, and a separate microscopy study examined an in-office system at 36% hydrogen peroxide. Small variations like that are another reason to check your specific box rather than rely on a number you saw online.
Everbrite At-Home and In-Office Formats
| Format | Active peroxide | Documented exposure | Who controls it |
|---|---|---|---|
| At-home tray kit | Carbamide peroxide | Repeated daily sessions over two weeks | You, following the kit insert |
| In-office system | Hydrogen peroxide, light-activated | One supervised session of about 40 minutes | A dental professional |
How to Tell Which One You're Holding
Check three things on the packaging before anything touches your teeth.
- Peroxide type: Carbamide peroxide signals the tray format. Hydrogen peroxide at high strength signals the office format.
- Percentage: A mid-teens number and a mid-thirties number describe very different treatments, even under one brand name.
- Activation and setting: If the directions mention light activation and gum isolation, that's not a bathroom-sink product.
Once you can name the format, the instructions start to make sense. The next question isn't strength at all. It's whether your particular discoloration is the kind peroxide can change.
Stains Everbrite Can and Cannot Change
Here's the assumption worth challenging. A darker tooth doesn't always mean a stained tooth, and peroxide only helps with one of those problems. Sorting your discoloration into the right category before you start saves you weeks of trays that were never going to work.
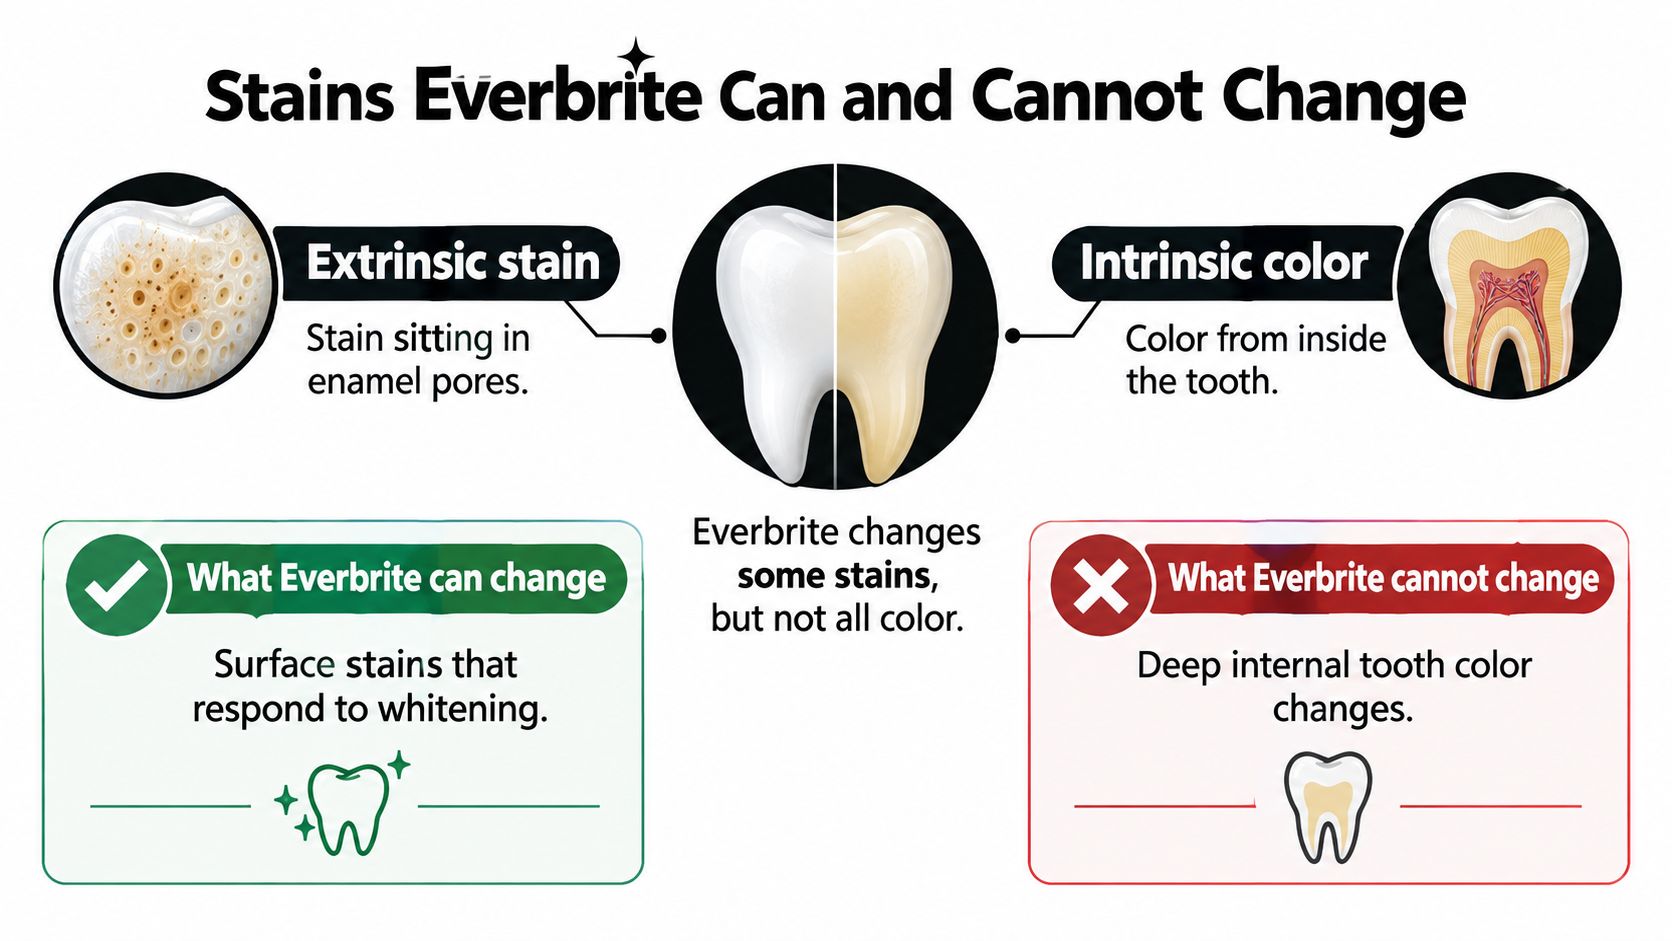
This visual separates the two categories.
Color Peroxide Can Usually Reach
Extrinsic stain sits in and on the enamel from the outside. The usual sources are familiar: coffee and tea, red wine, dark berries, cola, and tobacco. This is the discoloration whitening gel is built for, because the peroxide can reach the colored compounds in the enamel pores.
If your teeth have gradually yellowed alongside daily coffee, you're likely looking at this category. A guide to what causes tooth discoloration in the first place can help you match your habits to the stain type before you buy anything.
Color Peroxide Cannot Rewrite
Intrinsic color comes from inside the tooth. Fluorosis, certain developmental changes, and age-related shifts in the tooth's inner layers fall here. Peroxide may lighten surrounding enamel somewhat, but it can't reliably erase color that originates deep in the tooth structure.
Restorations are a separate issue entirely, since crowns, veneers, fillings, and bonding do not bleach like natural enamel, and recent reviews note that homemade peroxide rinses and lemon-juice mixtures can pose significant enamel and soft-tissue risks.
That matters in a practical way. If you whiten natural teeth around an older front filling, the filling stays its original shade and suddenly stands out. The whitening worked. The smile still looks uneven.
Stain check first: If one single tooth has darkened, or the color change is new and unexplained, get it examined instead of whitening longer. A single dark tooth can signal an internal problem that gel won't fix.
Strength isn't the workaround for the wrong stain type. Those same recent reviews found that low-to-medium hydrogen-peroxide concentrations around 25 to 35% can achieve whitening outcomes comparable to higher concentrations while reducing sensitivity. Chasing the strongest gel you can find buys you more discomfort, not a different result, and it does nothing for a crown.
How to Apply Everbrite at Home
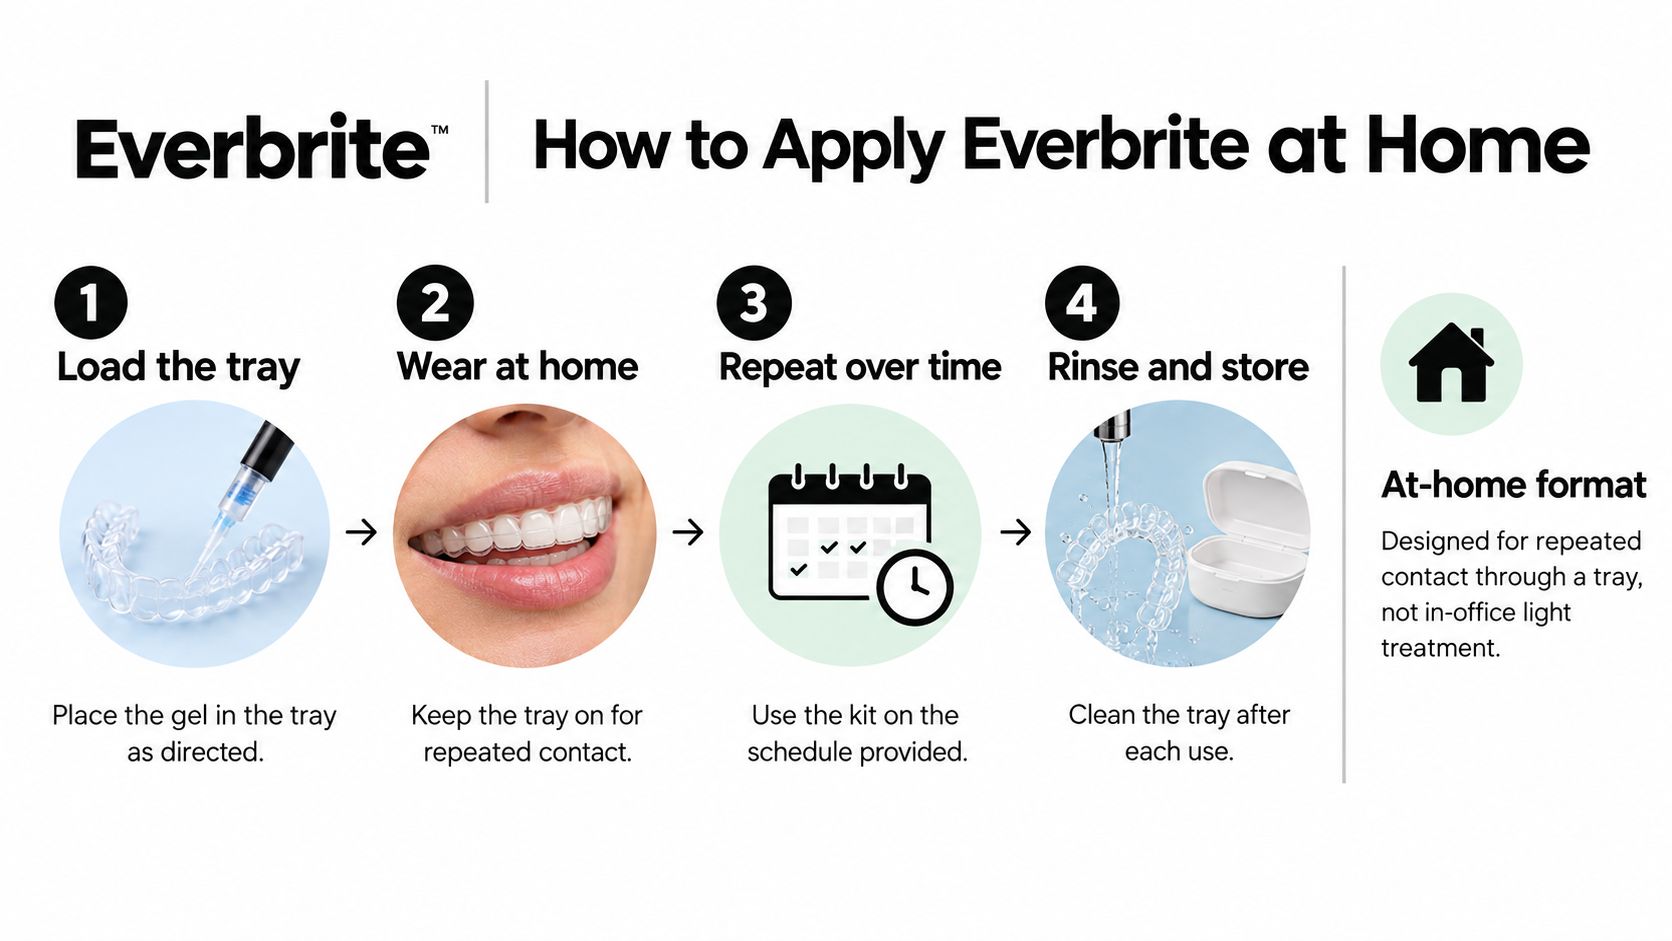
The at-home format is built for repeated contact through a tray, either a custom tray made for your mouth or a thermoplastic tray you shape yourself. The tray holds a thin layer of gel against the enamel and keeps most of it off your gums. You don't paint this gel onto soft tissue.
This sequence shows the basic shape of a home session.
The Wear Time Depends on Your Kit Version
Readers get tripped up because two documented schedules exist. Manufacturer documentation for the at-home formulation specifies either 30 minutes daily for two weeks or up to two hours daily for two weeks, while the in-office kit is listed at about 40 minutes with light activation.
Both numbers can be correct, for different versions of the product. The insert inside your specific kit is the one that applies to you. If an online tip tells you a different schedule than your insert does, the insert wins, every time.
The researched 2-hour, 14-day home schedule mentioned earlier is an example of the longer window. It isn't permission to extend a kit that was sold with a 30-minute instruction.
A Simple Session, Step by Step
- Clean your teeth first: Brush and floss so gel contacts enamel, not plaque.
- Dry the tray and your teeth: Less saliva in the tray means the gel stays where you put it.
- Load a thin ribbon of gel: More gel doesn't whiten faster. Excess mostly squeezes out onto gums.
- Seat the tray and wipe away overflow: Use a tissue or clean finger to remove gel from gum tissue right away.
- Time the session: Set an actual timer for the window on your insert, then remove, rinse, and clean the tray.
If you'd rather watch the tray-loading basics before your first session, this short video walks through the process.
Don't try to recreate the office version at home. The in-office session pairs high-strength gel with light activation, gingival isolation to protect your gums, and a clinician watching exposure in real time. None of that safety structure exists at your bathroom sink.
Enamel Changes Sensitivity and When to Wait
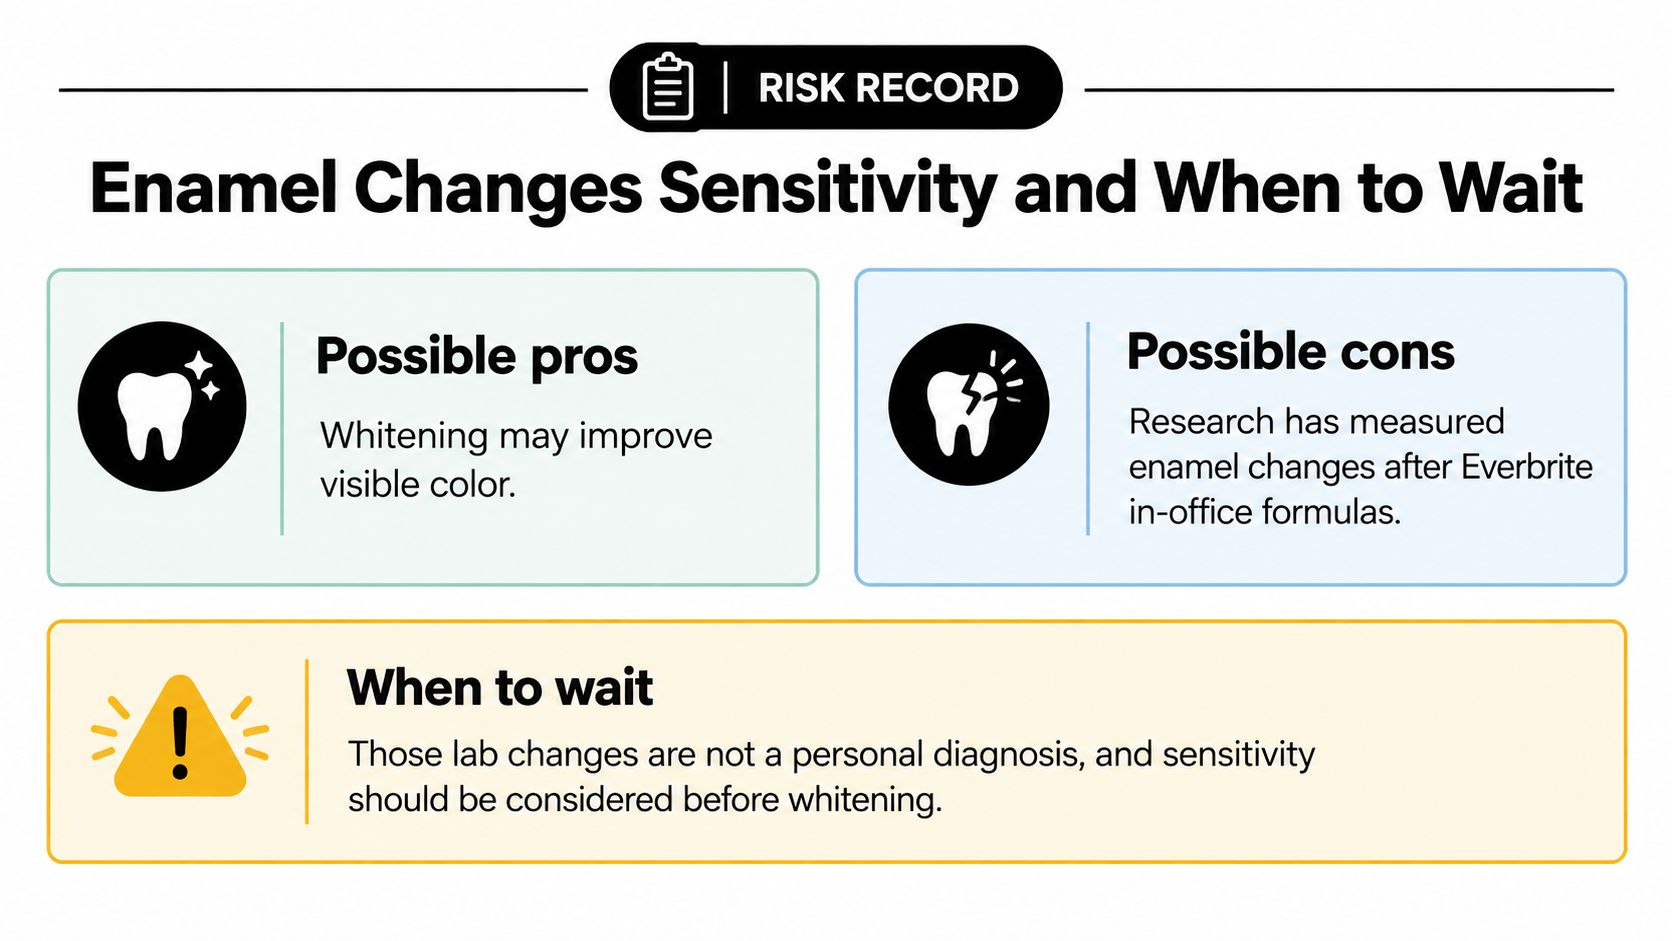
Whitening isn't risk-free just because it's common, and Everbrite has a specific research record worth reading plainly. These are laboratory findings on enamel specimens. They aren't a personal risk score for your mouth, but they do tell you why instructions and supervision matter.
The graphic below frames that record as a balance, not a sales pitch.
What Researchers Measured on Enamel
A 2015 study reported enamel microhardness decreased after an Everbrite in-office kit by 3.24% in one group and 3.26% in another, both at P<0.01, and microscopy of a 36% hydrogen peroxide Everbrite in-office system found the strongest roughness changes in specimens representing ages 21 to 30.
That microscopy work also reported moderate changes in the 31 to 40 group and comparatively fewer alterations in the 41 to 50 and 51 to 60 groups. Across the specimens, investigators described increased porosity, superficial enamel loss, and erosion after bleaching.
Microhardness measures how resistant the enamel surface is to indentation. A measured drop in a lab tells researchers the surface changed. It doesn't tell you that your teeth will be damaged by following a product's directions, and it shouldn't be read that way. It does argue against improvising with stronger gel or longer sessions.
Sensitivity Is the Side Effect You'll Most Likely Feel
Higher peroxide concentrations can increase how often and how strongly teeth feel sensitive, without a meaningful gain in the final shade. Wearing gel past the instructed time works the same way. You get more sensitivity without a visible extra change.
Two popular workarounds are less reliable than shoppers hope. Desensitizing toothpastes show inconsistent effectiveness for whitening sensitivity, and taking preventive painkillers or anti-inflammatory drugs doesn't reliably prevent it. Rest days and shorter exposure are the more dependable levers. A fuller rundown of common teeth whitening gel side effects and how people manage them is worth reading before your first tray.
When Whitening Should Wait
- Untreated cavities or gum disease: Gel reaching decayed or inflamed tissue is painful and counterproductive.
- Enamel defects or existing hypersensitivity: Whitening can intensify symptoms you already have.
- Pregnancy: Postpone elective whitening and ask your dentist or physician first.
- Visible restorations in your smile zone: Plan for possible replacement or color mismatch afterward.
Stop and call a dentist if you notice persistent pain, gum whitening or sloughing, or sharply uneven color around fillings and crowns. Brief, mild sensitivity that fades is common. Pain that lingers isn't something to push through.
How Everbrite Compares with Other Whitening Options
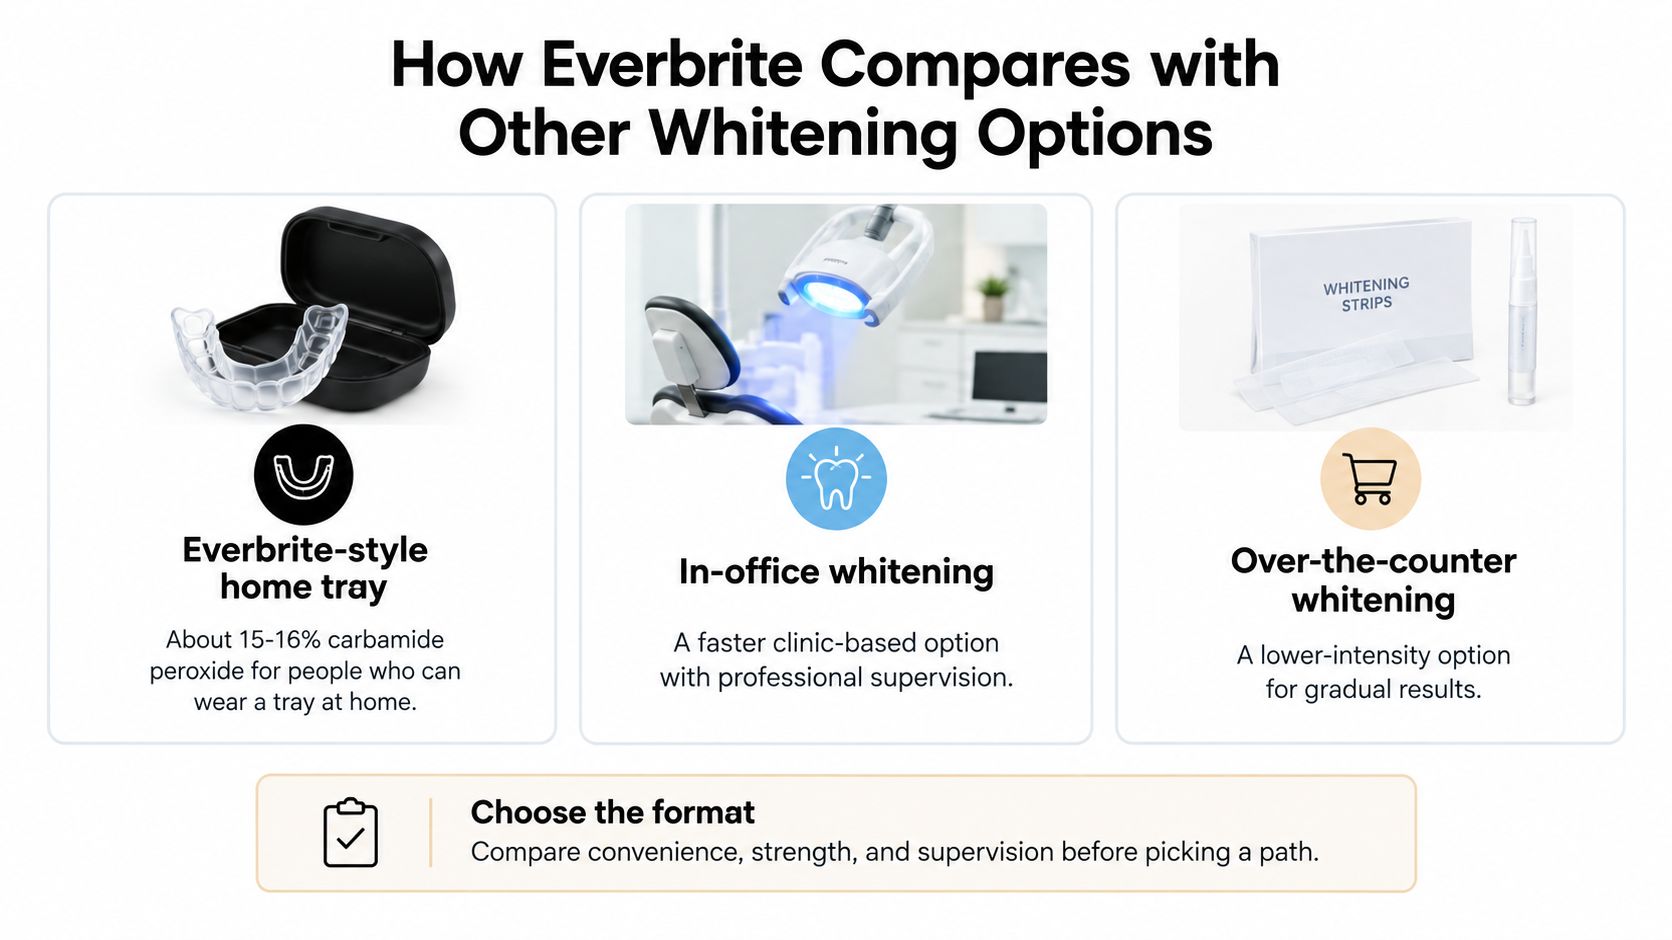
If you are deciding between a home tray, a dental-office visit, and a product from a shop shelf, start by asking who controls the gel's strength and exposure time. Those three routes can use peroxide, but supervision and instructions differ. The chart compares them side by side.
Three Paths, Honestly Described
An Everbrite-style home tray, at about 15 to 16% carbamide peroxide, is suited to someone who can follow a two-week schedule and wants gradual whitening at home. You control wear time and tray placement, so following the product directions matters.
A light-activated in-office treatment, near 35% hydrogen peroxide, concentrates treatment into one supervised visit. A clinician manages gum protection and gel exposure. A higher concentration does not guarantee a whiter result. It can increase the frequency and intensity of sensitivity without meaningfully improving the final shade. In a survey of over-the-counter whitening, sensitivity was the most frequently reported adverse effect at 39%, while only 5.7% of respondents perceived these products as posing health risks (survey findings on over-the-counter whitening).
The third route is over-the-counter whitening, such as strips or other products made for consumer use. These avoid the custom tray and dental-office visit, but you follow the package instructions yourself. Check the peroxide type, strength, and stated wear time before using one. If your teeth react to cold drinks, compare the supervision and schedule each option provides, rather than choosing by speed alone.
Names You May Be Cross-Checking
Shoppers may also compare Everbrite with dentist-recommended take-home gels such as Opalescence, Zoom, PolaNight, and PolaDay. Check the product name and peroxide type carefully: PolaNight 35% carbamide peroxide is a carbamide option, while PolaDay is a hydrogen peroxide line. These products have their own concentrations, wear times, and tray protocols, so compare the label and instructions instead of relying on brand familiarity.
For a closer comparison of at-home teeth whitening and professional treatment, consider the differences in cost, speed, and supervision.
Choose according to the level of guidance you want and whether you can follow the product schedule. A researched, clearly labeled protocol is a better basis for comparison than the highest percentage on a shelf. Ask yourself whether you can wear a tray consistently, whether you want a clinician to oversee treatment, and whether the product instructions fit your routine.
Choosing a Safer Next Step for Your Smile
You now have the pieces that most product pages leave scattered. Everbrite is two systems, not one. Peroxide lifts extrinsic stain from natural enamel and leaves restorations unchanged. Lab research has measured real changes to enamel surfaces after high-strength in-office formulas, which is exactly why the directions exist.
None of that makes the brand safe or unsafe. It makes your next step a checklist rather than a guess.
Your Six-Point Decision Checklist
- Read the peroxide type and percentage: Confirm whether your kit uses carbamide peroxide or hydrogen peroxide, and at what strength, before the first use.
- Match wear time to your insert: Use the schedule printed for your specific kit version, not a schedule from a forum or a different product.
- Check what's in your smile: Look for crowns, veneers, fillings, and bonding on front teeth, since they won't change color with the enamel around them.
- Postpone when something needs treatment first: Untreated decay, gum disease, pregnancy, or one unexplained dark tooth all call for a dental exam before whitening.
- Know your stop signs: Persistent pain, or gums that turn white or start sloughing, mean stop and get professional advice.
- Use rest days instead of longer sessions: If sensitivity starts, skip a day. Extending exposure adds discomfort without a visible payoff.
The shortest effective exposure of the correct product beats a stronger or longer experiment.
If you already have an Everbrite kit at home, your next step takes two minutes. Open the box, find the peroxide type, percentage, and wear time on the insert, and confirm they match what you thought you bought. If they don't match the schedule you had planned, follow the insert and adjust your expectations.
If you're still shopping, compare candidates the same way you'd now compare Everbrite formats. Look past the brand name to the active ingredient, the strength, the session length, and whether the routine fits your sensitivity history. Pair that with a quick look in the mirror for restorations, and you'll avoid the two most common disappointments, uneven color and avoidable pain.
A brighter smile is a reasonable goal. Getting there with the right product, at the right strength, for the right amount of time is how you keep it a comfortable one.
If you're ready to compare dentist-recommended whitening gels and kits, sensitivity toothpastes, and remineralizing pastes like MI Paste Plus in one place, visit DentalHealth.com to browse detailed product pages for brands including Opalescence, Zoom, and PolaDay. You'll find practical guidance, phone support from the Lenexa, Kansas team, and free shipping on USA orders, so you can match a product to your sensitivity history before your first session.