
Teeth Whitening Gel Not Working? Causes and Fixes
Two weeks of nightly trays, a mirror check every morning, and the same shade you started with. The box promised peroxide. You followed the leaflet, mostly. So the obvious conclusion is that the gel is weak, old or fake, or that whitening doesn't work on teeth like yours.
None of those is the useful conclusion. Treat this as a diagnosis, not a product failure. Most disappointing whitening results come from protocol, stain type, restorations or degraded gel, and every one of those has a check you can run at home in about ten minutes. Teeth whitening gel not working is a symptom with a handful of causes behind it, and they get confused with each other constantly.
Why Your Whitening Gel Seems to Fail
Three groups cover almost every case. The first is how the gel was used: the strength printed on the label, the total number of hours the trays sat against your teeth, tray fit, and whether you completed the course or drifted through it. The second is what your teeth are made of: surface stain versus stain locked inside the tooth, fillings and crowns that peroxide cannot change, enamel defects, a single tooth that darkened after a knock. The third is what happened to the gel between the factory and your bathroom shelf, because heat and time both reduce how much active peroxide a tube still delivers.
A kit that has been sitting since last summer is its own clue.
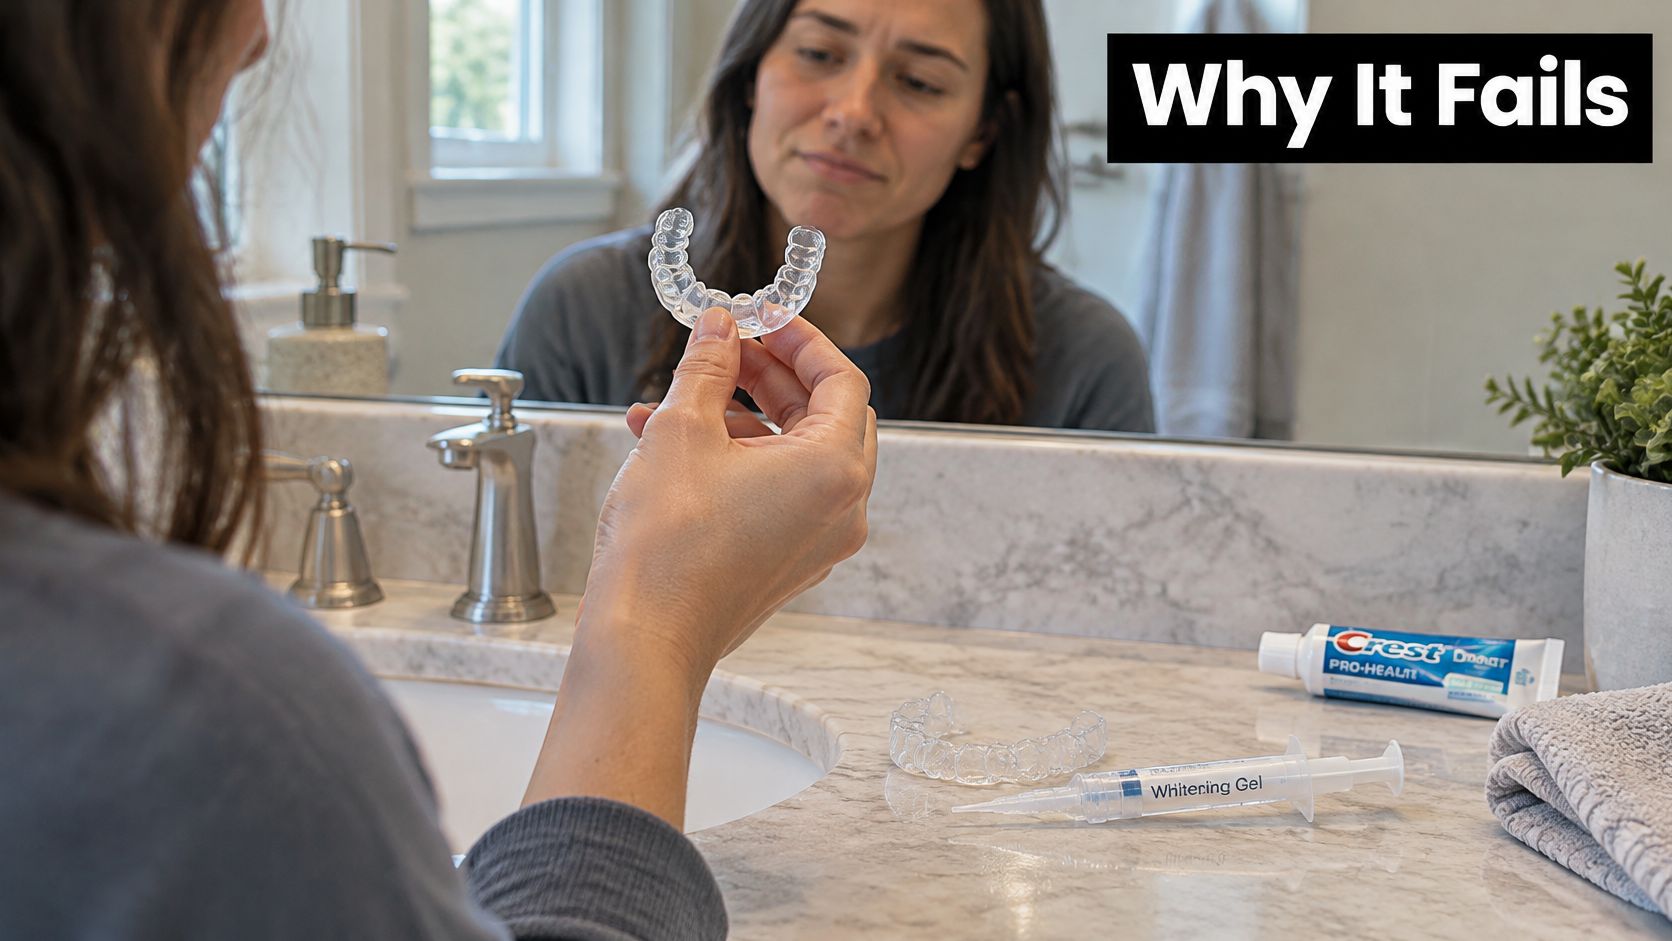
Answer these four questions before you spend another dollar:
- Actual wear time. Not the number on the leaflet. The hours the trays really spent in your mouth, added up across the whole course.
- The pattern of the discoloration. An overall yellow or brownish surface tint behaves very differently from one dark or grey tooth.
- Pain or tingling. Sensitivity that makes you skip sessions changes the plan. It isn't a side note.
- Storage history. Has the tube lived in a hot car, a steamy bathroom or an uncapped drawer?
One fact makes the rest of this make sense. Peroxide lightens natural tooth structure. It works on the enamel and dentine of your own teeth and does nothing for porcelain, composite or metal. So the result you see depends as much on what is being whitened as on the gel doing the whitening.
By the end of this you'll be able to match your symptom to its likely cause, test both the gel and your routine in a single week, and recognise the point where a dentist should look at the tooth rather than you buying a stronger tube.
Symptom, Cause and First Fix at a Glance
Find the row that matches what you see in the mirror, then work upward from the cheapest fix. Jumping straight to the last row to buy a higher-strength gel is the most expensive way to solve a problem that often lives in the first two columns.
| Symptom | Likely cause | First fix |
|---|---|---|
| Teeth unchanged after two to three weeks | Too few contact hours or missed applications | Log actual daily wear time against the label |
| One tooth stays dark or grey | Internal discoloration, trauma or a pulp problem | Dental examination before more gel |
| Crown, veneer or filling looks different | Restorations do not whiten | Plan shade-matching or replacement after whitening |
| White spots or chalky patches look stronger | Enamel defect or white fluorosis | Dentist review; microabrasion may help |
| Brown banding or deep yellow stain persists | Tetracycline-related or intrinsic staining | Dentist-supervised assessment of options |
| Gel tingles or gums sting | Strength too high or trays overloaded | Pause, reduce contact time, ask a dentist |
| Uneven colour across the arch | Poor tray fit or gel not reaching each tooth | Refit the tray and check contact |
| Tube smells sour or feels thin | Degraded peroxide from heat or poor storage | Check the date and storage; replace the tube |
Read the table in a fixed order. Check the protocol, check the gel, then check the mouth. The first column of fixes costs nothing and takes a week to prove: wear-time consistency and better tray seating show up gradually, usually across the second half of a full course, so don't judge them after two days. A fresh tube replacing a suspect one can shift things within a few sessions.
Anything in the structural rows behaves differently. A single dark tooth, visible banding, white patches that sharpen as the rest of the enamel lightens, or a restoration that suddenly stands out are dental questions, not shopping questions. No concentration fixes those.
Practical rule: if a fix doesn't involve the gel, it belongs in the first week of troubleshooting. If it involves a specific tooth, a restoration or pain, it belongs in a dental chair.
Before you change anything, write down the symptom in one sentence. "The front two look the same and the crown on the right looks yellower" is a record you can compare against in ten days. Without that note, memory does the judging, and memory is a poor shade guide.
Check Your Routine, Gel and Tray Before Buying More
Whitening gel doesn't bleach on contact. It bleaches through accumulated minutes, and that's where most routines fail. Carbamide peroxide breaks down slowly into hydrogen peroxide, the agent that lifts colour, so a short or irregular schedule can deliver far less peroxide than the label implies even when the strength is correct. A 22% gel worn for 20 minutes twice a week is a different treatment from the same gel worn as directed.
The ranges used in at-home systems and in published protocols are wide, which is exactly why your label matters more than any general advice. At-home gels commonly sit at 10% to 38% carbamide peroxide, and systematic-review protocols have used daily contact times of 2 to 10 hours across 6 to 28 days, according to the American Dental Association's oral health topic on whitening. That's a tenfold spread in daily exposure, so comparing your results to someone else's is close to meaningless.
| Parameter | Reported range | What to check |
|---|---|---|
| Carbamide peroxide concentration | 10% to 38% | Match the strength printed on your label |
| Daily contact time | 2 to 10 hours | Log the real hours the trays were worn |
| Treatment duration | 6 to 28 days | Complete the full course before judging |
| Hydrogen peroxide for comparable whitening | About 25% to 35% | Stronger gel is not automatically needed |
That last row matters more than it looks. Clinical evidence indicates roughly 25% to 35% hydrogen peroxide whitens about as well as 35% to 40% formulations, while the higher concentrations mainly raise how likely and how intense sensitivity becomes. Stronger is not a shortcut. It's a trade.
If you're weighing a dentist-supervised course against another round of at-home gel, it helps to compare whitening treatment costs before spending twice on the same problem.
Here's the whole sequence in one view.
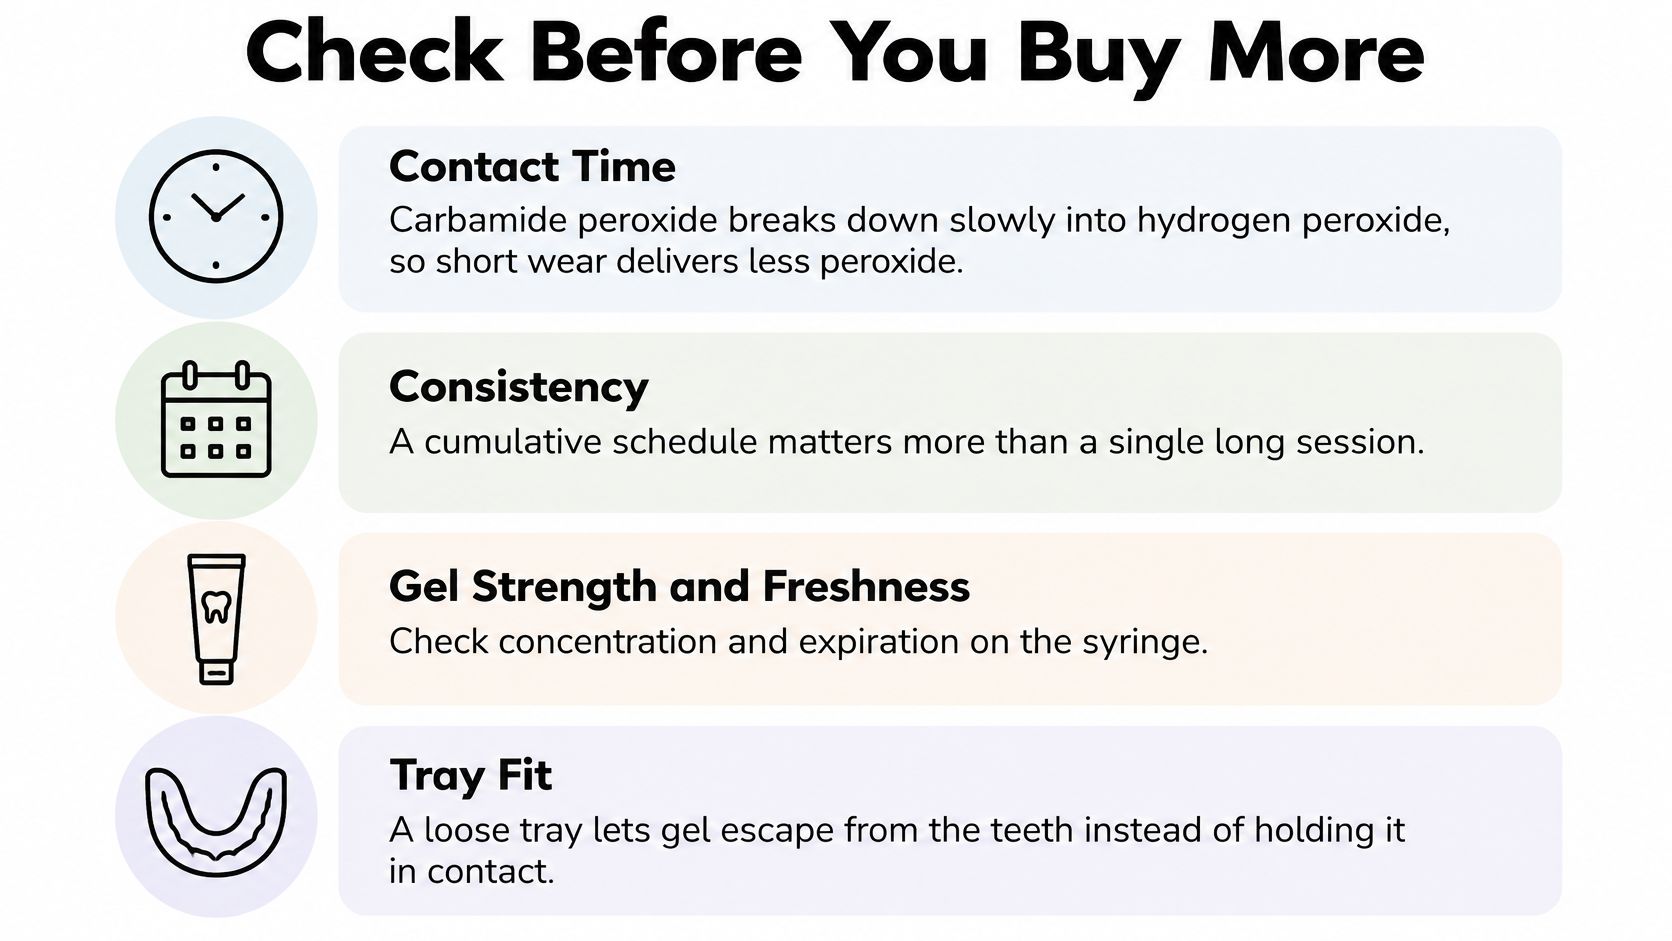
The Five Checks That Explain Most Failures
- Read the strength on the label. Not the name of the kit, not the colour of the box. A tube of Lumibrite 22% Teeth Whitening Gel, for instance, carries 22% carbamide peroxide, which sits in the lower-middle of the at-home range. Know where yours sits.
- Log one week of real wear time. Write down the start and end time of every session. Add it up. People who believe they wore trays for an hour often discover it was closer to 25 minutes once the phone came out.
- Seat the tray and check the gel reaches every tooth. A tray that sits high on the molars or rocks over the incisors leaves the same teeth unwhitened session after session, which reads as a failed gel rather than a fit problem. If yours is a stock tray that has never seated cleanly, our walkthrough of teeth whitening trays instructions covers seating, loading and how the tray should feel.
- Count sessions against the full course. A 14-day course with five skipped days isn't a 14-day course. If sensitivity caused the skips, that's information, not an inconvenience to push through.
- Check the printed date and the storage history. Written expiry, room temperature, cap on. A tube that has lived in a hot car is a variable you can eliminate cheaply.
Loading the Tray Correctly
With compartmented trays, put a drop of gel into each tooth compartment. With simpler trays, run a thin line along the whole tray. Half the syringe goes to the upper tray, half to the lower, and one syringe covers one session.
Then tap or press each tray lightly so the gel contacts every tooth. Firm pressing isn't needed, and pushing gel hard into the teeth can irritate the gums rather than improve the result. Overloading is the most common reason gel ends up on soft tissue instead of enamel.
If all five checks pass and your teeth still look the same at the end of a full course, stop shopping for a stronger gel. Move to a dental review instead, because the next useful answer is diagnostic.
How Results Build Over the Course
Progress in whitening is gradual and boring, which is why people misjudge it. A full course runs weeks, not days, and the change appears as an overall shift in the arch rather than a sudden result on one tooth. Judging after two weeks of irregular wear tells you about your schedule, not about your gel.
Build two small records instead of relying on the mirror. Photograph your teeth in the same light and the same spot before each week of treatment, then compare week one with the latest image. Alongside that, review your wear log every seventh day: did the hours match the plan, and did you complete every session?
Then read the two together.
Say you compare a day-one photo with one taken on day twelve. The shift is there in the images, in the middle of the arch, in a way it never seems to be when you lean into a mirror at 7am. Memory is unreliable on colour. Photos and logs aren't.
No change on any tooth at the end of a completed course, combined with a failed check, is the signal to stop escalating and start diagnosing.
Stains and Restorations Whitening Cannot Lighten
Here's the scenario that catches many. The gel works, the natural teeth lighten, and the smile looks worse than before because a crowned front tooth now sits two shades darker than its neighbours. Peroxide lightens chromophores inside natural tooth structure. It does not change the colour of fillings, crowns, veneers, implants or other restorations, as the ADA's experts on teeth whitening point out. Whitening doesn't fail in that case. It succeeds unevenly.
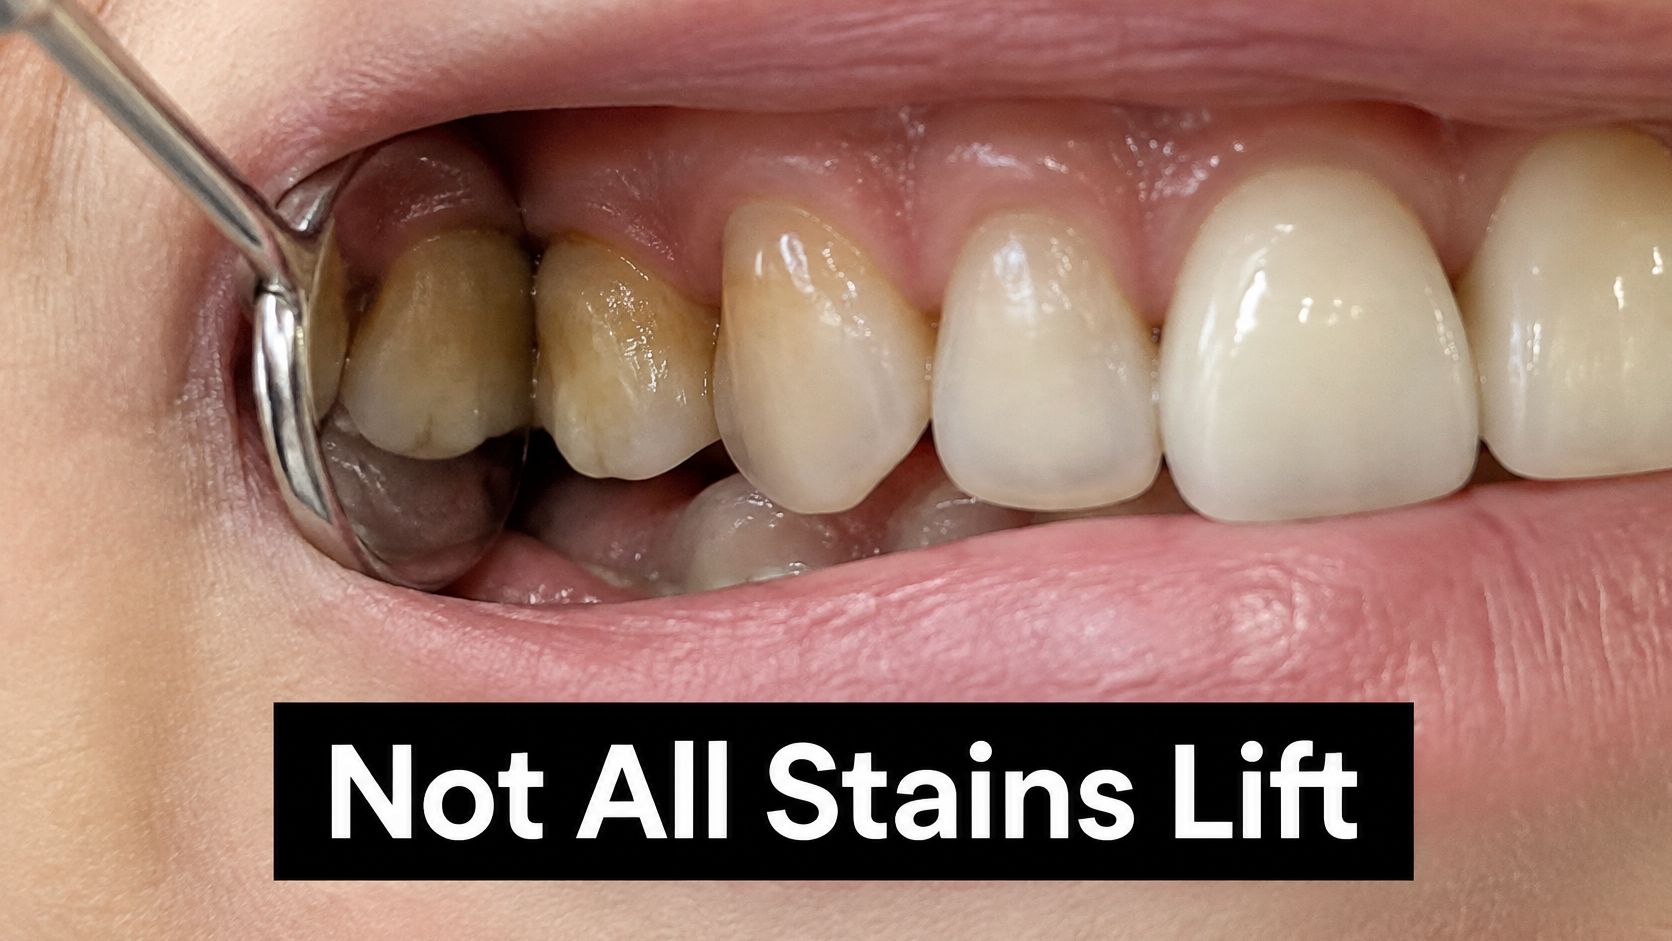
Three examples show the pattern clearly.
The crowned front tooth. A porcelain crown on a central incisor keeps its original shade while the eleven teeth around it lift. The mismatch grows with every session, and no concentration closes it.
The single grey tooth. A tooth that took a knock years ago can darken from the inside as the pulp changes. Gel applied to the outside has nothing to reach. That tooth needs an examination, not another course.
The dark band along a filling edge. Resin composites darken on their own over time, and microleakage at a restoration margin attracts external stain that bleaching doesn't lift predictably. Amalgam corrosion products can darken surrounding tissue in a way peroxide won't correct.
The routine that keeps this manageable is short. List every tooth with a filling, crown or veneer before you start. Photograph in the same light each week. Note any tooth that changes differently from its neighbours, or fails to change at all.
What typically won't respond, and what follows it:
- Restorations of any kind. Shade-match or replace the visible ones after whitening settles, so the new work matches the brighter natural shade.
- Deep internal stain from tetracycline or fluorosis. Get a supervised assessment, since microabrasion or masking may be the appropriate solution.
- A single darkened tooth. Have it examined for decay, cracks or pulp disease before any cosmetic step.
- Surface deposits and tartar. Book a professional clean, because gel cannot penetrate mineralised buildup sitting between it and the enamel.
The order matters clinically. Whitening first, restorations second. Doing it the other way round means replacing a crown to match a shade your teeth no longer are. If you have existing dental work on the front teeth, read up on teeth whitening with fillings before your next session.
Degraded Gel and Why Stronger Is Not Better
The instinct when a tube underperforms is to buy the strongest one available. That instinct misreads the chemistry twice.
Peroxide systems are unstable by design. Hydrogen peroxide decomposes into water and oxygen, and carbamide peroxide breaks down into urea and ammonia. Stability depends heavily on formulation pH, and peroxide becomes less stable as conditions approach neutral, as a 2025 review in the American Journal of Dentistry describes. A tube that looks fresh can deliver less active peroxide after prolonged heat exposure, repeated opening, an unclear expiry date or sloppy storage.
So the same complaint, "the gel did nothing", can come from four very different places: degraded gel, poor tray fit, saliva diluting the gel because the tray is loose, or a stain type that was never going to respond. Only one of those is fixed by buying stronger.
Storage checks worth doing tonight
- Cap it and keep it cool. A dry, room-temperature drawer beats a steamy bathroom shelf or a car glovebox.
- Find the printed date. If it's past, replace the tube rather than stretching it.
- Discard after heat exposure. A tube that spent a weekend in a hot car is a variable you don't need in a troubleshooting week.
- Watch consistency. Separated, thin or sour-smelling gel is a sign to stop using it.
The escalation trap
Picture someone three weeks into a course that never quite got going. Maybe half the sessions happened. Nothing changed, so they order a much stronger gel, and this time they wear it longer. The result is stinging gums and a tooth that aches with cold water, plus the same shade, because the original problem was skipped sessions and a tray that never seated.
Newer literature keeps linking higher-concentration peroxide with sensitivity, enamel-surface changes, reduced microhardness and possible cellular toxicity. Escalating exposure buys risk, not results, when the underlying issue is contact time or fit.
If your gel was stored well and is in date, the fix is consistency and fit. Not a stronger product. Your expiry date is worth checking properly, and our guide to teeth whitening gel expiration date explains what degrades and how fast.
When to Stop Whitening and See a Dentist
Stop and book an examination if you notice any of these: tooth or gum pain, sensitivity severe enough that you skip applications, a single tooth darkening or turning grey, cracks, cavities, gum recession, or a visible mismatch opening up around a restoration.
The diagnostic split is simple to state. A generalised yellow surface stain is what whitening is built for. One dark tooth, horizontal banding, white spots, grey discoloration or a colour mismatch beside a restoration usually needs a different plan, and resistant fluorosis may need microabrasion or restorative masking rather than more peroxide, as the American Dental Association's guidance sets out. A dental exam checks restorations, decay, enamel defects, fluorosis, tetracycline banding, trauma and pulp health.
Bring three questions to that appointment. Which part of this discoloration can whitening reach? Which part needs another treatment entirely? And if sensitivity is what keeps derailing my course, can a lower-concentration or shorter-contact protocol be supervised instead?
Any single trigger from that list means booking the exam before your next session, not after another full course.
If you're ready to fix the routine rather than escalate it, DentalHealth.com stocks dentist-recommended whitening gels and sensitivity products, including lower-strength carbamide peroxide options you can match to a realistic daily schedule, along with desensitising gels for the days your teeth complain. Our blog covers tray loading, storage and shade tracking in the same plain terms you've read here, so you can troubleshoot a course properly instead of guessing. Visit DentalHealth.com to compare strengths, read the instructions before your first session, and get your whitening routine back on a schedule that finishes.