

A Practical Guide: how often clean retainers
Here’s the simple truth: you should be cleaning your retainer at least once every single day.
This quick daily scrub is your first line of defense against the saliva and plaque that builds up while you wear it. Think of it as non-negotiable hygiene. But to really knock out lingering bacteria and keep your appliance crystal clear, you also need to give it a good, deep soak at least once a week.
Your Retainer Cleaning Schedule at a Glance
Here is a quick overview of the recommended cleaning frequency to keep your retainer in top condition.
| Cleaning Type | Frequency | Best For |
|---|---|---|
| Quick Clean | Daily | Removing fresh plaque and saliva before they harden. |
| Deep Soak | Weekly | Killing stubborn bacteria, removing stains, and eliminating odors. |
| Professional Clean | Every 6-12 Months | Removing tough tartar buildup that home cleaning can't handle. |
Following this simple schedule prevents most of the common issues we see with retainers, like cloudiness, bad smells, and that gritty feeling.
Why a Clean Retainer Is Non-Negotiable
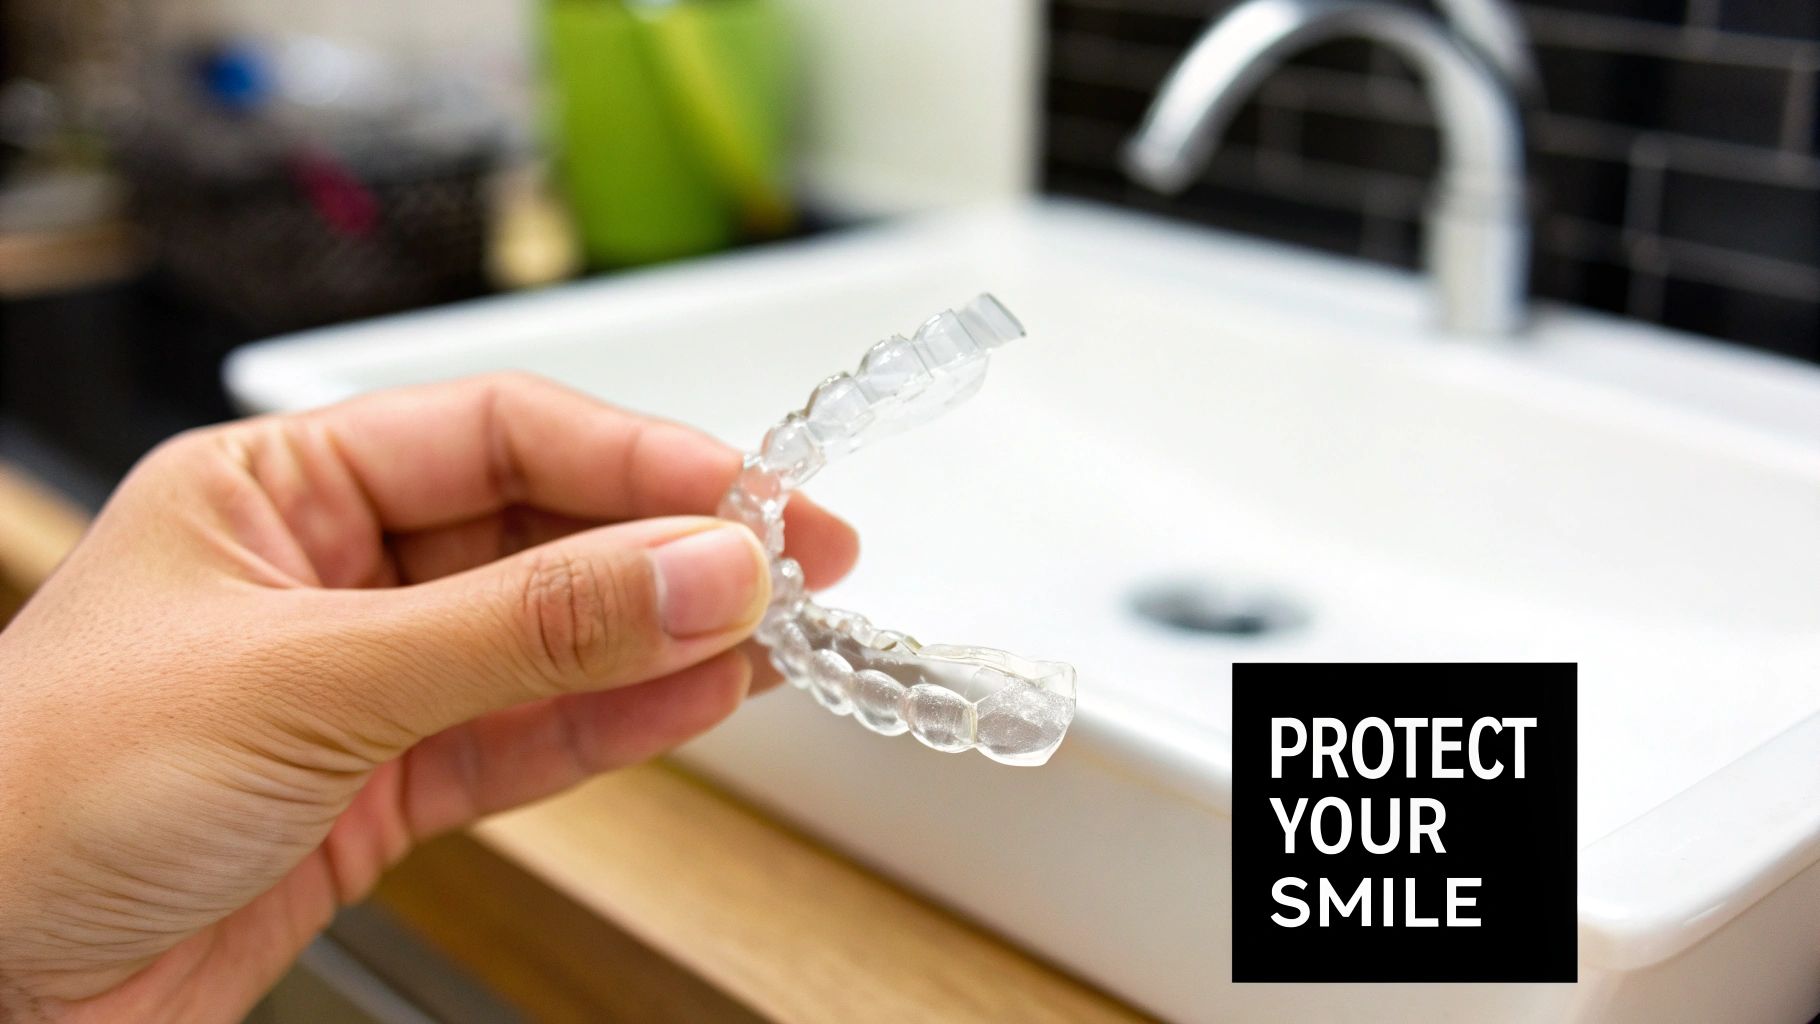
You’ve already invested so much time, money, and patience into getting that perfect smile. The last thing you want is to let a dirty retainer compromise those results—or even worse, your health. Keeping your retainer clean goes way beyond just avoiding bad breath; it’s about protecting your orthodontic investment and your overall wellness.
Your mouth is a bustling ecosystem of bacteria, and your retainer spends hours soaking right in the middle of it. This warm, moist environment is the perfect breeding ground for germs to form a sticky, invisible film called biofilm.
The Risks of a Dirty Retainer
If that biofilm isn't cleaned off regularly, it can lead to some pretty noticeable and nasty problems:
- Plaque and Tartar Buildup: That soft plaque on your retainer will eventually harden into tartar (also called calculus). This creates a crusty, rough deposit that’s incredibly difficult to remove and makes your appliance feel gross.
- Oral Health Problems: When you pop a dirty retainer back in your mouth, you're reintroducing all that bacteria. This can directly contribute to new cavities and gum inflammation. If you’re already seeing some redness or swelling, it's worth learning more about treating bleeding gums at home.
- A Poor Fit: A thick layer of tartar can actually change how your retainer fits. Even a subtle shift means it isn’t holding your teeth in the right position, which puts all that hard-earned alignment at risk.
The warm, moist environment of your retainer is practically an invitation for bacteria to thrive. When it’s not cleaned properly, these microorganisms can cause bad breath, tooth decay, and gum inflammation.
Ultimately, skipping your retainer cleaning routine is just asking for problems that are so easy to avoid. Understanding basic hygiene is the first step. For a broader look at this, you can check out a definitive guide to cleaning and sanitation for virus prevention. A commitment to keeping your appliance pristine is the best way to protect your smile for years to come.
Building Your Daily Retainer Cleaning Habit
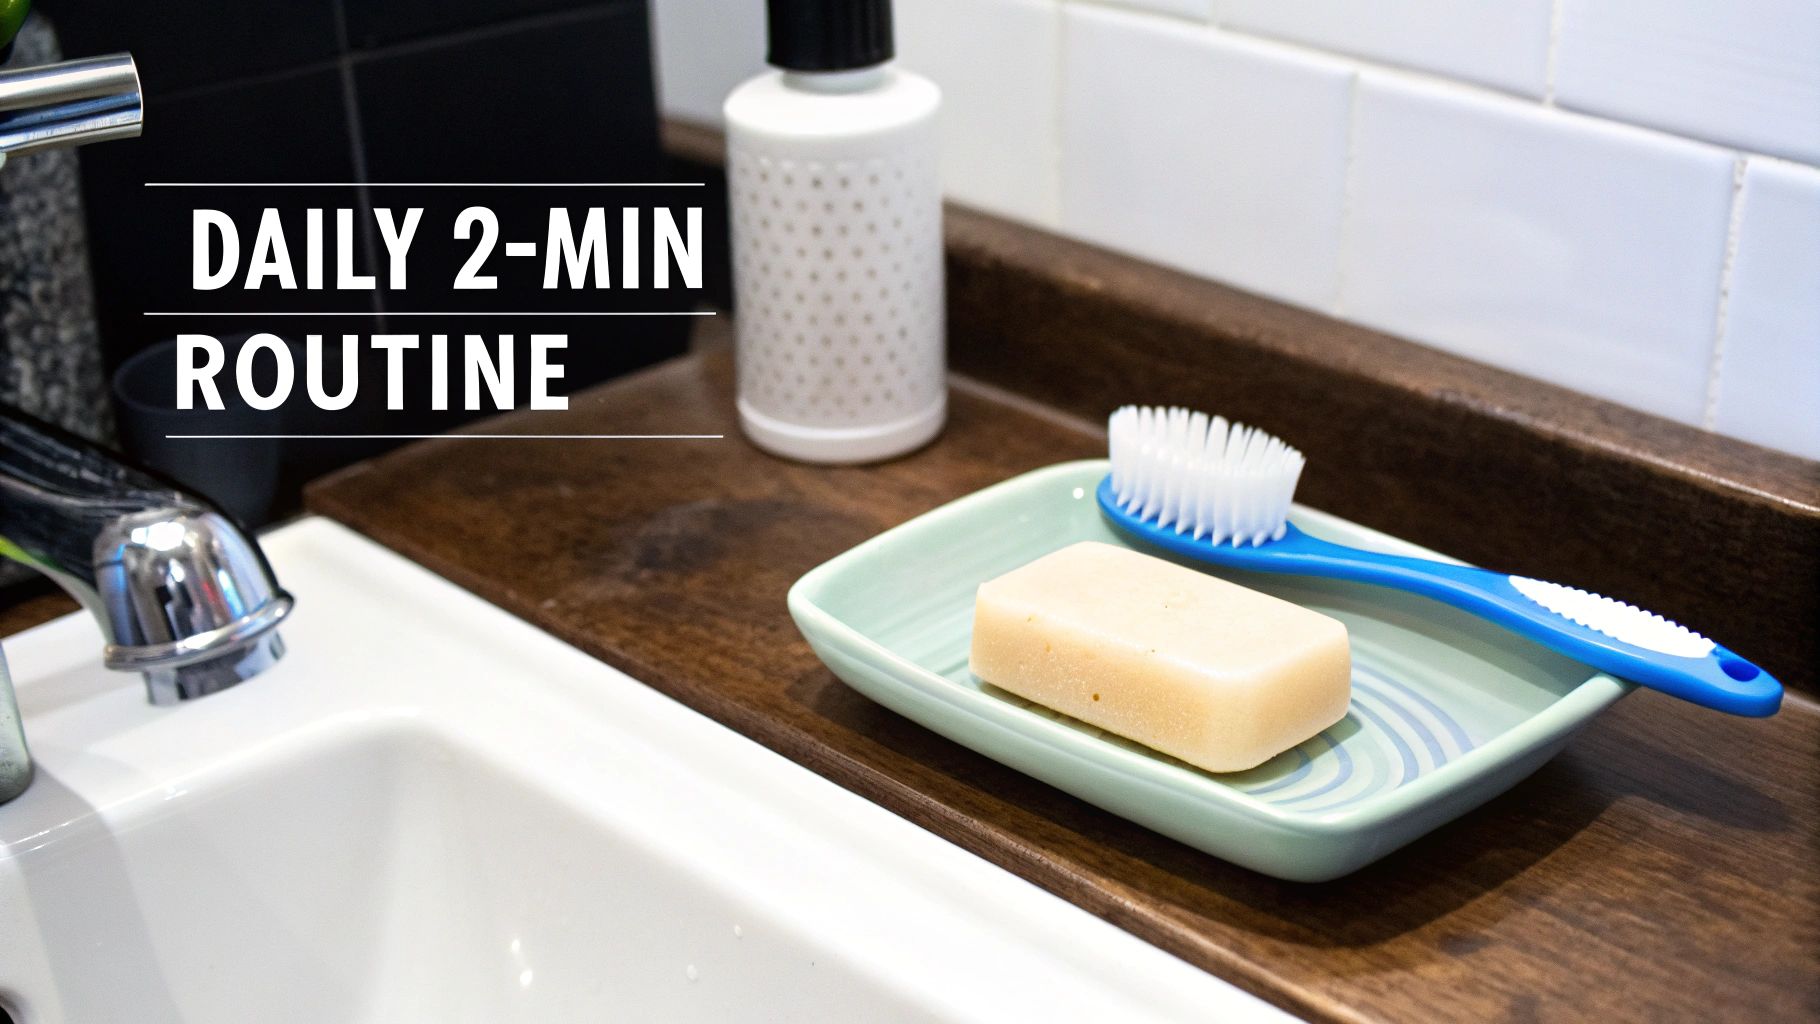
Consistency is everything when it comes to keeping your retainer in good shape. Think of it this way: your daily routine is the most powerful tool you have. A simple, two-minute habit prevents the vast majority of buildup before it even has a chance to start. The goal is to make cleaning your retainer as automatic as brushing your teeth.
The moment you take your retainer out in the morning, give it a quick rinse under lukewarm water. This simple step washes away fresh saliva and plaque before they dry into a stubborn, cloudy film. Whatever you do, never use hot water—it can easily warp the delicate plastic of clear retainers, messing up the fit and rendering them useless.
The Gentle Brushing Technique
After a good rinse, it's time for a gentle scrub. You'll want to get a dedicated toothbrush for this job, not the one you use for your teeth. A baby toothbrush or a soft-bristled denture brush is perfect for this. If you want to see what a specialized brush looks like, the Rotadent ProCare Toothbrush is a great example of a tool designed for gentle but thorough cleaning.
Just put a small drop of clear, unscented antibacterial soap on the brush and gently clean every surface, inside and out. The key is to be meticulous but not aggressive.
Why You Should Never Use Toothpaste on Your Retainer
Most toothpastes are slightly abrasive by design—that's how they polish tough tooth enamel. But that same grittiness will carve thousands of microscopic scratches into the softer plastic of your retainer. This not only makes it look cloudy but also creates new little hiding spots for bacteria to multiply.
Making the Habit Stick
The absolute easiest way to remember this daily task is through "habit stacking." All that means is pairing your new retainer-cleaning habit with one you already have down pat.
- Morning Routine: Clean your retainer right after you brush your teeth. As a visual reminder, keep your retainer case and its dedicated brush right next to your toothbrush.
- Evening Routine: If you wear your retainer during the day, just repeat the process at night before bed. Cleaning it before you pop it in ensures you’re not trapping tiny food particles against your teeth all night long.
If you need an extra nudge, exploring some of the best habit tracking apps can give you daily reminders and a little motivational boost.
Dental experts all agree that this daily cleaning is non-negotiable. In fact, neglecting this step is why 80-90% of orthodontic patients end up with issues like bad breath or gum irritation. Bacteria just love the moist environment a retainer creates. This simple commitment protects not only your health but also the thousands of dollars you've invested in your smile.
Your Weekly Deep Clean for a Fresher Retainer
While your daily two-minute scrub is a must for surface grime, it just can't get into every nook and cranny. That's where the weekly deep clean comes in—it’s your secret weapon against the gunk that brushing alone can't touch.
Think of this weekly soak as hitting the reset button for your retainer. It's designed to dissolve the stubborn, cloudy mineral buildup and kill off lingering bacteria, restoring that fresh, clear look it had on day one.
The Power of Effervescent Cleaning Tablets
One of the simplest and most effective ways to handle a deep clean is with effervescent cleaning tablets. These little powerhouse tablets are specifically formulated to tackle the very things that make a retainer look and feel gross. Just drop one in water, and it fizzes to life, releasing its cleaning agents.
Here’s what they do:
- Dissolve Plaque: They go after the sticky biofilm that even a good brushing session might miss.
- Lift Stains: The bubbling action is fantastic for lifting surface stains from coffee or tea, which is key to keeping clear retainers from yellowing over time.
- Kill Germs: Most formulas are antibacterial, disinfecting your appliance to get rid of the bacteria that cause bad odors.
Products like Retainer Brite effervescent tablets are a go-to for this very reason. You just pop your retainer in a glass of lukewarm water with a tablet and let it soak for about 15-20 minutes. It’s a completely hands-off process that delivers a professional-level clean without any real effort on your part.
A Simple DIY Soaking Solution
If you're more of a do-it-yourself person, a simple white vinegar solution can also work wonders. Vinegar is a natural disinfectant, and its acidity is perfect for breaking down tartar. The trick is to get the ratio right so it's tough on buildup but gentle on your retainer.
Create your soak by mixing equal parts white vinegar and lukewarm water in a small bowl. Make sure your retainer is completely submerged and let it soak for no longer than 20 minutes. Any longer, especially with Hawley retainers, and you risk corroding the metal parts. Once it's done soaking, give it a thorough rinse under cool water and a quick, gentle brush to get rid of any loosened debris and the vinegar taste.
Aiming for one or two deep cleans a week is what really keeps your retainer in top shape. Dental hygiene research backs this up, showing that a simple 5-15 minute soak can stop up to 95% of bacterial colonies from forming in the first place.
This routine is so important because, without it, plaque can build up at a rate of 1-2mm per month. A recent trial showed that these deep cleaning methods significantly improved retainer cleanliness in 95.24% of users compared to just brushing. It's a small step that makes a huge difference.
Tailoring Cleaning Methods for Your Retainer Type
Just like every smile is unique, so is every retainer. A one-size-fits-all cleaning method simply doesn't cut it when you're dealing with the different materials used in clear plastic aligners, classic Hawley retainers, or bonded wires. Understanding how to clean your specific type of retainer is just as important as knowing how often to do it.
Using the wrong technique is a fast track to warping, scratching, or even corroding your appliance. That means an unexpected trip back to the orthodontist and a bill for a replacement. Let's make sure you're protecting your investment and keeping that hard-earned smile healthy by tailoring your cleaning routine.
Cleaning Clear Plastic Retainers (Essix or Vivera)
Clear retainers are fantastic for being nearly invisible, but they need a gentle touch to stay that way. Their two biggest enemies are heat and anything abrasive. Always use cool or lukewarm water when rinsing or soaking them; hot water can easily warp the thermoplastic, messing up the snug fit your teeth need.
When it's time to brush, grab a soft-bristled toothbrush and a bit of non-abrasive, clear liquid soap. Whatever you do, don't use toothpaste. It will etch microscopic scratches into the surface, which become magnets for bacteria and will eventually make your retainer look cloudy and yellow. A weekly deep soak with a specialized effervescent tablet is your best bet for lifting away stains and keeping them crystal clear.
Maintaining Classic Hawley Retainers
The Hawley retainer—that trusty combination of an acrylic plate and a metal wire—is a durable workhorse. Because it's made of two different materials, you have to care for each part properly. The acrylic portion can be gently brushed with soap and water, much like a clear retainer.
The real trick is paying close attention to the metal wire. Make sure you clean thoroughly around where it meets the acrylic, as that's a prime hiding spot for plaque. For your weekly deep clean, a vinegar solution can work wonders, but don't leave it in for no more than 20 minutes. Any longer and you risk potential corrosion on the metal clasps.
This simple decision tree can help you figure out your weekly deep-cleaning game plan, whether you prefer a commercial tablet or a DIY approach.
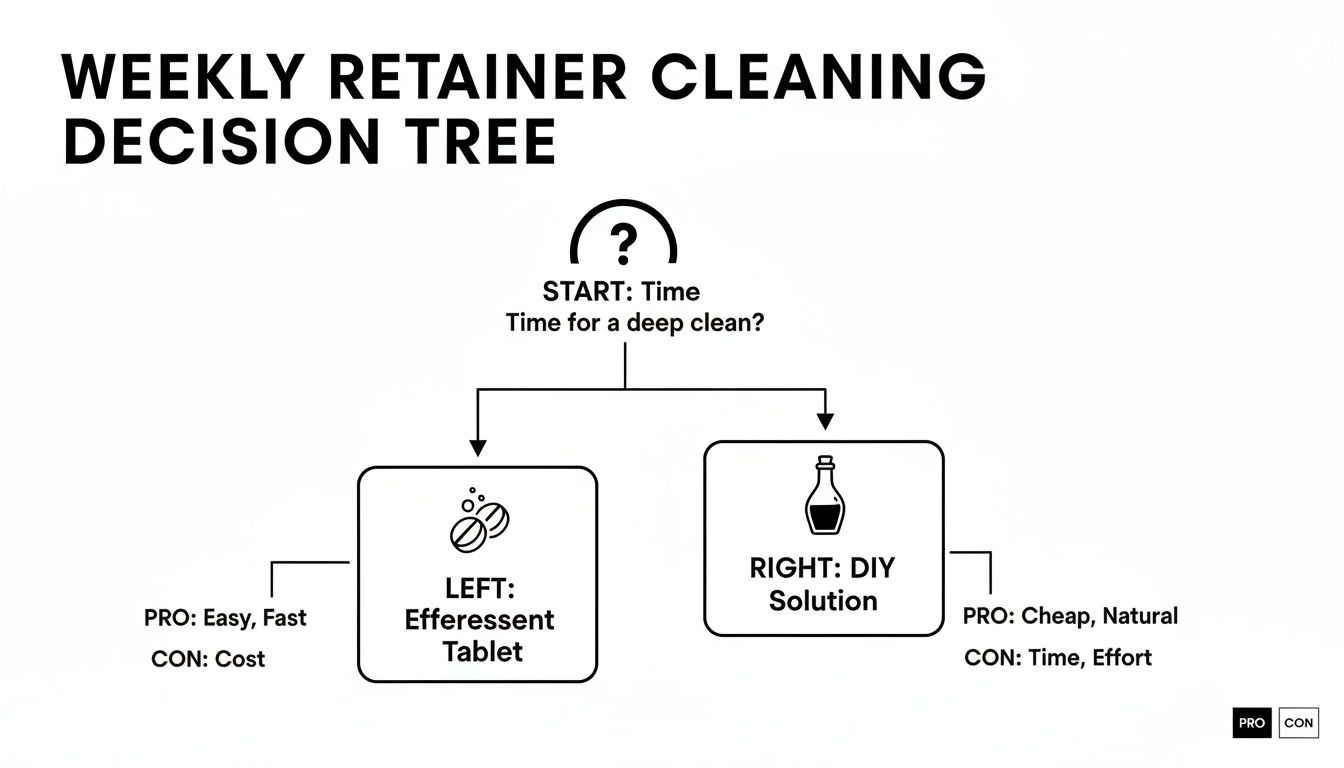
As you can see, both options get the job done. It really just comes down to what's more convenient for you and whether you like to use a store-bought or homemade solution.
Caring for Permanent Bonded Retainers
That little wire glued to the back of your teeth, often called a "permanent" or bonded retainer, comes with its own set of cleaning challenges. Since you can't take it out, it's a notorious plaque magnet, which makes your daily oral hygiene routine absolutely critical.
A water flosser is your best friend when you have a bonded retainer. It powerfully flushes out food particles and plaque from underneath the wire and between the teeth where a toothbrush can't reach.
You'll also need to get familiar with a floss threader. This little tool helps you guide dental floss under the wire, allowing you to clean properly between each tooth and along the gumline. This is the only way to prevent the tartar buildup that can lead to cavities and gum inflammation. Making this part of your daily flossing habit is completely non-negotiable for your long-term oral health.
Common Cleaning Mistakes That Can Ruin Your Retainer
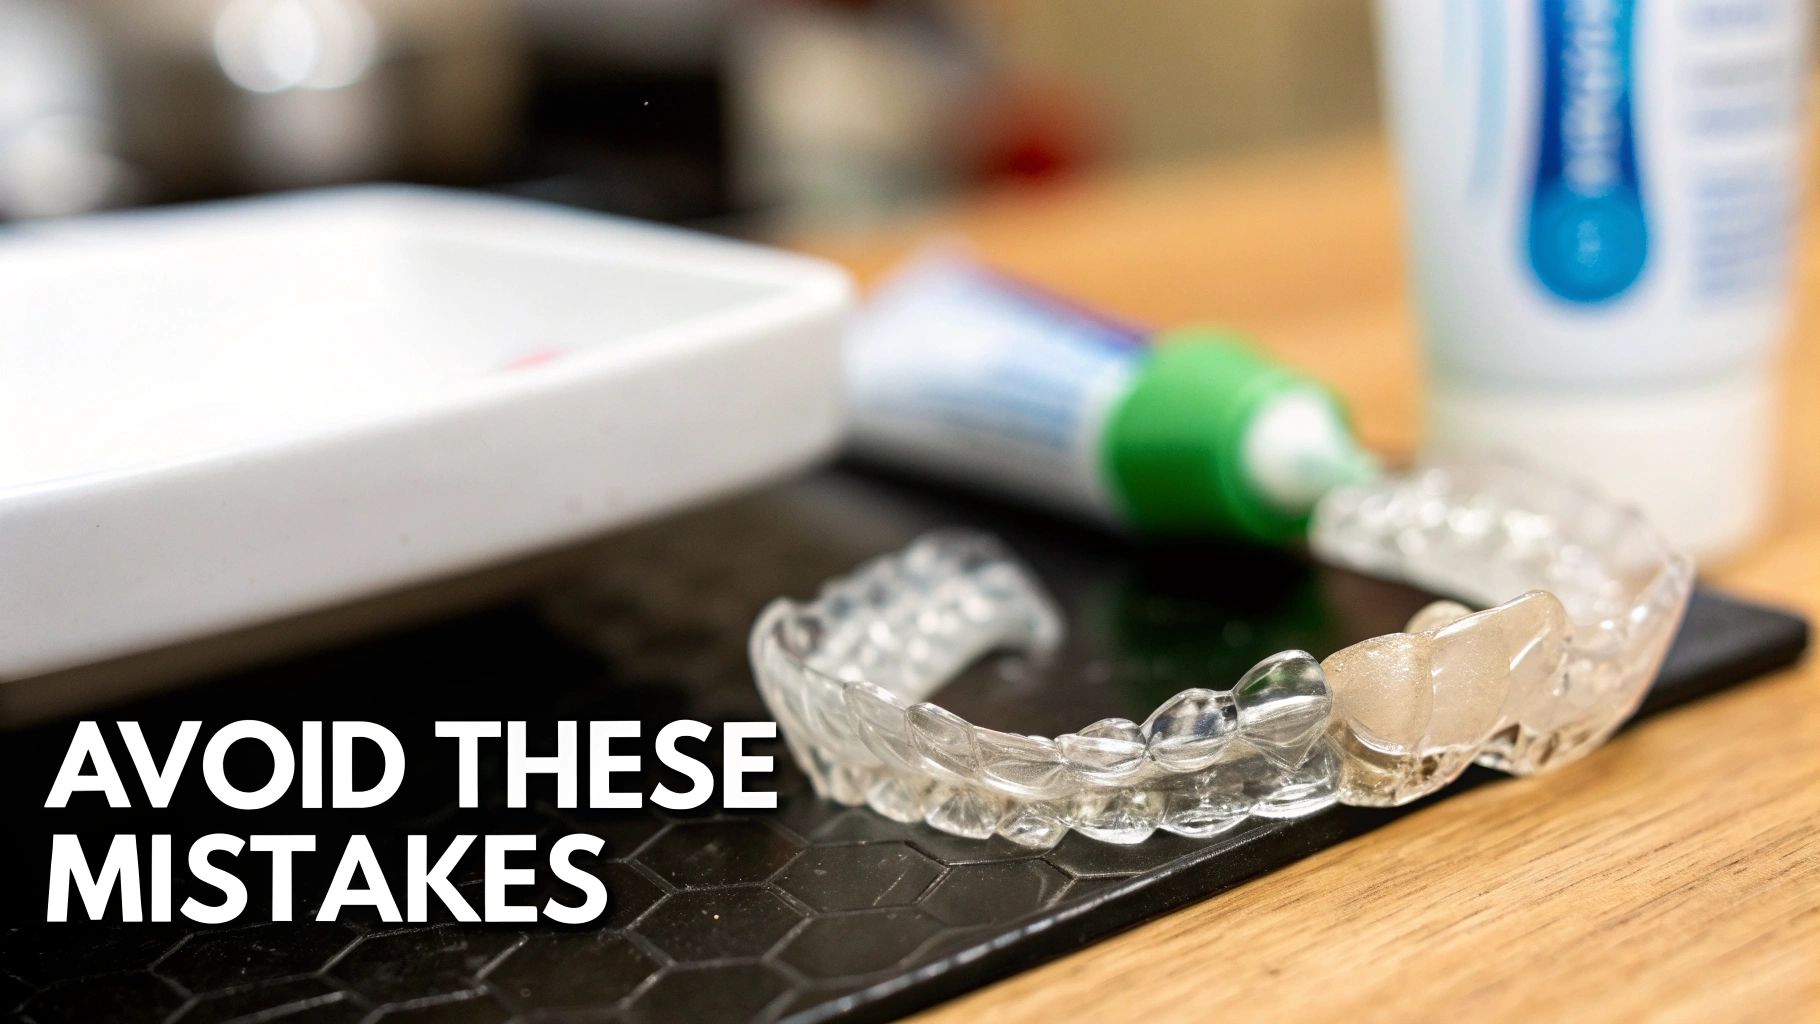
Knowing the right way to clean your retainer is only half the battle. Just as important is knowing what not to do. It’s surprisingly easy to ruin an expensive appliance with one simple, well-intentioned mistake. One wrong move can warp, scratch, or weaken the material, forcing a costly trip back to the orthodontist for a replacement.
Think of your retainer as a precision-calibrated tool. Anything that alters its exact shape compromises its ability to hold your teeth in their perfect new positions. Avoiding these common slip-ups is key to protecting both your smile and the investment you've made in it.
The Problem With Heat and Harsh Chemicals
The number one rule, especially for clear Essix or Vivera-style retainers, is to avoid heat at all costs. Rinsing or soaking your retainer in hot water is a fast track to disaster. The thermoplastic material it's made from is designed to be molded with heat, so even hot tap water can cause it to warp and lose its custom shape almost instantly.
Just as bad is reaching for common household cleaners. Many people assume what cleans their bathroom will clean their retainer, but these chemicals can do serious damage:
- Bleach: This will degrade the plastic over time, making it brittle and prone to cracking.
- Alcohol-Based Mouthwash: The high alcohol content can dry out the acrylic or plastic, which also leads to tiny cracks and weaknesses.
- Strong Detergents: These can leave behind a chemical residue that you definitely don't want in your mouth. At best it tastes bad; at worst it can irritate your gums.
Always stick to gentle, approved cleaners, like a clear antibacterial soap or specialized retainer cleaning tablets.
Why Toothpaste Is Your Retainer’s Worst Enemy
It seems logical, right? If it cleans your teeth, it should clean your retainer. But this is one of the most common and damaging mistakes people make. Most toothpastes get their cleaning power from mild abrasives designed to polish tough tooth enamel.
These abrasive particles might be great for scrubbing stains off your teeth, but they will carve thousands of microscopic scratches into the much softer plastic of your retainer. Over time, this makes the appliance look cloudy and old. Worse, those tiny scratches create the perfect hiding place for plaque and bacteria to grow, making your retainer dirtier and smellier.
Instead of toothpaste, grab a separate, soft-bristled toothbrush just for your retainer and use it with a non-abrasive cleaner. This one small change prevents the slow, cumulative damage that will eventually ruin your retainer's clarity and hygiene. Sidestepping these simple mistakes ensures your retainer stays effective, clear, and comfortable for years to come.
Smart Storage and Knowing When It's Time for a Replacement
A sparkling clean retainer doesn't do you much good if you don't store it properly. Honestly, proper storage is just as important as your daily cleaning routine for keeping that retainer safe and free of nasty bacteria. The number one mistake I see? People wrapping their retainer in a napkin. That’s a one-way ticket to accidentally tossing it in the trash.
Always, always use the hard, ventilated case your orthodontist gave you. It's a simple habit that protects it from getting crushed, dropped, or becoming a chew toy for your dog. Before you tuck it away for the day, give it a quick pat dry. A damp, dark case is a five-star resort for mildew and bacteria.
When Is It Time for a New Retainer?
Even if you follow every rule to the letter, retainers just don't last forever. They take a beating from daily use. Knowing the signs of a worn-out retainer is absolutely critical to making sure it’s still protecting your smile. If you ignore the warning signs, your teeth can start shifting right back, and nobody wants to undo all that hard orthodontic work.
Keep an eye out for these tell-tale signs that it's time to call your orthodontist:
- Visible Damage: If you spot any cracks, fractures, or little holes in the plastic, its integrity is shot. A damaged retainer simply can't apply the consistent, gentle pressure needed to hold your teeth in their perfect new positions.
- A Loose or Poor Fit: Your retainer should feel snug and secure. If it suddenly feels loose or doesn't "click" into place like it used to, it has likely warped or stretched out. This is a huge red flag that it’s not doing its job anymore.
- Stubborn Discoloration or Odor: If your retainer has a funky yellow tint or a smell that just won't go away, even after a deep clean, it might be time for a fresh start. This usually means the plastic has become porous and is trapping bacteria you can't scrub away.
If your retainer starts causing new soreness or rubbing your gums in a way it never did before, that could be a sign it’s damaged or fits improperly. A well-fitting retainer should always feel comfortable, period.
Got Questions About Retainer Care? We've Got Answers.
Even when you've got your cleaning routine down to a science, questions are bound to pop up. You’ve mastered the daily and weekly cleanings, but what about those weird one-off situations? Here are the answers to the most common questions we hear.
Can I Use Mouthwash on My Retainer?
This is a big one, and the short answer is: probably not. Most common mouthwashes, especially the brightly colored ones with alcohol, are a bad idea for your retainer. Alcohol can make the plastic brittle over time, and those artificial dyes can leave behind permanent stains, particularly on clear aligners.
If you're in a pinch and need a quick refresh, a very brief soak in a clear, alcohol-free mouthwash might be okay. But think of it as a temporary fix, not a replacement for a real cleaning with unscented soap or a specialized retainer tablet.
What Are These Stubborn White Spots?
If you're seeing chalky white spots that just won't scrub away, you're likely dealing with tartar (also known as calculus). This happens when plaque hangs around too long and hardens into a tough, mineralized deposit. Unfortunately, your daily brushing routine isn't going to cut it once tartar has formed.
Before you panic, try this home remedy: soak your retainer for 20-30 minutes in a 50/50 mix of white vinegar and lukewarm water. Afterward, give it a gentle scrub with a soft-bristled brush. If the spots are still there, don't even think about scraping them off yourself—you'll risk damaging the appliance. Just bring it up with your orthodontist at your next check-up; they can safely remove the buildup for you.
How Often Should I Clean My Retainer Case?
Think of your retainer case as an extension of your retainer—it gets just as grimy. Tossing a sparkling clean retainer into a dirty case is a recipe for disaster, as you're just reintroducing all the bacteria you worked so hard to remove.
You should give the case a good wash several times a week, or better yet, every day when you clean your retainer. Just use some warm, soapy water, rinse it well, and let it air dry completely with the lid open. This last step is crucial. A closed, damp case is the perfect breeding ground for germs.
At DentalHealth.com, we stock professional-grade products like Retainer Brite to help protect your orthodontic investment. You’ll find everything you need for top-tier oral hygiene right on our site.