

How to Safely Whiten Teeth at Home for Brilliant Results
Safely whitening your teeth at home really comes down to a few key things: choosing a dentist-recommended product with carbamide or hydrogen peroxide, starting with a lower concentration to see how your teeth react, and following the directions to the letter. But before you even think about starting, your absolute first step is making sure your teeth and gums are healthy.
Why a Smart Whitening Strategy Is Non-Negotiable
Everyone wants a brighter smile, and with all the at-home kits available, it seems easier than ever to get one. The real goal, though, isn't just getting whiter teeth—it's getting those brilliant results without wrecking your dental health in the process. A smart, safe approach is essential because you can't have effective whitening without it.
That principle is what this guide is all about. We’re going to cut through the noise of those risky social media trends and unproven DIY hacks you see everywhere. Instead, we'll focus on methods that actually work, built around proven ingredients that dentists trust, like carbamide peroxide and hydrogen peroxide.
The Growing Demand for Safe At-Home Solutions
The desire for easy, effective whitening isn't just something you hear from friends; it's a massive global trend. The teeth whitening market is exploding, projected to jump from USD 5.53 billion in 2020 to USD 7.99 billion by 2026. This boom is mostly driven by people looking for safe at-home options that deliver professional-level results without a trip to the dentist.
Savvy consumers are turning to trusted, high-concentration carbamide peroxide gels like PolaDay CP 35% or comprehensive Opalescence kits because they're effective, convenient, and have a track record with dental professionals. Learn more about the global teeth whitening market trends.
Knowing what's in your whitening kit is just as important as how you use it. You need to pay attention to a few key details:
- Active Ingredient: Is it hydrogen peroxide or carbamide peroxide? Both work, but they break down differently and require different wear times.
- Concentration Level: A 10% gel is a world away from a 35% one. Higher numbers mean faster results, but they also mean shorter application times and a much higher risk of sensitivity.
- Gum Protection: This is critical. Any gel that seeps onto your gums can cause some serious irritation and discomfort. Proper application is everything.
Key Takeaway: The secret to successful at-home whitening isn't just the product you buy; it's how you use it. A safe strategy means understanding the concentration, protecting your gums, and paying close attention to what your teeth are telling you.
Your First Step Towards a Brighter Smile
Making an informed choice from the get-go is the most important move you'll make. There's a reason dental pros trust professional-grade systems from brands like PolaNight or Opalescence—they’re backed by years of research and are formulated to be both effective and safe.
By taking a smart and cautious approach, you're setting yourself up for a whitening journey that actually delivers the radiant smile you're after. This guide will walk you through the practical, step-by-step advice you need to feel confident in the process. The goal is a brilliant smile you can be proud of, achieved in the safest way possible.
Your Pre-Whitening Health Check
Before you even think about cracking open a whitening kit, you need to do a quick dental check-in. It's tempting to jump straight in, but trust me, this is the most critical step for anyone learning how to safely whiten teeth at home. Think of it like prepping a wall before you paint—skip it, and you’ll end up with a patchy mess and maybe even some damage.
Whitening products are powerful. If you have any underlying dental issues, the whitening agents can find their way into compromised areas and cause a world of pain. A few minutes of self-assessment now can save you from some serious discomfort later.
Crucial Insight: Professional whitening gels are formulated for healthy, intact enamel. Applying them over cavities, cracked teeth, or inflamed gums can lead to intense sensitivity and irritation, turning a cosmetic procedure into a painful ordeal. Always resolve these issues with your dentist first.
Check for Dental Health Red Flags
First, take a moment for an honest look at your oral health. Do you get a jolt of pain from hot coffee or ice cream? Do your gums ever look puffy or bleed when you floss? These are red flags that something needs attention before you introduce bleaching agents into the mix.
Here are the big three issues to look for before starting:
- Cavities or Decay: Even a tiny cavity is an open door for peroxide to seep deep into your tooth's inner layers, which can cause sharp, throbbing pain.
- Gum Inflammation (Gingivitis): If your gums are already red, swollen, or tender, the whitening gel will only magnify that irritation. Healthy gums are a must.
- Receding Gums: When gums pull back, they expose the root surfaces of your teeth. This part of the tooth, called cementum, is way more porous and sensitive than enamel and isn't meant to be whitened.
The American Dental Association's resource on whitening stresses why a healthy foundation is non-negotiable. A dentist can spot problems you might easily miss, making a quick professional check-up the safest bet.
Identify Your Type of Tooth Stains
Not all stains are created equal, and it's essential to know what you're dealing with. At-home whitening is fantastic for one type of stain but completely ineffective against the other.
Extrinsic Stains: These are the ones on the surface of your enamel. They come from things like coffee, tea, red wine, and tobacco. Good news—this is exactly what at-home whitening products are designed to tackle.
Intrinsic Stains: These stains are deeper, inside the tooth itself. They can be caused by certain medications (like tetracycline), an old injury to a tooth, or getting too much fluoride as a child. Unfortunately, over-the-counter products won't touch these, and you'd need to see a dentist for cosmetic options like veneers.
The Dentist's Secret Weapon: A Pre-Whitening Cleaning
Here's an insider tip that makes a world of difference: book a professional dental cleaning right before you plan to start whitening.
A hygienist will remove all the plaque and tartar that act as a barrier, preventing the whitening gel from making even contact with your enamel. Without this step, you're setting yourself up for a splotchy, uneven result.
Finally, snap a "before" photo. Find a spot with good natural light and take a clear picture of your smile. It's surprisingly hard to notice gradual changes, and this photo will be your objective proof. It helps you track your progress accurately and avoid the common pitfall of over-whitening.
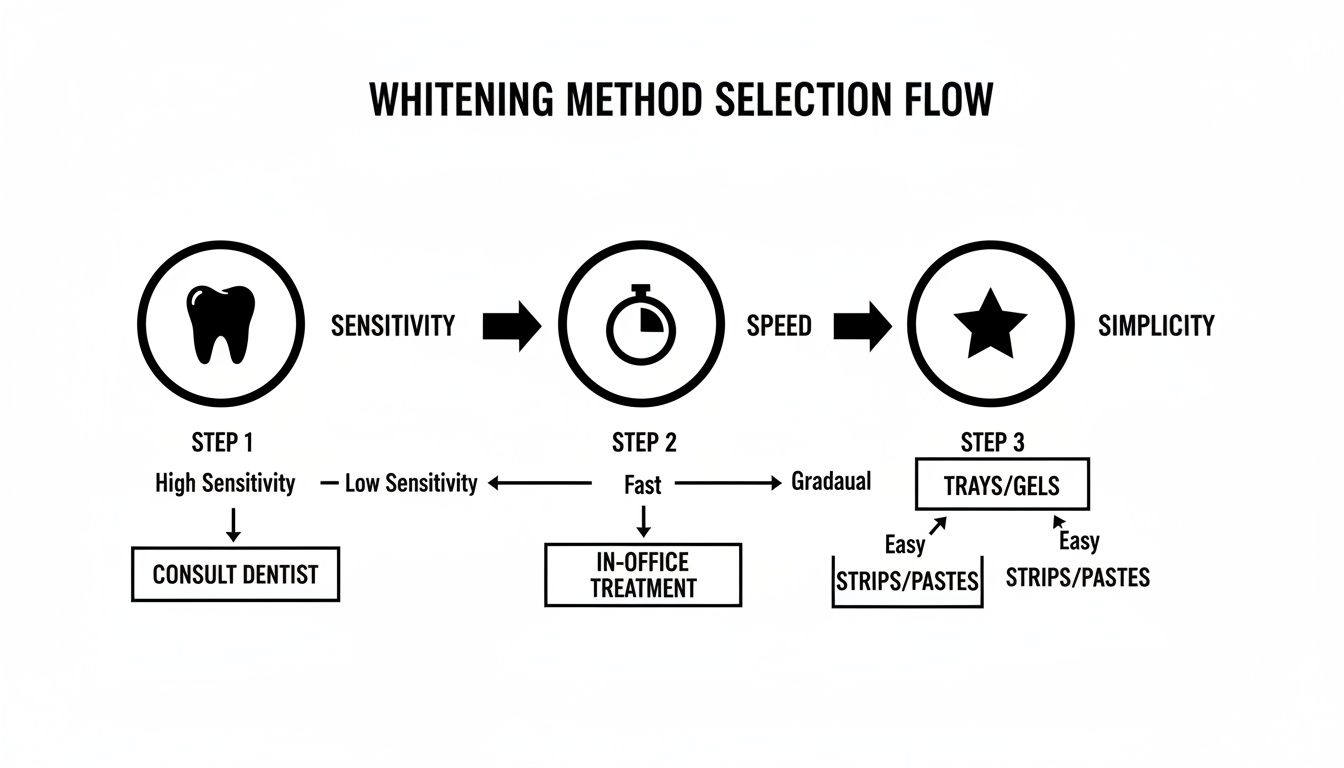
Finding Your Perfect At-Home Whitening Method
Walking down the dental aisle can feel a bit overwhelming. You’re hit with a wall of whitening strips, gels, LED lights, and specialty toothpastes, all promising a celebrity-bright smile. So, how do you cut through the noise and figure out what actually works—and more importantly, what's right for your teeth?
Let's start with the science. Most effective whitening products rely on one of two key ingredients: carbamide peroxide or hydrogen peroxide. Carbamide peroxide is the slower, more stable cousin; it breaks down into hydrogen peroxide over time, making it a great choice for overnight trays and for anyone with sensitive teeth. Hydrogen peroxide gets to work faster, which is why you'll find it in products with shorter wear times, like whitening strips.
Whitening Toothpastes: A Gentle First Step
Whitening toothpastes are everywhere, and they're a good place to start, as long as your expectations are realistic. These pastes primarily work by using mild abrasives to buff away surface stains—the kind left behind by your daily coffee, tea, or red wine.
Think of them less as a whitening treatment and more as maintenance. They do a fantastic job of polishing your teeth and keeping a brighter smile looking its best after you’ve used a stronger product. On their own, though, they won't dramatically change the deep, intrinsic color of your teeth.
Whitening Strips: Convenience with a Caveat
Whitening strips are the undisputed champion of convenience. Peel, stick, and you’re good to go for about 30 minutes. They have a thin layer of hydrogen peroxide gel that gets the job done for mild staining.
The main drawback? Their one-size-fits-all design. If your teeth aren't perfectly straight, the strips can't make full contact with every surface. This can sometimes lead to uneven, patchy results, with some spots looking brighter than others. They're a solid entry point, but they just don't offer the precision you get from a custom-fit tray.
LED Whitening Kits: The Power of Light
You've probably seen these all over social media. LED whitening kits usually come with a peroxide-based gel and a blue light mouthguard. The idea is that the LED light activates and speeds up the gel's whitening reaction, giving you faster results.
While the "wow" factor is high, the jury is still out on whether the light adds a significant boost compared to using the gel alone. These kits can definitely work, but it's the peroxide gel that's doing the heavy lifting. If you're curious about different systems, you can explore some of the best teeth whitening products to see how they compare.
Professional-Grade Gel Trays: The Gold Standard for At-Home Results
If you're after results that rival an in-office treatment, professional-grade gels paired with custom trays are the way to go. Brands like PolaNight, Opalescence, and Zoom are trusted by dentists and offer potent carbamide peroxide gels you can use at home.
The biggest advantage here is total coverage. A well-fitted tray—whether it's custom-made by your dentist or a thermoforming one you shape yourself—ensures the gel coats every nook and cranny of every tooth. This delivers the kind of consistent, brilliant white that other methods just can't match.
Expert Tip: When choosing a gel, always start low and go slow, especially if you have sensitive teeth. A 10% to 16% carbamide peroxide concentration is a fantastic starting point for overnight use. If you're more experienced and want quicker results, you could try a higher concentration like 35% carbamide peroxide for short bursts of just 15-30 minutes.
The demand for these powerful at-home systems is exploding. In 2023, North America accounted for 38.0% of global revenue in the teeth whitening market. And while whitening toothpaste sales topped USD 2.5 billion, the real growth is in consumers reaching for professional-grade gels that deliver that dentist-level power right in their own homes.
At-Home Teeth Whitening Methods Compared
Choosing the right method really comes down to your whitening goals, your budget, and how sensitive your teeth are. This table breaks down the key differences to help you find your perfect fit.
| Method | Active Ingredient | Best For | Sensitivity Level | Average Time to Results |
|---|---|---|---|---|
| Whitening Toothpaste | Mild Abrasives | Daily maintenance and light surface stain removal. | Low | Minimal (polishing effect) |
| Whitening Strips | Hydrogen Peroxide | Convenience and treating minor, uniform stains. | Low to Moderate | 1-2 weeks |
| LED Kits | Hydrogen/Carbamide Peroxide | Users looking for a potentially faster result from a gel. | Moderate | 1 week |
| Professional Gel & Trays | Carbamide Peroxide | Significant, even, and long-lasting whitening. | Moderate to High | 1-2 weeks |
At the end of the day, the most effective method is the one you'll use correctly and consistently. For minor touch-ups, strips or a good toothpaste might be all you need. But for a truly dramatic and uniform transformation, nothing beats the power and precision of a professional gel and tray system.
A Practical Guide to Applying Gels and Trays
This is where the rubber meets the road. Using professional-grade whitening gels and trays is pretty straightforward, but the real secret to getting fantastic results lies in the small details—the ones the instructions on the box usually skip over. Nailing the application process is what separates an okay result from a brilliant, even smile.
First things first: you need a clean canvas. Before you even think about opening that whitening gel, give your teeth a thorough brushing and flossing. Any lingering plaque or food debris can block the gel from working its magic, leading to splotchy results. That’s the last thing anyone wants.
Loading Your Trays the Right Way
If there's one mistake everyone makes at first, it's using way too much gel. It’s a classic "more is not better" situation. When you overload the trays, the extra gel oozes out and sits directly on your gums, which is the #1 cause of irritation and sensitivity. The goal here is to coat your teeth, not your entire mouth.
This is why I always recommend the 'small dot' technique. Instead of squeezing a solid line of gel into the tray, just place a single, tiny drop on the inner front surface of each tooth impression.
- Which teeth? You can usually skip the molars unless they're a big part of your smile. Focusing the gel on the front 6-8 teeth on both the top and bottom trays is more efficient and saves you gel.
- How much? Think small. A single dot should be no bigger than the head of a matchstick. It will spread out and cover the whole tooth once you pop the tray in.
Pro Tip: If you see a lot of gel squishing out onto your gums when you place the trays, you've used too much. No big deal—just make a mental note to dial it back next time. A tiny bit of overflow is normal, but it shouldn't be a flood.
Once the trays are loaded, gently guide them over your teeth. Use your fingers to press them snugly into place, but don't bite down hard. That can force all the precious gel out from where it needs to be.
During and After Your Whitening Session
After you've seated the trays, grab a Q-tip, a soft toothbrush, or even just your finger and wipe away any excess gel that's touching your gums. This quick, two-second step is your absolute best defense against gum irritation.
Now, you just have to wait. Following the recommended wear time for your specific gel strength is non-negotiable for safety.
- Lower Concentrations (e.g., 10-16% Carbamide Peroxide): These are often made for longer wear, sometimes for several hours or even overnight.
- Higher Concentrations (e.g., 35% Carbamide Peroxide): These potent formulas are for quick sessions, usually just 15 to 30 minutes. Pushing it longer than that is just asking for sensitivity.
Once your time is up, take the trays out. Your first instinct might be to brush, but hold off. Instead, rinse your mouth really well with lukewarm water to get rid of any leftover gel. Your enamel is a little more porous right after whitening, so brushing immediately can feel too abrasive.
For those quick, on-the-go touch-ups between your main tray sessions, a whitening pen can be a lifesaver. You can learn more about how to use teeth whitening pens if you want to add one to your toolkit.
Keeping Your Trays Clean
Taking care of your trays is crucial for both hygiene and making them last. As soon as you take them out, give them a clean so gel doesn't harden and bacteria can't set up shop.
- Rinse with Cold Water: Always use cool or lukewarm water. Hot water can warp the plastic, ruining that perfect custom fit you paid for.
- Clean Gently: A soft toothbrush with a bit of clear, gentle soap (or just water) is all you need. Don't use toothpaste, as it's abrasive and can scratch up the trays.
- Dry Completely: Let them air dry on a clean towel before putting them back in their case. Storing them wet is an open invitation for bacteria.
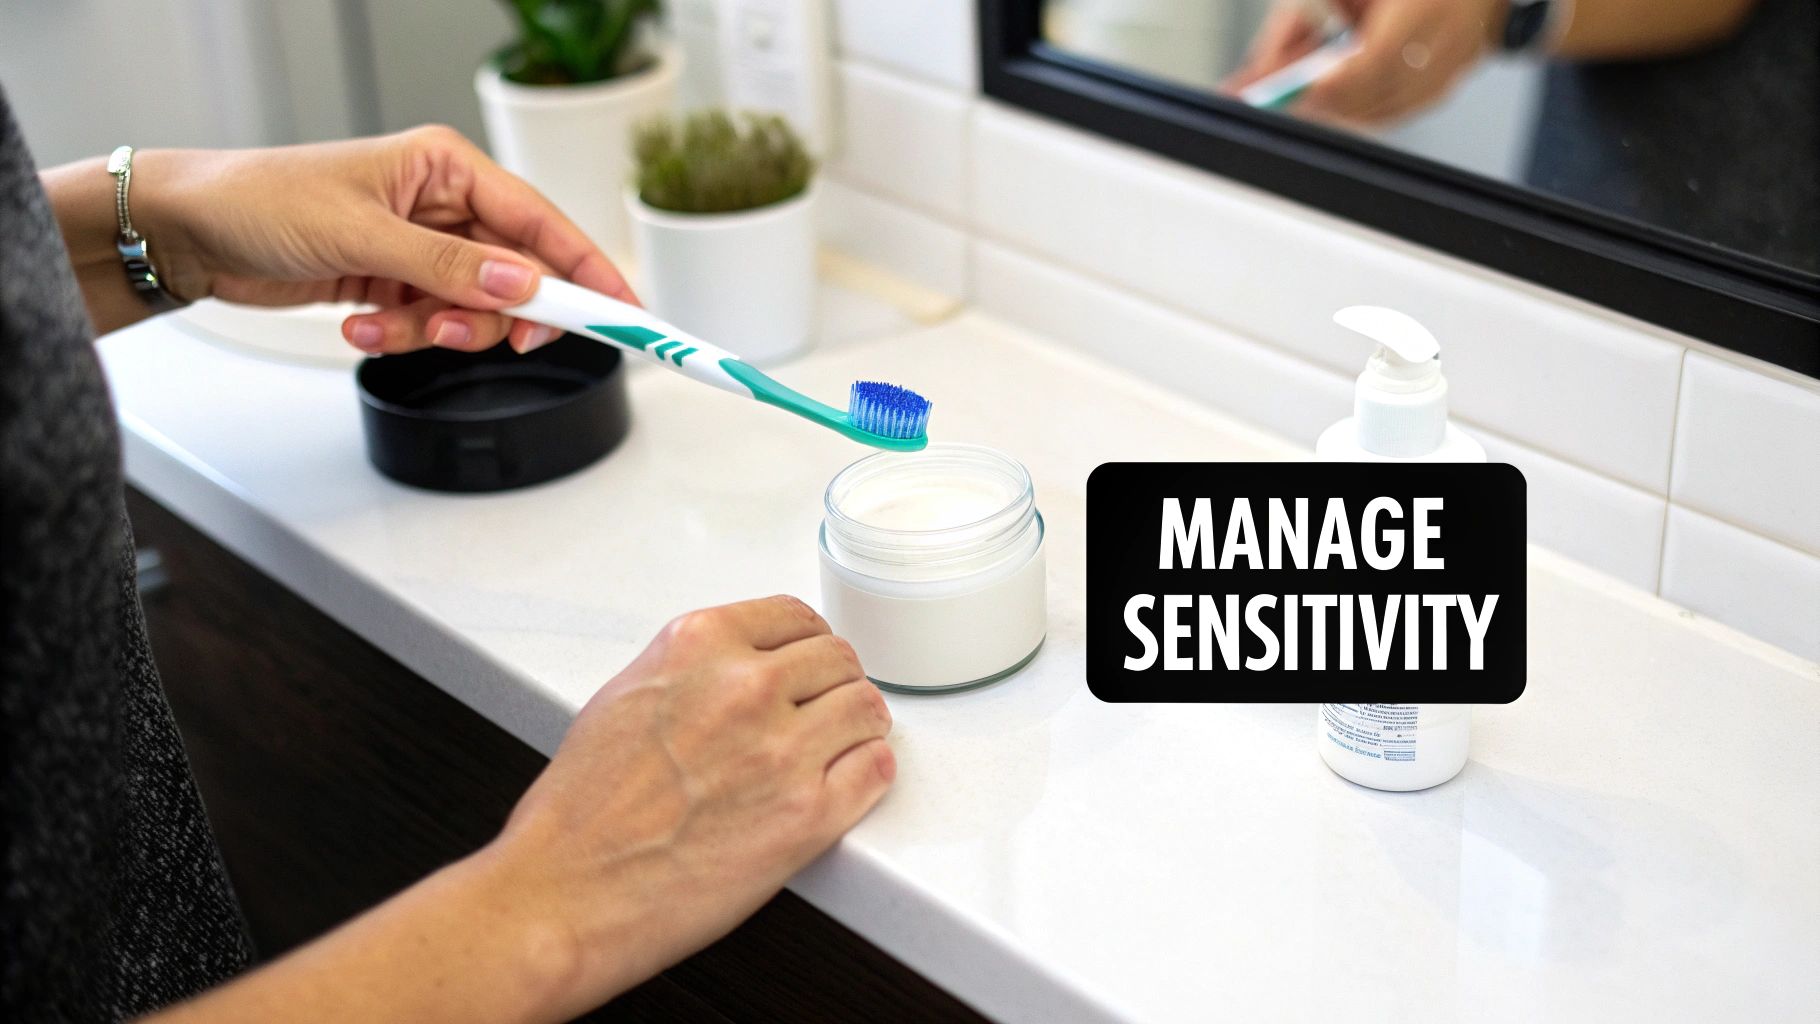
How to Manage and Prevent Tooth Sensitivity
Let’s be honest: the biggest reason people hesitate to whiten their teeth at home is the fear of sensitivity. That sharp "zing" from a cold drink is nobody's idea of a good time. The good news? That discomfort is almost always temporary and, more importantly, totally manageable if you have the right game plan.
So what's happening in there? Sensitivity occurs when the peroxide in the whitening gel temporarily opens up the microscopic tubules in your enamel. This gives the whitening agent a path to the dentin layer underneath, which is connected to your tooth's nerve. It sounds a little intense, but this effect is short-lived. With a few smart steps, you can keep discomfort to a minimum without giving up on your goal of a brighter smile.
Proactive Strategies Before You Begin
The best defense is a good offense. Don't wait for sensitivity to strike—prepare your teeth for the whitening process a week or two ahead of time. This little bit of prep work can make a huge difference in how comfortable you are.
One of the easiest and most effective things you can do is switch to a desensitizing toothpaste. Look for products with active ingredients like potassium nitrate or stannous fluoride. These ingredients work by either calming the tooth's nerve directly or by blocking those tiny tubules in your enamel, essentially building a shield against sensitivity.
Expert Tip: Start using a desensitizing toothpaste twice a day for at least two weeks before your first whitening session. Keep using it throughout your treatment and for a couple of weeks after to keep your teeth happy.
Smart Adjustments During Your Whitening Treatment
Even with the best preparation, you might feel a little sensitivity during a session. This is your body's signal to listen to your teeth and make a few small adjustments. Pushing through significant discomfort is never the right move and will only lead to more irritation.
Instead of quitting, just modify your routine:
- Shorten Your Wear Time: If the box says 30 minutes, try cutting back to 15. You'll still get whitening benefits, just at a gentler pace.
- Take a Day Off: There's no law that says you have to whiten every single day. Switching to an every-other-day schedule gives your teeth time to recover and rehydrate between treatments.
- Check Your Gel Amount: Go back to that "small dot" technique. Overloading your trays is one of the biggest culprits behind both gum irritation and tooth sensitivity.
The at-home whitening market is exploding—it’s expected to reach USD 7.72 billion by 2025. A huge driver of that growth is people looking for safe, effective options they can trust. While professional-grade peroxide gels are formulated to be safe on enamel, about 30% of users report some level of discomfort. This just shows how important it is to have a smart management strategy.
Post-Whitening Soothing and Recovery
What you do immediately after you take your whitening trays out is just as important as the whitening itself. This is your chance to soothe your teeth, calm any potential irritation, and help your enamel bounce back. A good post-whitening routine helps lock in your results while keeping sensitivity from creeping in.
Right after rinsing out the gel, give your teeth a break. Avoid anything extremely hot, cold, or acidic for at least a couple of hours. Your enamel is a bit more porous during this window, so stick to neutral, room-temperature water.
For powerful, targeted relief, try a remineralizing paste. Products like MI Paste are fantastic for this because they contain minerals like calcium and phosphate. These help replenish your enamel, effectively strengthening it and calming down nerve endings. Applying a small amount to your teeth after a session can provide immediate, soothing relief.
For a deeper dive into this common issue, check out our complete guide on how to reduce tooth sensitivity after whitening. It’s packed with more tips and product recommendations to keep your smile comfortable and bright.
Common Questions About At-Home Whitening
Even when you feel ready to go, it's totally normal to have a few last-minute questions before you start whitening. Getting these details straight can be the difference between a decent experience and a truly great one. Let's tackle some of the most common questions we hear, so you can move forward with total confidence.
How Long Do At-Home Whitening Results Actually Last?
This is the big one, isn't it? The reality is, the longevity of your bright new smile can be anywhere from a few months to over a year. The single biggest factor is you—specifically, your lifestyle and daily habits. Think of your results as dynamic, not permanent; they're directly influenced by what you eat and drink after you've finished your treatment.
The main culprits behind new stains are called chromogens. These are the intense color pigments in certain foods and drinks that just love to cling to tooth enamel.
- Major Offenders: You probably already know the big ones: coffee, black tea, red wine, and dark sodas.
- Sneaky Stainers: But don't overlook less obvious sources like soy sauce, balsamic vinegar, and richly colored berries like blueberries and blackberries.
To stretch your results as far as possible, a great trick is to sip dark drinks through a straw. This minimizes contact with your front teeth. You can also plan for a quick touch-up session with your gel and trays every 3-6 months to keep things looking fresh. And for daily upkeep, using a good maintenance whitening toothpaste can help polish away new surface stains before they have a chance to settle in.
Are High-Concentration Gels Like 35% Carbamide Peroxide Safe?
Absolutely, high-concentration gels are safe—but only when you use them exactly as directed. A product like PolaDay CP 35% is a real powerhouse, designed to give you dramatic results in a very short amount of time. The secret is understanding that these gels are meant for quick, potent sessions, usually lasting just 15 to 30 minutes.
Sticking to those short wear times is non-negotiable. Trying to leave the gel on longer won't get you whiter, faster. It will, however, significantly ramp up your risk for tooth sensitivity and gum irritation. These stronger formulas are typically a better fit for people who have whitened before, have a good handle on their sensitivity levels, and are meticulous about following instructions to the letter.
Crucial Reminder: The power of a high-concentration gel is its efficiency. Always respect the recommended application time. More is not better—correct is better.
Will Whitening Work on My Crowns, Veneers, or Fillings?
This is a critical point to understand before you even uncap a tube of gel. Whitening agents, whether they're carbamide or hydrogen peroxide, only work on natural tooth enamel. They have zero effect on the color of dental materials.
That means any crowns, veneers, bonding, or fillings will stay the exact shade they were when your dentist placed them. If these restorations are on your back teeth, you'll probably never notice. But if you have a crown or filling right on a front tooth, whitening your natural teeth can create a very obvious color mismatch. Your teeth will get brighter, but the dental work won't.
Before starting, it's always a good idea to chat with your dentist about your whitening plans. They can help you map out a strategy, which might involve whitening your natural teeth first and then having the old dental work replaced to match your brilliant new shade.
What Are These Temporary White Spots on My Teeth After Whitening?
First off, don't panic! It's pretty common to see little chalky white spots or blotches on your teeth right after a whitening session. This is not damage. It's almost always caused by the temporary dehydration of your tooth enamel, and it is not permanent.
During the process, some parts of a tooth can lose moisture faster than others, which creates that uneven, spotty look. In nearly every case, these spots will fade and disappear completely within a few hours to a day as your teeth naturally rehydrate from your saliva. To speed things up, you can use a remineralizing gel or paste after your session to help replenish that lost moisture and minerals.
Ready to get that brilliant, confident smile with professional-grade products you can trust? DentalHealth.com offers a curated selection of dentist-recommended whitening gels from top brands like PolaNight, Opalescence, and Zoom, delivered right to your door. Take the next step in your journey and explore our complete collection of at-home teeth whitening solutions today.