

How to Whiten Veneers at Home Without Causing Damage
Here’s the deal: you can't actually "whiten" the core material of your veneers in the traditional sense. But what you can do is remove the surface stains they've picked up over time, which brings back that original, brilliant shade you started with. The real secret isn't bleaching; it's smart, consistent maintenance.
Understanding Why Veneers Don't Whiten
If you've ever tried whitening strips on your veneers and felt frustrated by the lack of results, you're not alone. The reason is pretty straightforward: the materials used for veneers are nothing like your natural tooth enamel.
Think of your natural teeth like a porous sponge—they can absorb whitening agents that lift stains from within. Veneers, especially porcelain ones, are more like a glazed ceramic plate. They are non-porous and designed to be color-stable from day one.
This fundamental difference is why standard whitening products just don't work on them. Bleaching agents are made to penetrate tooth enamel and break down deep-set stains. That process is completely ineffective on the sealed, smooth surface of a veneer.
Worse yet, trying to force it can cause a few headaches:
- Mismatched Color: If you use whitening strips, they might bleach the natural teeth around your veneers. This creates an awkward color difference that actually makes your veneers look darker or more yellow in comparison.
- Weakened Bonds: The harsh chemicals in some whiteners can, over time, potentially damage the bonding agent holding your veneers to your teeth.
- Scratched Surfaces: Abrasive ingredients, like charcoal powders or gritty toothpastes, can create tiny micro-scratches on the veneer's surface. Ironically, this makes them more likely to pick up new stains.
This quick visual sums up the core ideas behind caring for your veneers' color.
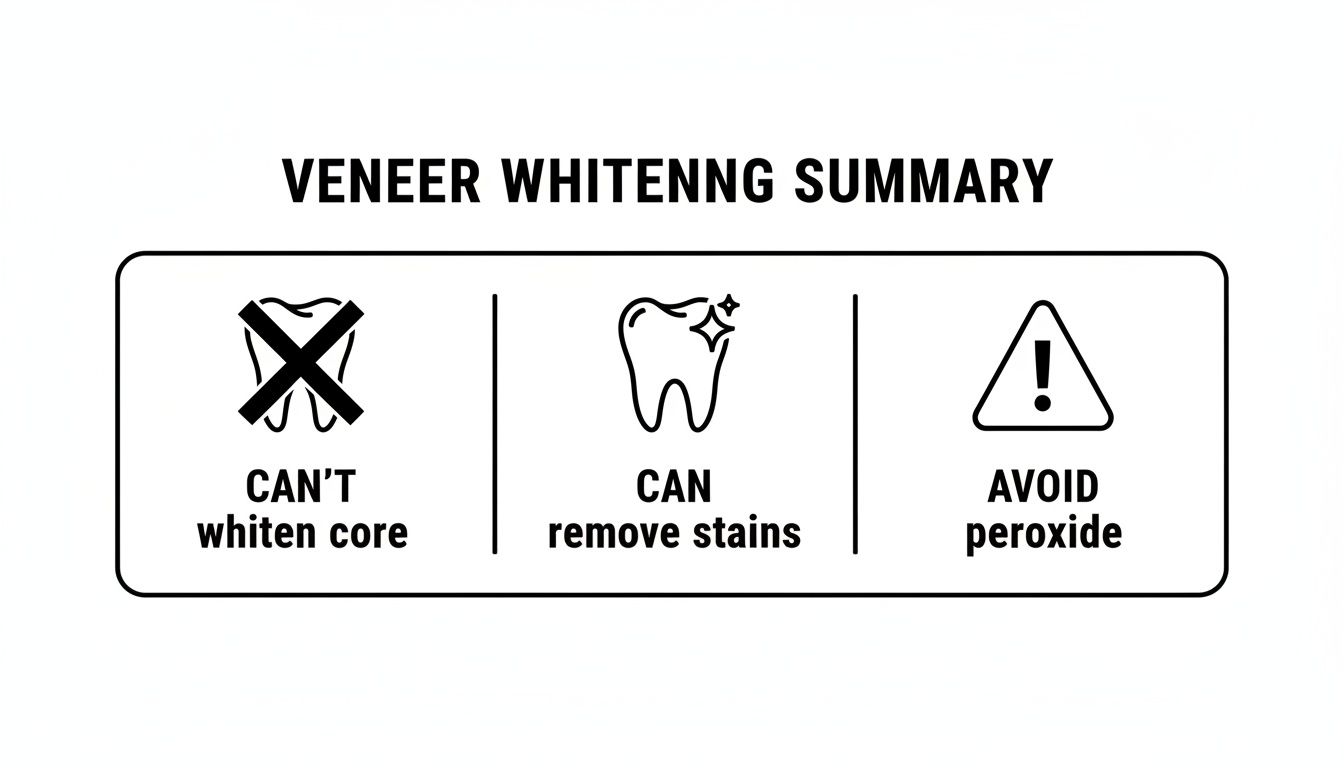
As the graphic shows, success comes from managing stains, not trying to change the veneer's actual color. It also reinforces why you need to steer clear of harsh chemicals like peroxide.
Composite vs. Porcelain Veneers
It's also helpful to know which type of veneers you have. Porcelain veneers are incredibly stain-resistant, while composite resin veneers are a bit more porous and can discolor over time, similar to natural teeth.
But here’s the bottom line for both: neither material will respond to chemical bleaching. The goal is always gentle but consistent stain removal to keep them looking as good as the day they were placed.
For a quick overview, this table breaks down what's possible and what's not.
Veneer Whitening at a Glance: Can You Actually Whiten Them?
| Veneer Type | Can You Change the Core Color? | Can You Remove Surface Stains? | Best At-Home Approach |
|---|---|---|---|
| Porcelain | No | Yes | Non-abrasive polishing toothpaste and professional cleanings. |
| Composite | No | Yes | Gentle, non-abrasive toothpaste and regular polishing by a dentist. |
So, "whitening" your veneers really just means cleaning their surface meticulously to lift away external stains from things like coffee, tea, or red wine. It's all about restoring, not altering.
The key takeaway is this: "Whitening" your veneers means meticulously cleaning their surface to lift external stains from things like coffee, tea, or red wine—not changing their intrinsic color.
This kind of cosmetic dentistry is only getting more popular. The global dental veneers market was recently valued at $2.47 billion. Porcelain veneers account for almost 60% of that market, which speaks volumes about their durability and stain-resistant qualities.
If you're curious about how traditional whitening works on natural teeth, our guide on the 10 things you should know about teeth whitening is a great place to start.
Your Guide to Safely Lifting Stains at Home
When it comes to brightening your veneers at home, forget about harsh chemicals or aggressive scrubbing. The real secret is a gentle, consistent routine that polishes away surface stains without harming the delicate porcelain or composite material. It’s all about finesse, and the right approach can make a world of difference, bringing back that day-one shine you love.
First things first, let's take a look at your tools. So many people accidentally use products that are way too harsh for their cosmetic dental work. Your goal here is to polish, not to scour, so choosing the right equipment is absolutely non-negotiable.
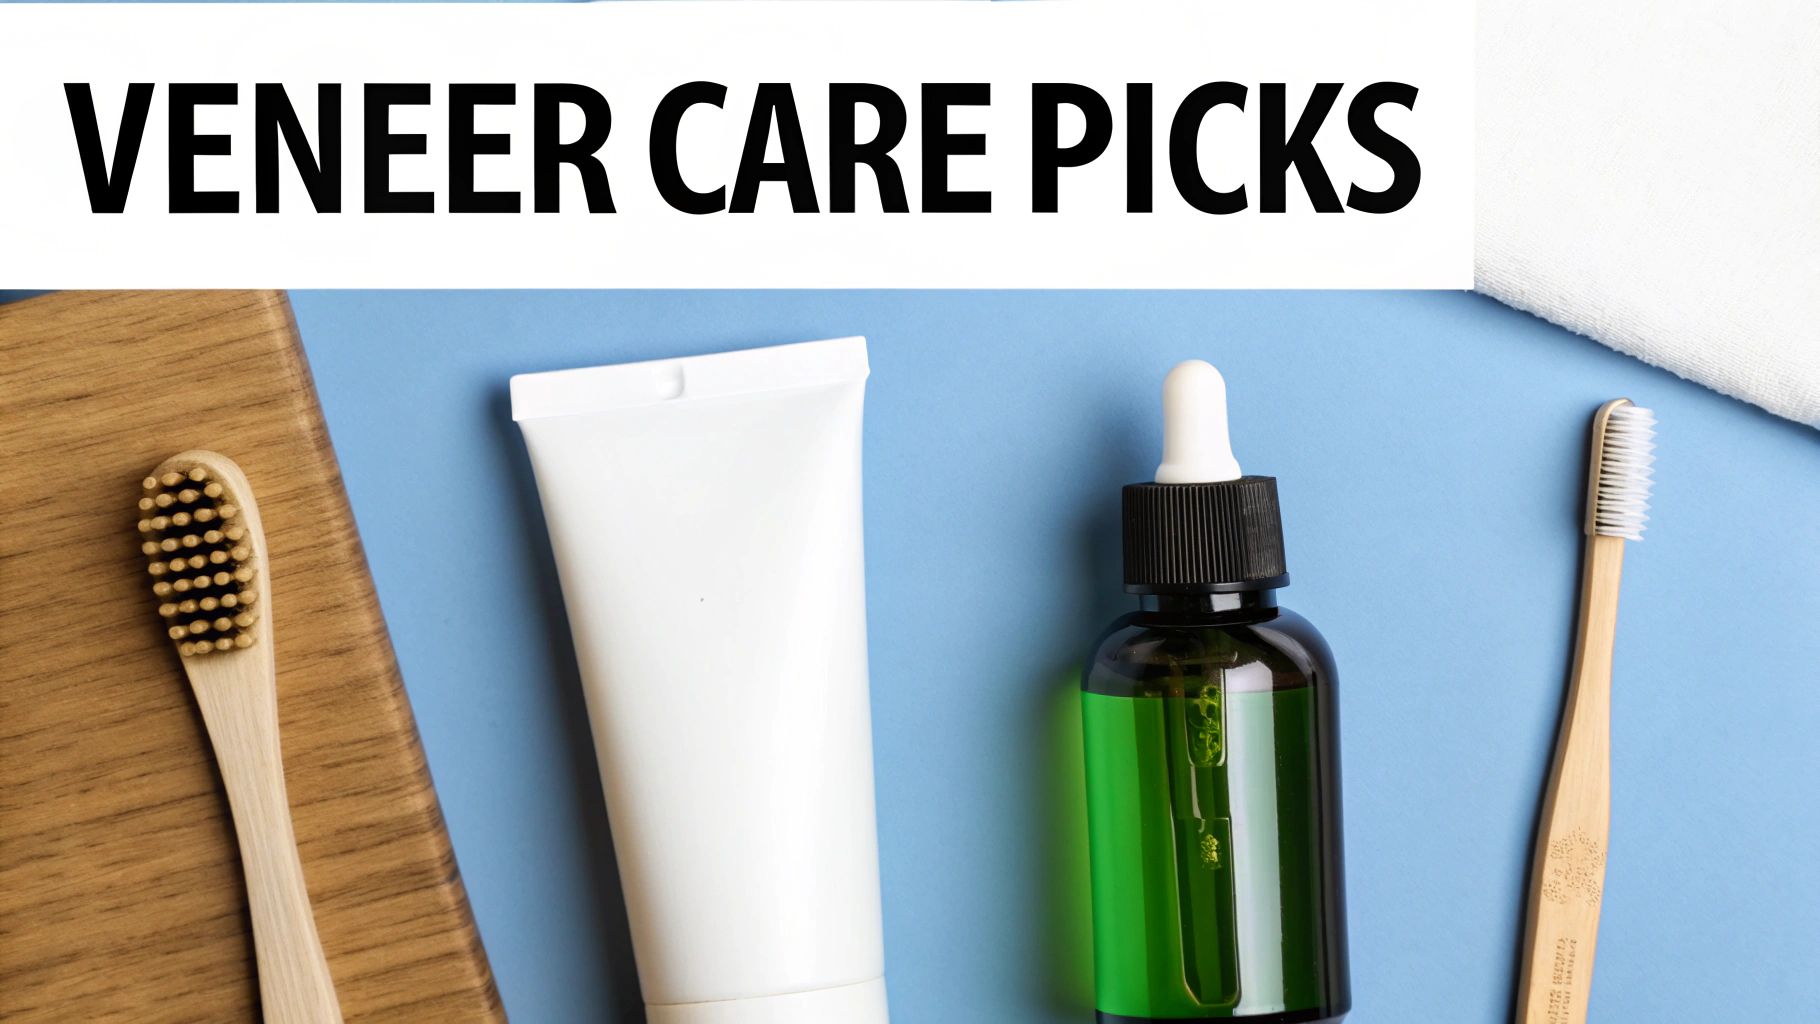
Assemble Your Veneer Care Kit
Think of this as your specialized toolkit for protecting your investment. You don’t need a lot of fancy gadgets, but what you do use matters immensely.
-
A Soft-Bristled Toothbrush: This is your MVP. Medium or hard bristles can actually create tiny micro-scratches on the surface of your veneers. It might sound crazy, but those little abrasions paradoxically attract more stains over time. A soft or even an extra-soft brush is mandatory.
-
Veneer-Safe Polishing Toothpaste: Be picky here. Look for non-abrasive formulas specifically made for cosmetic restorations. These toothpastes often contain gentle polishing agents like hydrated silica, which is fantastic for lifting surface stains without scratching anything. Steer clear of anything with harsh abrasives like baking soda or charcoal—they’re not friends to your veneers.
Once you’ve got the right tools, it's time to focus on technique. How you brush is just as critical as what you brush with.
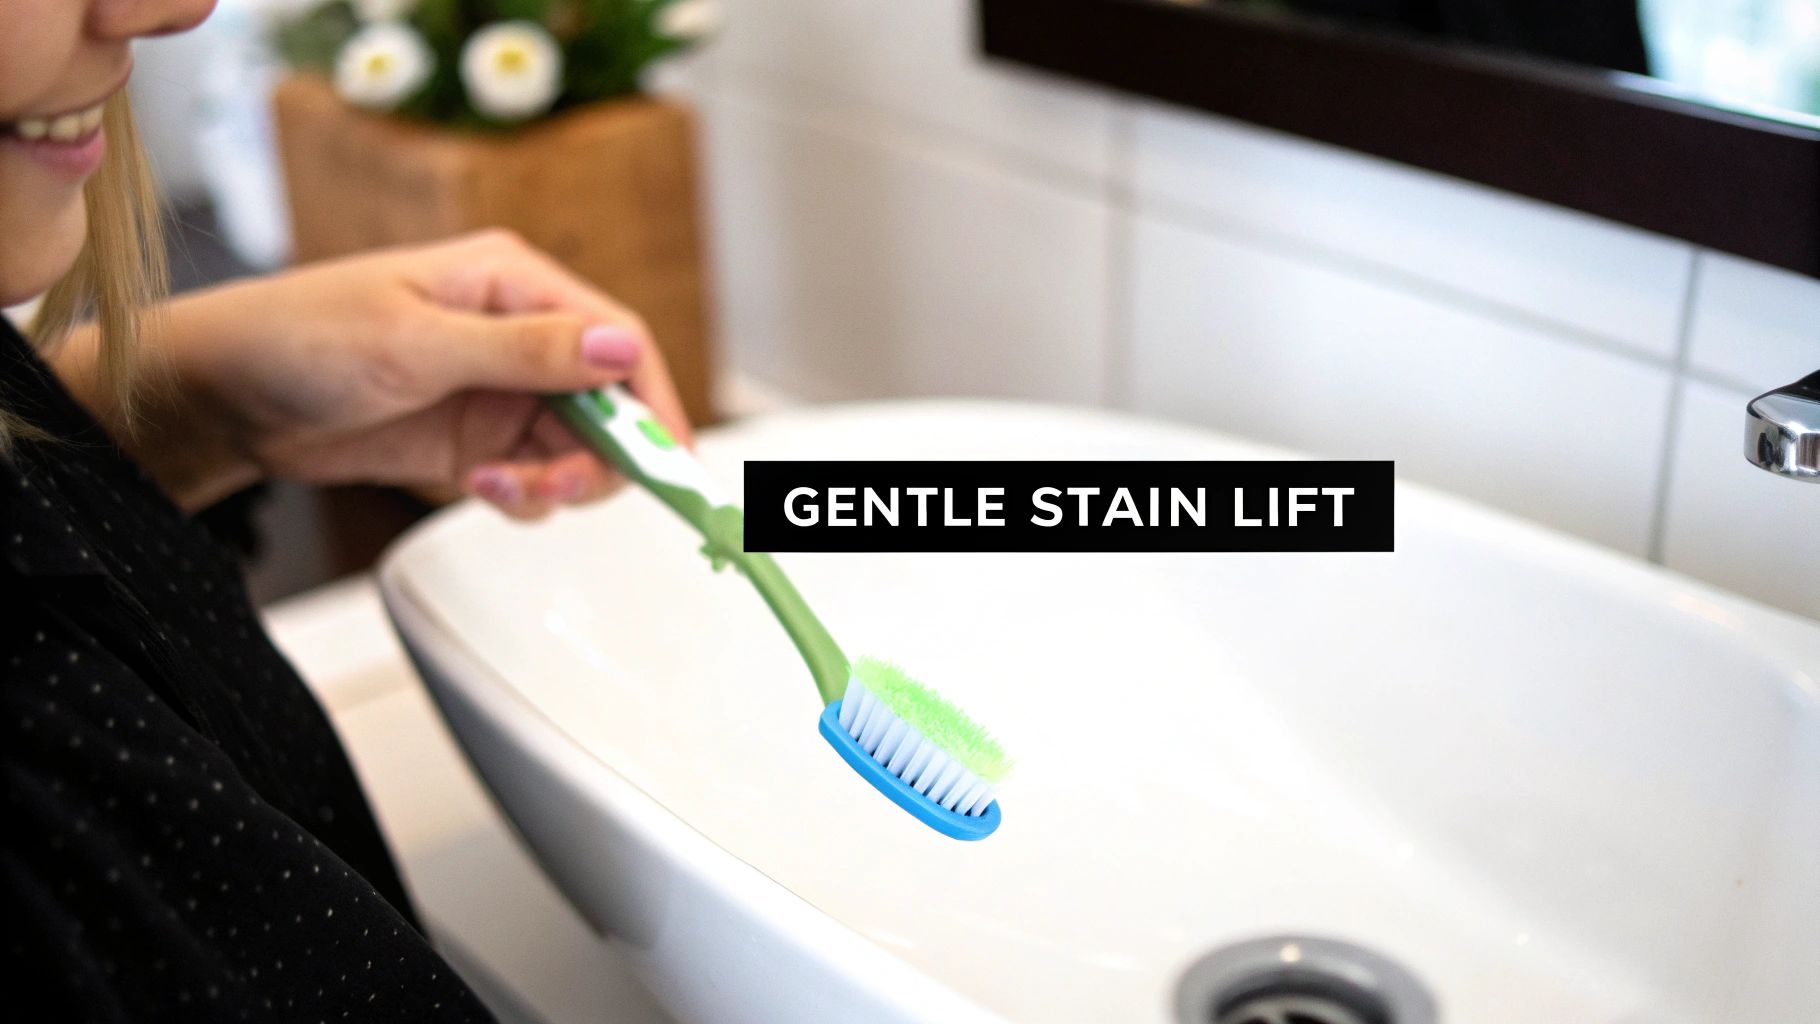
Master the Gentle Brushing Technique
That aggressive, back-and-forth scrubbing you see in commercials? That's the enemy of both your veneers and your gums. The right technique is all about cleaning effectively while protecting the integrity of your dental work.
Start with just a pea-sized amount of your non-abrasive toothpaste on your soft-bristled brush. Position the bristles at a 45-degree angle toward your gum line. This angle is key because it allows the bristles to gently clean that crucial spot where the veneer meets the gum.
Now, use light, circular motions to polish each tooth. Imagine you're gently buffing a piece of fine jewelry—you want to restore its luster, not wear down its surface. This motion is perfect for removing the daily buildup of plaque and surface stains from things like coffee, tea, or red wine.
Remember, consistency is far more effective than intensity. A gentle, two-minute brushing session twice a day will do more to keep your veneers bright than an occasional, aggressive scrubbing. It’s a marathon, not a sprint.
Building Your Daily Stain-Fighting Routine
The most successful at-home care plan is the one you can actually stick with every single day. Good news: it doesn't have to be complicated to be incredibly effective.
- Brush Twice Daily: No surprises here. Use your soft-bristled brush and non-abrasive toothpaste for two full minutes, once in the morning and again before you go to bed.
- Floss Daily: Stains love to hide between teeth and along the gum line, which can make the edges of your veneers look darker. Flossing gets rid of the plaque and debris that cause this discoloration.
- Rinse After Stain-Causing Foods: Can't brush right after your morning coffee or that glass of red wine? No problem. A quick rinse with plain water can wash away many of the staining compounds before they have a chance to settle on your veneers.
This simple, repeatable routine is your best defense against new stains setting in. And for more tips on keeping your whole smile bright, check out our guide on how to remove teeth stains at home. By following these steps, you can safely and effectively manage the appearance of your veneers, keeping your smile bright and confident.
Choosing the Right Products for Veneer Maintenance
Walking down the dental aisle can be a bit of a minefield, especially when you have a smile you've invested in, like veneers. It's not just about finding something that works; using the wrong product could actively damage the surface of your beautiful porcelain or composite work. The secret is to find formulas that gently polish away stains without scratching or dulling the material.
The real goal is to remove that daily buildup of biofilm—that sticky layer of bacteria and food—before it has a chance to set in as a stain. The right products can do this with finesse, not force.
Non-Abrasive Whitening Toothpastes
When you see "whitening" on a toothpaste box, it usually means one of two things: it either has chemical bleaching agents or it physically removes stains. For veneers, you absolutely must stick with the second type. You’ll want to look for toothpastes specifically made for cosmetic restorations or those that advertise low abrasivity.
These formulas typically use gentle polishing ingredients like hydrated silica to lift away surface stains without creating tiny scratches. Stay far away from products with harsh abrasives like charcoal or baking soda. Over time, these can dull the high-gloss finish of your veneers, which ironically makes them even more likely to pick up new stains.
Dentist-recommended brands are usually a safe choice. For example, some professional lines are designed with cosmetic dental work in mind, ensuring they clean well while protecting the integrity of your smile. Always glance at the ingredients list and avoid anything that feels gritty.
When you have veneers, the most important thing to look for in a toothpaste isn't its "whitening" claim but its RDA (Relative Dentin Abrasivity) score. A low RDA value means the product is gentle enough for daily use on your cosmetic work without causing damage.
Alcohol-Free Mouthwash
Lots of popular mouthwashes contain alcohol, which can cause problems for veneers. Over time, alcohol can actually soften or weaken the bonding material that keeps your veneers attached to your teeth. The last thing you want is to compromise how long your restorations will last.
To play it safe, always choose an alcohol-free mouthwash. These rinses are just as good at killing germs and keeping your breath fresh, but without posing a risk to the bonding agents. They're great for washing away loose debris and potential stains after a meal, making them a perfect addition to your daily routine.
The Rise of At-Home Dental Care
The demand for effective at-home dental care has absolutely exploded, which just goes to show how much people value a bright, confident smile. The global teeth whitening market was recently valued at a staggering $8.52 billion and is expected to keep climbing.
This boom means more choices for us, but it also makes it more critical than ever to pick products suited for your specific needs—especially when you're taking care of veneers. For more tips on keeping your teeth looking their best, you can check out our guide on how to maintain white teeth. Making smart, informed choices is the best way to protect your investment and keep your smile shining for years to come.
Common Mistakes That Can Damage Your Veneers
Knowing what to do to keep your veneers looking great is one thing, but knowing what not to do is arguably even more important. I've seen countless cases where well-intentioned efforts to whiten veneers at home have unfortunately led to irreversible damage, dulling their beautiful shine or even harming their structure.
If you want your smile to stay brilliant for years, avoiding these common mistakes is absolutely key.
The single biggest mistake people make is treating their veneers like natural teeth. The non-porous surface of a veneer requires a completely different approach to stain removal, and getting it wrong can be a costly error.
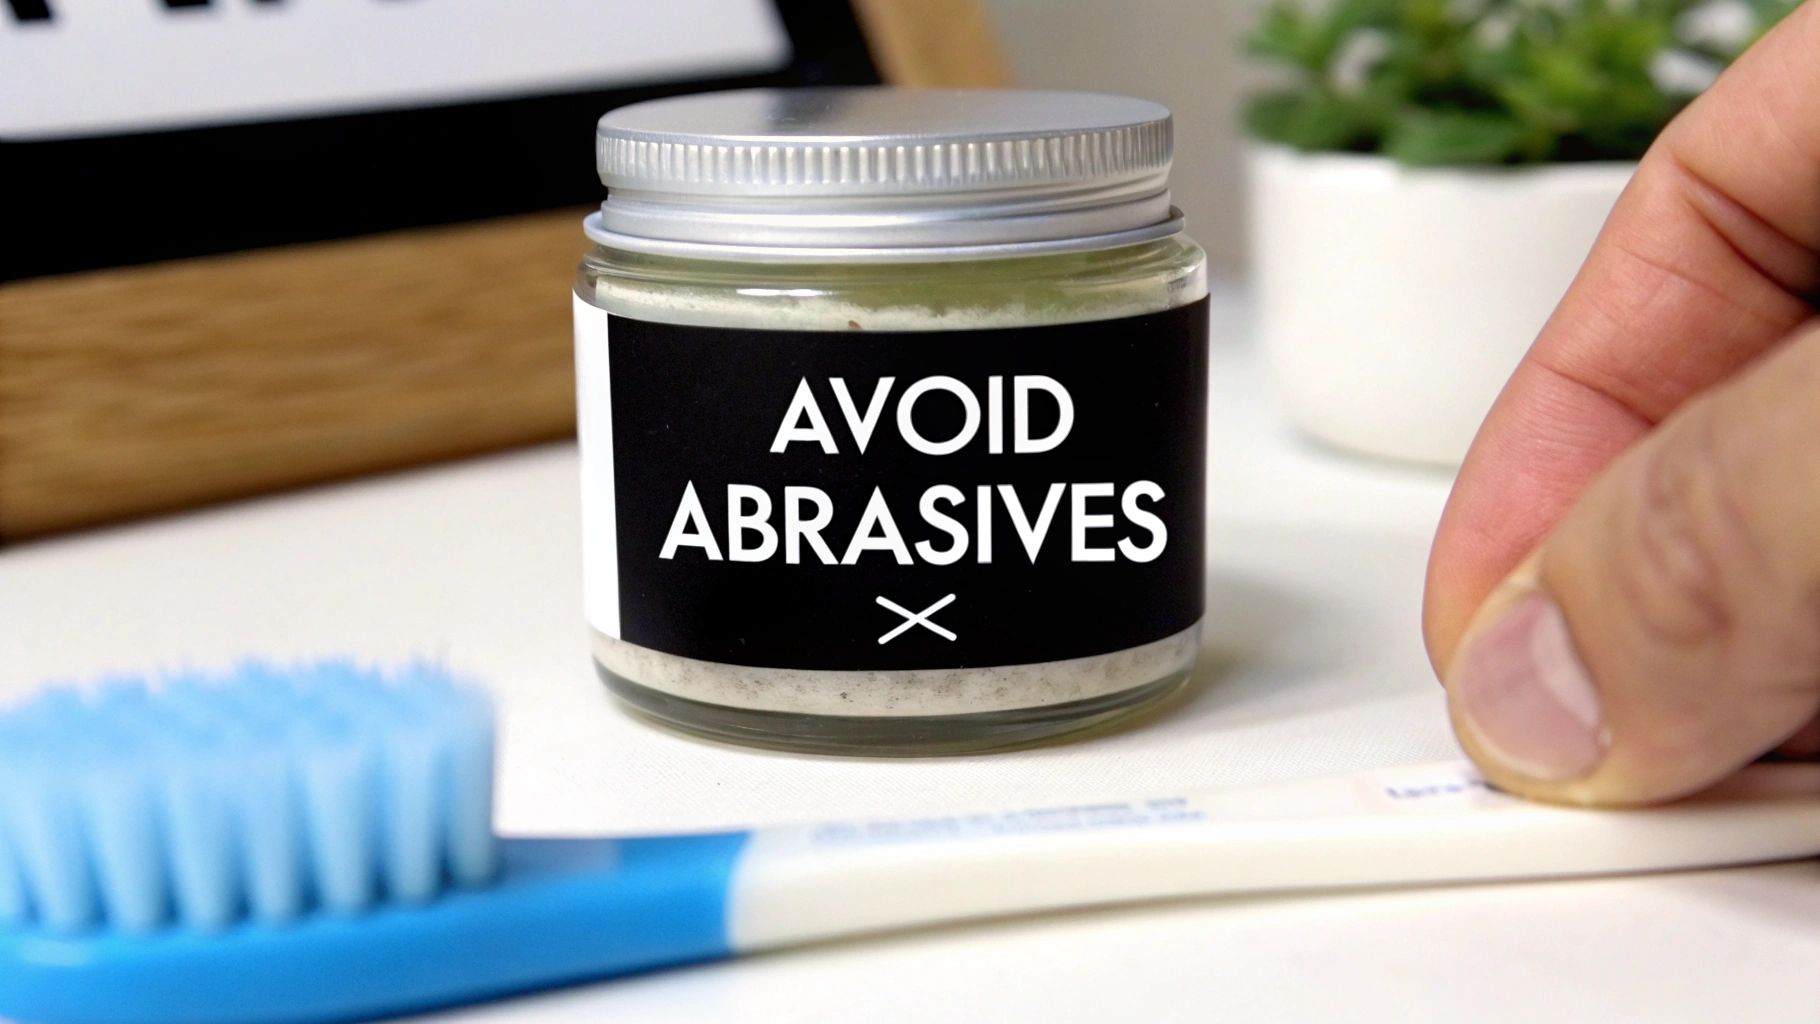
The Dangers of Abrasive Substances
It’s easy to get tempted by trendy "natural" whiteners, like activated charcoal powders or toothpastes loaded with baking soda. These products often get a lot of hype online, but they are highly abrasive. Think of them as fine sandpaper for the smooth, glazed surface of your veneers.
This abrasion creates tiny micro-scratches that you can't even see. Your veneers might look a little brighter for a moment, but those scratches completely ruin their glossy finish. Worse yet, they create a rough texture that actually attracts and holds onto new stains far more easily. What started as an attempt to lift a coffee stain can quickly turn your veneers into magnets for future discoloration.
Why Whitening Strips Cause Mismatched Color
Another frequent misstep is grabbing a box of standard over-the-counter whitening strips. These products are soaked in chemicals like hydrogen peroxide or carbamide peroxide, which are designed to penetrate porous tooth enamel and bleach the tooth from the inside. But since your veneers are made of non-porous porcelain or composite, these chemicals have absolutely no effect on their color.
So, what happens when you use them?
- The Problem: The strips will bleach the natural teeth surrounding your veneers.
- The Result: You end up with an obvious and unnatural color mismatch, making your veneers look darker or more yellow by comparison.
This uneven result is incredibly difficult to fix and highlights your cosmetic work in the worst way possible. It’s a classic case of good intentions leading to a bad outcome.
The most significant risk of using traditional whiteners on veneers isn't damage to the veneer itself, but the creation of a color imbalance that undermines the natural, seamless look you invested in.
Reacting to Stains The Wrong Way
Imagine you spill red wine on a white shirt. Your first instinct might be to scrub it hard, but that usually just grinds the stain in and damages the fabric. The same logic applies to your veneers.
If you notice a potential stain from coffee, tea, or wine, resist the urge to immediately brush with force. The best thing you can do is simply rinse your mouth thoroughly with plain water. This simple step washes away most of the staining compounds before they have a chance to settle on the surface. You can follow up later with your usual gentle, non-abrasive brushing routine—that’s the safest and most effective way to handle it.
When It's Time for a Professional Polish
Even if you're doing everything right at home, there comes a point when your veneers just need a professional touch to get back to their original brilliance. If you've started noticing stubborn surface stains that your daily brushing can't seem to lift, or if your veneers have lost that high-gloss luster they had on day one, it's time to call your dentist. Trying to scrub those issues away yourself can often do more harm than good.
Your dentist has specialized tools and polishing techniques that you simply can't get for at-home use. They can safely bring back that brand-new shine without damaging the surface of your veneers. This isn't about bleaching; it's about a high-level, expert polish.
What a Professional Polish Involves
When you come in for a professional polish, your dental hygienist will likely use a slow-speed handpiece with a soft rubber cup. This is paired with a very fine-grit polishing paste, known as prophy paste, which is designed specifically for cosmetic restorations like veneers.
This process is incredibly effective at removing the tough extrinsic stains that build up over months from things like coffee, red wine, or tobacco. The paste is just abrasive enough to lift the discoloration but gentle enough that it won’t scratch or dull the smooth surface of your porcelain or composite veneers. It's a delicate balance that really can't be replicated at home.
The demand for these kinds of aesthetic dental solutions has exploded. The cosmetic dentistry market, which includes both veneers and whitening, is now valued at nearly $33 billion and is expected to keep growing. It shows just how much people are willing to invest not just in the procedures, but in the high-quality maintenance needed to protect them. You can find more details about cosmetic dentistry's growth on dsmcosmeticdentist.com.
When Polishing Just Isn’t Enough
While a professional polish is fantastic for surface stains and dullness, it does have its limits. There are some situations where a veneer simply needs to be replaced. Knowing the difference helps you set realistic expectations for what a dental visit can actually achieve.
It’s probably time to discuss a replacement if your veneer has:
- A Chip or Crack: Any physical damage compromises the veneer's structure and can't be fixed by polishing.
- Worn-Down Bonding: Over many years, the dental cement that holds the veneer can start to discolor, and that stain can show through the translucent porcelain.
- Receding Gums: If your gum line recedes, it might expose the top edge of the veneer and the natural tooth underneath, creating a noticeable line.
- Deep Intrinsic Stains: This is rare, but with older composite veneers, staining can sometimes penetrate the material itself, making it impossible to polish away.
Your regular dental check-ups are the perfect time for your dentist to assess the health of your veneers. They can spot early signs of wear and recommend a professional polishing or discuss replacement options long before it becomes a major issue.
Commonly Asked Questions About Veneer Whitening
When it comes to the day-to-day care of your veneers, I've noticed the same questions tend to pop up again and again. Getting clear, practical answers is the best way to protect your investment and keep that smile looking fantastic. Let's dig into some of the most common queries I hear from patients.
One of the biggest concerns is whether it's okay to use popular over-the-counter products. People see whitening strips in every pharmacy and naturally wonder if they can just pick up a box and get to work.
Can I Use Whitening Strips on My Porcelain Veneers?
In short, you'll want to steer clear of whitening strips if you have veneers. These products are packed with peroxide, which works by seeping into the porous enamel of natural teeth. It simply won't have any effect on the non-porous, color-stable surface of porcelain or composite resin.
But here’s the real issue: the strips will bleach any of your natural teeth they touch, especially those right next to your veneers. This can quickly create a noticeable color mismatch, making your veneers appear dull or yellow by comparison. It completely undermines the seamless, natural look you were going for.
My Natural Teeth Next to My Veneers Have Yellowed. What Should I Do?
This is an incredibly common situation, and thankfully, it has a straightforward fix. The right move is to whiten your natural teeth to bring them back in line with the original shade of your veneers. Your dentist can provide a professional take-home whitening kit or perform a quick in-office treatment to get that perfect color match.
Once your natural teeth are back to the right shade, you can easily maintain that beautifully unified look by using your veneer-safe care routine on all your teeth.
The goal is always to bring your natural teeth up to the level of your veneers, not the other way around. This ensures your entire smile looks consistent and bright.
How Often Should I Use a Whitening Toothpaste on My Veneers?
As long as you're using a non-abrasive "whitening" toothpaste made specifically for cosmetic restorations, it's perfectly safe to use every day as part of your normal brushing habits.
Think of it this way: consistent, gentle polishing is far more effective at lifting daily surface stains than trying to aggressively scrub them off every so often. Always stick to the product's instructions, and if you're ever on the fence about a particular toothpaste, a quick call to your dentist's office can clear things up.
Will an Electric Toothbrush Damage My Veneers?
Not at all! An electric toothbrush is completely safe for veneers. In fact, when used correctly, it can be even more effective at keeping them clean than a manual brush.
The key is to choose a model with a built-in pressure sensor. This little feature is a game-changer, as it prevents you from accidentally applying too much force, which could damage the bond over time. Pair it with a soft-bristled brush head, and you're all set. The consistent, controlled motion of an electric brush is brilliant for gently lifting away plaque and surface stains without any risk.