
Teeth Whitening Cost in 2026: Options Compared
In the US, over-the-counter two-week kits cost about $25 to $60, dentist-dispensed custom take-home trays cost about $400 to $600, and in-office treatment costs about $500 to more than $1,000, with the price depending on the delivery model. That spread looks like a simple quality ladder, but it isn't. You're mostly paying for how the gel reaches your teeth, who supervises it, and how fast you get the result, not for a guaranteed whiter shade.
That's why sticker price alone misleads buyers. A cheap kit you replace often, a tray system you refill for years, and a single in-office visit produce very different annual bills. The useful comparison is teeth whitening cost per treatment day, per month, and per shade improvement, plus the discomfort you're willing to trade for speed.
Teeth Whitening Cost Ranges at a Glance
An ADA clinical comparison, cited by Washington Consumers' Checkbook's comparison of teeth whitening options, found that matching the whitening from one in-office procedure took about seven days with a dentist-prescribed home program and about 16 days with an OTC bleach. That same comparison places typical US prices at about $25 to $60 for a two-week OTC kit, $400 to $600 for dentist-supplied custom take-home trays, and $500 to more than $1,000 for in-office treatment. Get a local quote before ranking two practices, because fitting and refills sit outside these upfront bands.
| Option | Typical upfront cost | Time to match one in-office result |
|---|---|---|
| Over-the-counter kits | $25–$60 for a two-week kit | About 16 days |
| Dentist-dispensed custom trays | $400–$600 | About 7 days |
| In-office professional whitening | $500 to more than $1,000 | One visit |
What the speed difference is worth
Divide the package price by the days required to reach that shared shade. On the Checkbook bands, a $25–$60 kit spread across 16 days comes to about $1.50–$4 per treatment day. A $400–$600 tray course compressed into seven days comes to about $57–$86 per treatment day. The office bill, $500 to more than $1,000, is the cost of a single visit.
The premium is mostly calendar time. Tray and kit were scored against the same in-office whitening level, so the higher daily figure buys fewer days, not a whiter endpoint. Supervision is priced in as well: a clinician runs the office session, while the buyer manages trays at home.
A cheap daily rate still fails if the kit is dropped and replaced. The bill that matters is what you spend until the shade matches, second purchase included. Sixteen days at a few dollars a day fits a buyer with no deadline. A fixed date means paying the office rate for one appointment.
Practical rule: Compare the price to finish the job, not the price to start it.
What Changes the Price of Teeth Whitening
Eight factors move a quote, and they don't carry equal weight. The first three usually explain most of the gap between a drugstore box and a dental office invoice, while the rest explain why two quotes for the same method still differ.
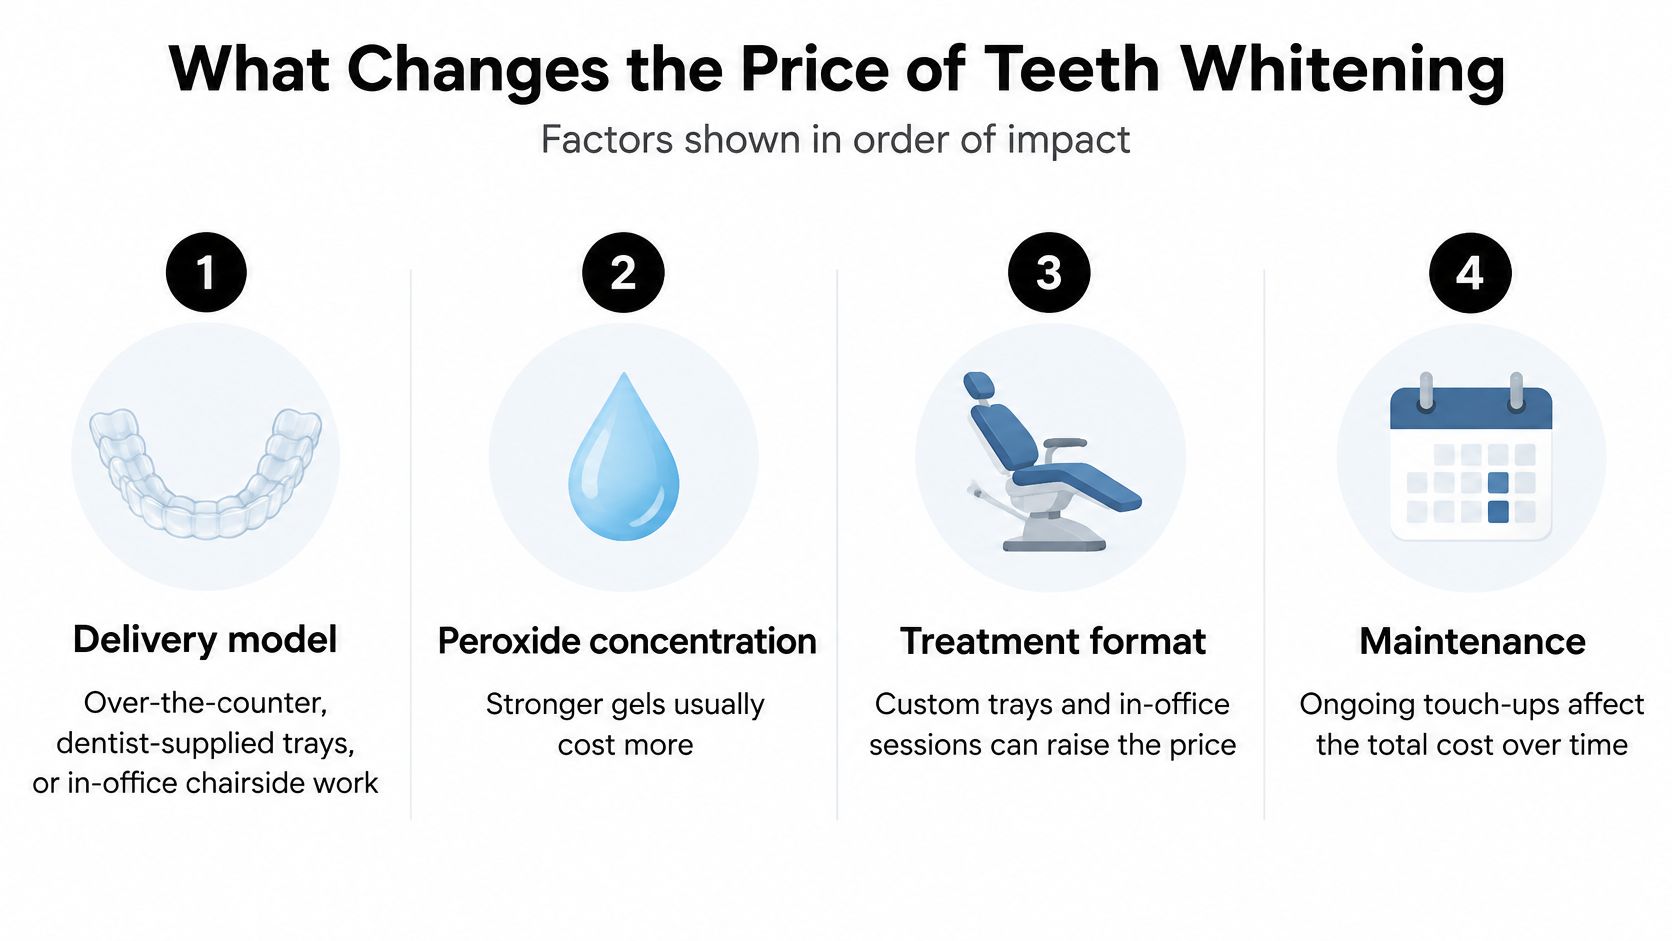
The price drivers in order of impact
- Delivery model: You're choosing between a self-applied retail product, trays a dentist supplies for home use, or chairside work in the office. Each step adds professional time, and chair time is the most expensive ingredient in the bill.
- Peroxide concentration: Stronger gels typically cost more to produce and dispense, and they can increase sensitivity, which may add management cost. Concentration also determines wear time, so it affects how quickly you use up a syringe.
- Number of applications and syringes: A plan split into shorter, more frequent sessions can use more product than the same plan run in longer sessions. Ask how many syringes the quoted course includes, not how many come in the box photo.
- Custom tray fabrication and gel refills: Impressions or a scan, lab work, and fitting are often billed separately from the first supply of gel. Refills are a recurring line item, so a quote without refill pricing is incomplete.
- Consultation and follow-up appointments: An exam before treatment catches cavities, gum problems, and restorations that won't respond. Follow-up visits may be included or billed per visit, and that detail changes the total.
- Sensitivity management: Desensitizing toothpaste, a fluoride rinse, shorter wear times, or a pause between sessions can all become part of the plan. These items are cheap individually, but they belong in the budget if you're prone to sensitivity.
- Starting shade and stain type: Surface stains from coffee, wine, and tobacco typically respond faster than deeper or intrinsic discoloration. A darker starting point or a stubborn stain type usually means more applications to reach your target shade.
- Practice location and overhead: Rent, staffing, and local market rates sit inside every fee a practice charges. The same tray system can legitimately cost more in a high-cost city than in a smaller town.
What to request in a written estimate
Ask for the quote in writing, item by item, before you pay anything. You want the consultation fee, tray fabrication, gel refills, follow-up visits, and sensitivity care listed separately, plus how many sessions are included. Also ask whether follow-up visits are billed separately if you need an extra check.
One line item surprises people. Crowns, veneers, and fillings don't whiten, so if a visible restoration will no longer match your lightened teeth, replacing it is a separate cost that can dwarf the whitening itself. Have the dentist flag that risk in the estimate rather than after treatment.
Over-the-Counter Kits and Why They Cost Less
A two-week kit is the cheapest entry point because you're buying gel and a generic applicator, not professional time. There's no impression, no fitting appointment, no shade assessment, and no one checking your gums before you start. The manufacturer spreads development and packaging costs across a mass-market product, and you do the labor yourself at home.
Retail gel prices show how low the product-only cost can go. On our store, Lumibrite 32% Teeth Whitening is priced at $17.99, Lumibrite 22% Teeth Whitening is priced at $19.99, and Zen CP+ has a regular price of $14.99. Those are refill style purchases rather than supervised treatment, so compare them against gel refills, not against a full in-office visit.
Running the cost per treatment day
Use a simple worked example before you buy. Say you pay $40 for a kit you use over 14 days. That's $40 divided by 14, or about $2.86 per treatment day. Now you can line that figure up against a tray plan divided by its active days, or an in-office fee treated as a single day of treatment.
That daily figure also exposes the main risk with kits, which is abandonment. If you stop on day five because the strips slip or your gums sting, you've paid $8 per completed day and still don't have the result. Our guide to what a teeth whitening kit costs per treatment walks through that per treatment arithmetic in more detail.
Where kits earn their keep
Kits work best on mild surface stains from coffee, tea, wine, or berries, where the discoloration sits on the outer enamel and responds without aggressive treatment. If your teeth are already fairly light and you want a modest lift, a kit can deliver it without an appointment. It's also a low risk way to learn whether you're sensitive to peroxide before committing to a stronger plan.
Where the saving starts to cost you
Speed is the first trade-off, since a kit follows the slowest timeline of the three delivery models. Fit is the second. A stock strip or tray doesn't match your tooth shape, so gel contact can be uneven across the arch and along the gumline. Uneven contact produces uneven color, and gel that leaks onto soft tissue raises your chance of gum irritation.
Technique matters more than the box suggests. Load too much gel and it oozes out under pressure, load too little and the front teeth get most of it. Dry your teeth first, use a thin bead rather than a full fill, and wipe away anything that reaches your gums.
If your staining is mild, your teeth aren't sensitive, and you have two weeks, a kit is a reasonable first step before paying for professional work.
Skip that first step if you have visible restorations on your front teeth, untreated decay, or a hard deadline. In those cases the cheap experiment isn't cheap, because you'll pay for the professional option anyway.
Dentist Trays and In-Office Sessions Compared
Both supervised options put a dentist in the loop, but they sell different things. Trays sell fit and reuse, while an in-office session sells speed and direct supervision. Once you see that, the price gap stops looking arbitrary.
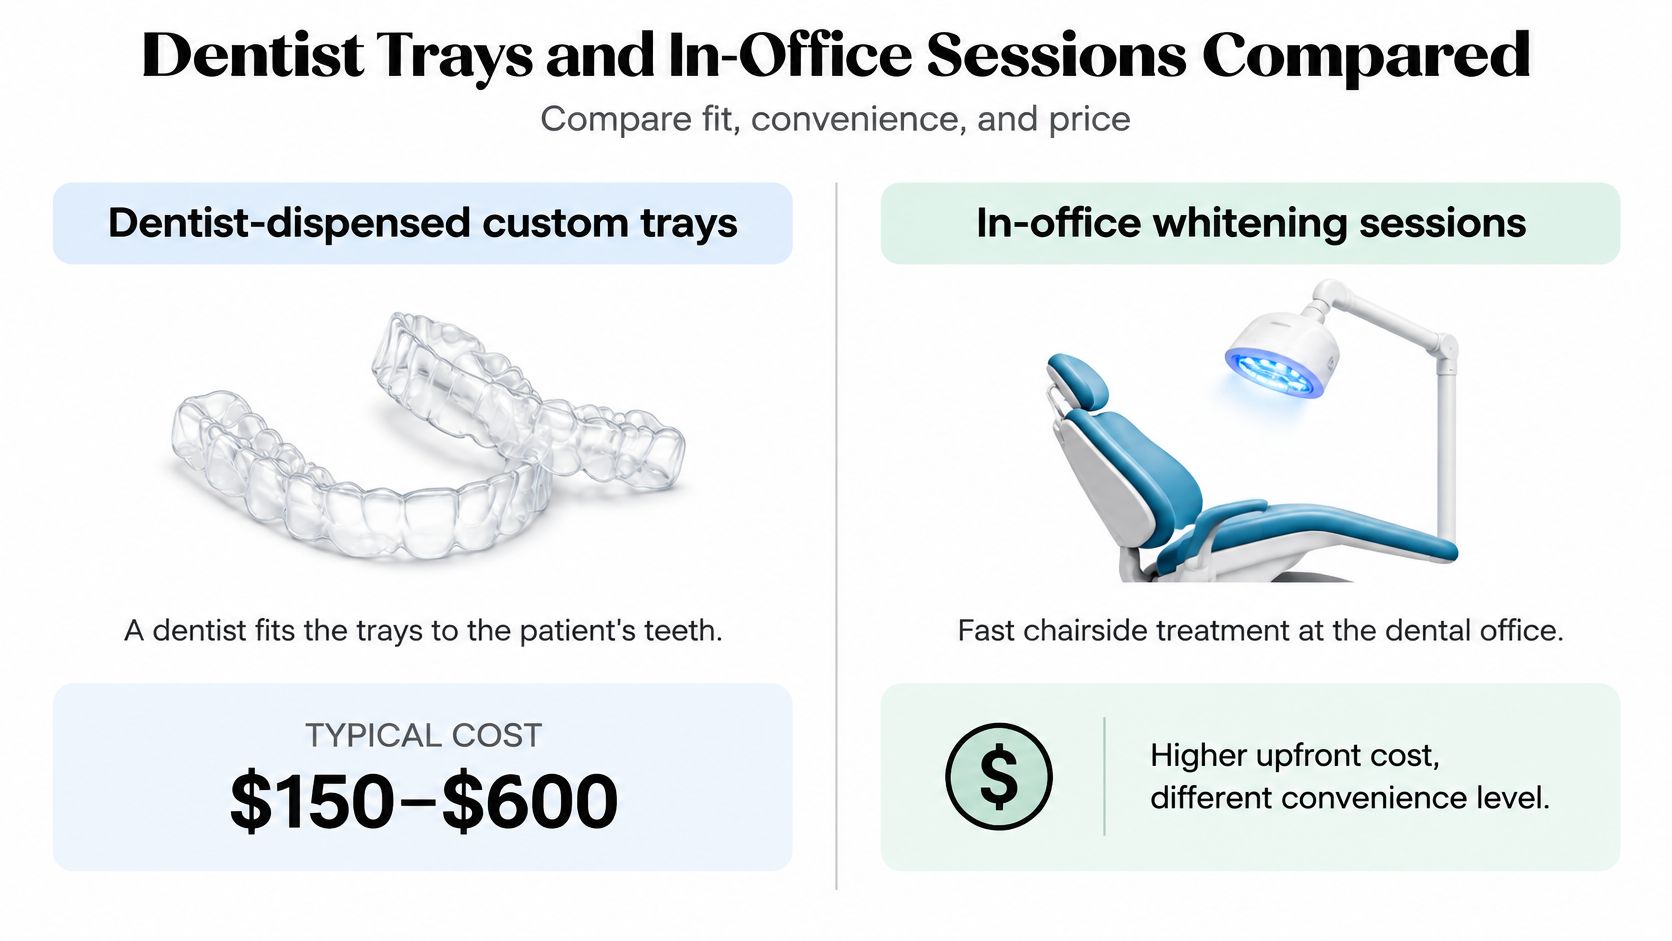
What the tray price covers
A dentist fits the trays to your teeth from an impression or scan, so the gel sits against the enamel and stays off your gums more reliably than a stock tray. That fitting work is the bulk of the upfront charge, and it's a one-time cost as long as your teeth don't shift and the trays stay intact. After that, you're buying gel.
Product format matters here. PolaNight 22% is designed to be used with customized trays that the customer gets from their dentist, and each syringe of PolaNight 22% is used for one whitening session. That structure makes your running cost easy to forecast, since one syringe equals one session rather than a guess about how far a tube stretches.
What the in-office price covers
In-office treatment concentrates assessment, gum protection, gel application, and monitoring into a single appointment with the dentist present. You leave with the result instead of a schedule, and there's no nightly routine to maintain for a week. Our breakdown of how professional teeth whitening is priced explains how that chair time is built into the fee.
The rule for choosing
Pay for the office visit when the date is fixed and close, or when you'd rather have someone watch the tissue response in real time. Choose trays when you can accept roughly a week of home sessions and you expect to whiten again later. In the second case, the trays you've already paid for turn every future round into a gel-only purchase.
What Whitening Maintenance Costs Over Time
The long-term cost depends on how often you whiten, not just what the first purchase costs. Published estimates in the Castellanos Dental summary of teeth whitening costs put at-home strips at about $5 to $20 per month, or $60 to $240 over a year of monthly use. The same summary lists custom trays at $33 to $100, in-office treatment at $50 to $200, and combined in-office and at-home maintenance at $33 to $100. It does not specify a billing period for those three ranges, so they should not be treated as annual totals.
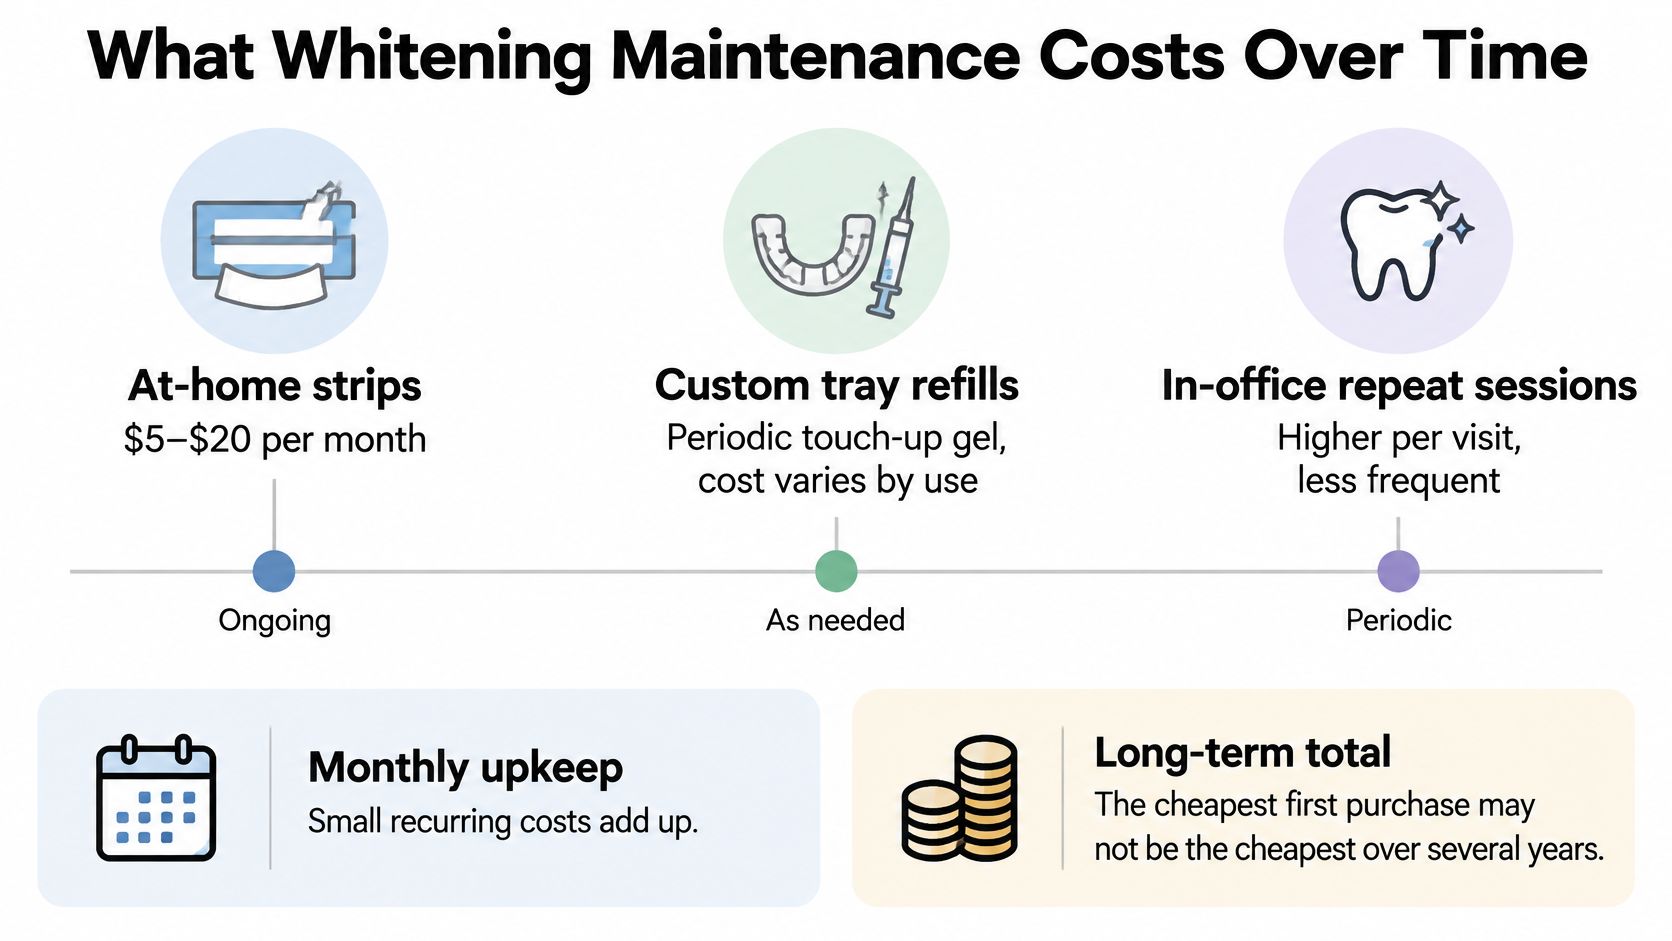
| Option | Reported range | Period |
|---|---|---|
| At-home whitening strips | $5–$20 | Per month |
Building an annual scenario
For strips, monthly use throughout the year comes to about $60 to $240. If you use them only for two touch-up rounds, your annual spend will be lower. The interval between treatments therefore matters as much as the shelf price.
For custom trays, calculate your yearly cost from the refills you buy. Multiply the price per refill by the number of refills used; for in-office sessions, multiply the per-visit price by the visits you schedule. The published ranges above do not give a period for either option, so they cannot establish a reliable annual comparison on their own.
Why your number will differ
Diet, smoking, stain severity, treatment protocol, and retreatment schedule all affect how quickly you feel the need to whiten again. A person seeking frequent touch-ups may spend more over time than someone who whitens less often. The guide to how long teeth whitening results last discusses factors that can affect that interval.
Keep stain removal separate from whitening in your budget. A professional cleaning removes surface stain and tartar; whitening changes the shade of the enamel. One does not replace the other.
Annual cost formula: Refills per year multiplied by price per refill, plus consultation fees. Use your own treatment frequency and refill price to estimate the total.
Whether the Premium Buys Better Results
The price ladder implies that spending more buys a whiter result with fewer side effects. The comparative evidence doesn't support that assumption, and it's the most important finding in this article if you're deciding whether to pay for chair time.
A 2024 review of 28 systematic reviews published in PMC found no statistically significant difference between in-office and at-home bleaching for color change at p=0.95 or post-treatment sensitivity at p=0.85, while describing at-home treatment as generally more cost-effective. Reading those values, neither outcome came close to separating the two delivery models. What separated them was how quickly they got there.
The image below shows the kind of shade comparison worth asking for at a consultation, so you can judge change against a reference rather than memory.
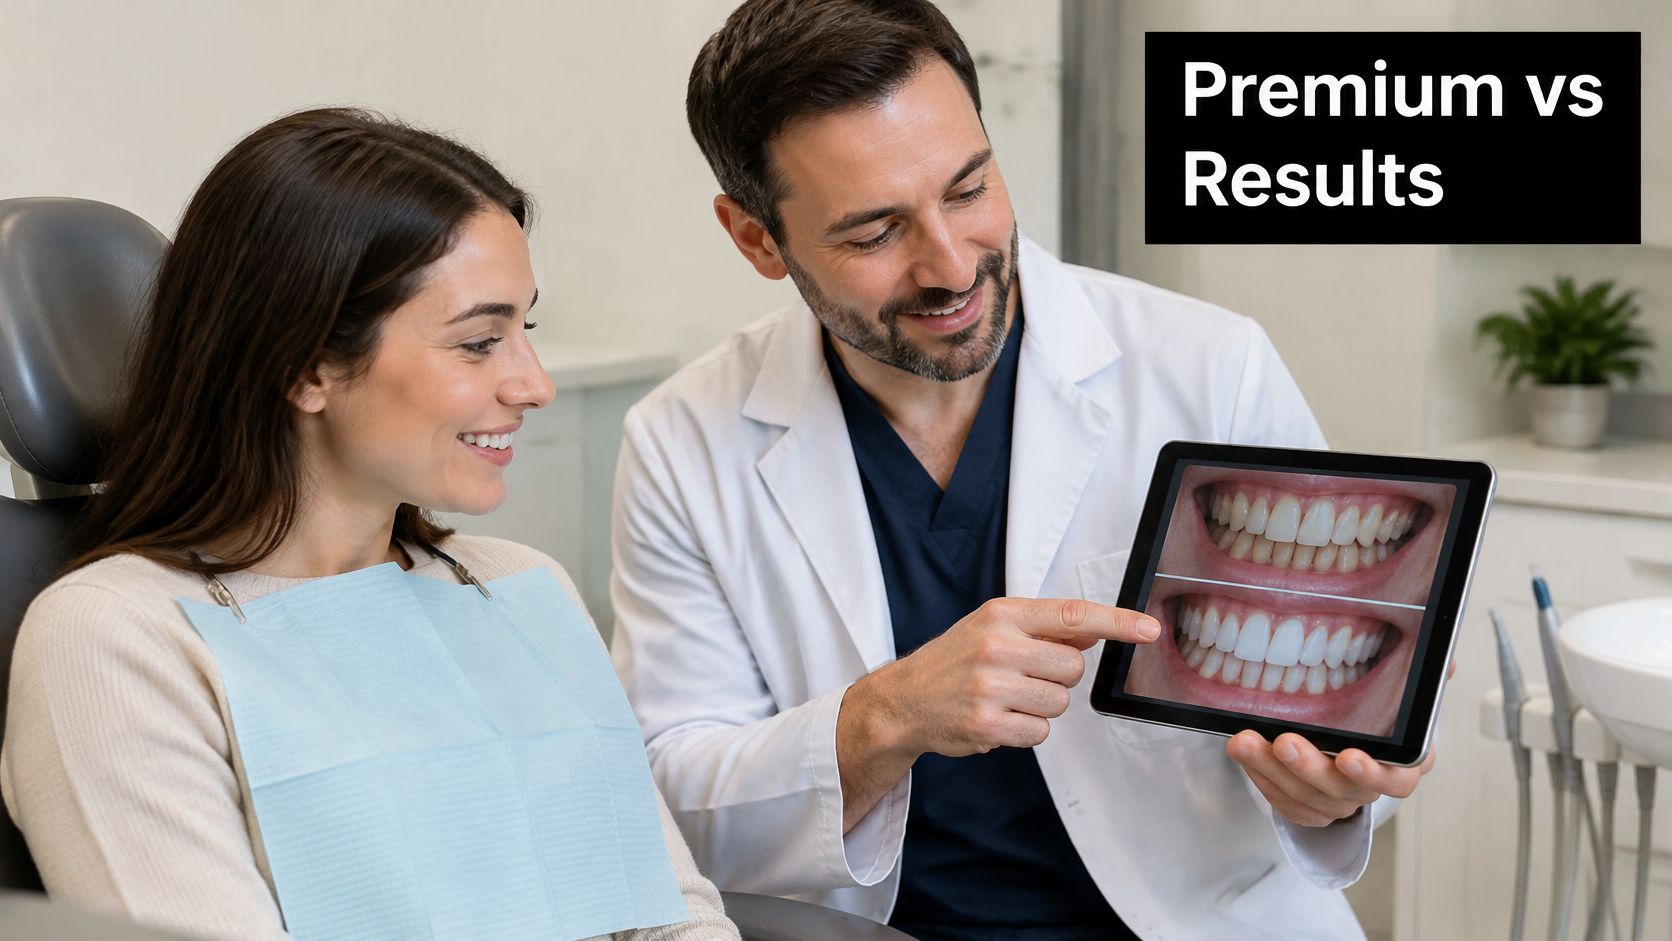
What the premium actually purchases
Speed is real, and supervision is real. A dentist can stop treatment, protect soft tissue, adjust concentration, and tell you whether your discoloration will respond at all before you spend anything. Those services have value, particularly if you're anxious, sensitive, or dealing with uneven staining.
But price them as services, not as extra shades. If a $500 in-office session and a $60 kit hypothetically produced the same shade change, your cost per shade step would differ by more than eight times. The premium only pays off if the saved days or the supervision are worth that multiple to you.
Light activation deserves separate scrutiny
LED and laser add-ons are often where the largest markups sit, because equipment gives a practice something visible to charge for. The review summarized in the evidence above found that light activation did not improve whitening efficacy and could increase sensitivity. Ask what the light adds to your specific protocol, and ask what the same session costs without it.
The short video below demonstrates a typical whitening application, which helps you see how much of the appointment is gel placement and tissue protection rather than machinery.
Sensitivity is a cost, not a footnote
Higher peroxide concentrations can increase sensitivity, and sensitivity and gum irritation are the most common adverse effects across whitening approaches. Discomfort can force you to shorten sessions, skip days, or stop entirely, which raises your cost per completed treatment even when the product price stays fixed. Build in a slower schedule and desensitizing products if you've reacted before.
Weigh three variables instead of asking which option is best. Cost per shade improvement tells you what the change costs, treatment time tells you how long you'll wait and how many sessions you'll complete, and expected discomfort tells you whether you'll finish the course. A method wins on value only when it wins on the variable you care about most.
Insurance, Financing and Paying for Whitening
Whitening is treated as a cosmetic service rather than clinically necessary care, so most dental plans don't cover it and you pay privately. Confirm that with your own plan before booking, because plan terms vary and an assumption either way can distort your budget. Don't let an office answer that question on the plan's behalf.
Why prices scatter so widely
Covered treatment often follows a fee schedule that anchors what practices charge. Whitening has no equivalent standard, so each practice sets its own price for the same basic service. That's why two offices on the same street can quote very different figures without either one being wrong.
Ways to pay, and what to check
- Health savings and flexible spending accounts: Cosmetic whitening may or may not qualify under your account's rules. Ask the administrator directly and keep the answer, since an ineligible purchase can cost you the tax benefit.
- Practice financing or payment plans: Spreading a tray or in-office bill over several payments lowers the immediate outlay. Compare the total financed cost against the cash price before signing, including any fees.
- Paying cash for a smaller option: If financing charges would eat the difference, a gel refill or kit bought outright can be the cheaper route to a similar shade.
Work through three steps in order. First ask your dental plan whether whitening is covered, then ask your account administrator whether the expense qualifies, then request the total price including refills and follow-up in writing. Coverage rules and financing terms change, so verify both close to the date you'll pay.
Choose the Whitening Option for Your Budget
Start from your situation rather than from a product. Your stain type, deadline, sensitivity, and how often you'll repeat treatment point to different answers, and the table below maps the four most common cases to the option that fits each one.
| Your situation | Best fit | Why |
|---|---|---|
| Tight budget and mild surface staining | Over-the-counter kit | Lowest upfront cost, with a longer timeline |
| Deadline within a week, possibly sensitive teeth | Dentist-dispensed trays | Faster than a kit, with supervised sensitivity care |
| Need the result in one visit with the dentist present | In-office treatment | Single appointment, highest upfront cost |
| Repeat whitening over several years | Dentist-fitted trays | Reuse without buying a full new kit each time |
The steps to take in order
- Check the stain type: Surface discoloration from drinks and food responds to peroxide gel. Deep or intrinsic discoloration may respond poorly, and spending on any whitening method won't fix that.
- Try a kit if the conditions fit: Mild staining, no sensitivity, and no deadline make a retail product the sensible first test. Set a stopping rule in advance, such as one full course, so you don't drift into buying three brands in a row.
- Get restorations checked before buying: Have a dentist look at crowns, veneers, and fillings on visible teeth first. If they'll stand out after whitening, price the replacement before you commit.
- Request the itemized estimate: Consultation, trays, refills, follow-up, and sensitivity care should each appear as its own line. A single lump sum hides exactly the costs that decide long term value.
- Compare cost per treatment day: Divide each total by the active days required, then compare that figure against your annual maintenance estimate. The option that's cheapest on both measures is rarely the one with the lowest shelf price.
If you want an at-home comparison point while you shop, Philips Zoom 14% DayWhite is priced at $27.99 on DentalHealth.com, and we offer free shipping on all USA orders, so confirm the current price before buying and factor shipping into any rival quote. One syringe based product also makes your per session cost easy to calculate before you order a refill.
Don't leave this as an open comparison. Decide now which row of the table matches your situation, then get the one quote or place the one order that row points to.
If you're maintaining results at home or comparing gel refills for trays you already own, we stock professional grade whitening gels, sensitivity toothpastes, and rinses from the brands dentists recommend, so you can price your per session cost before you commit. Visit DentalHealth.com to compare whitening options, check current gel prices, and order the refill that fits your budget.