
Teeth Whitening Sensitivity Relief: What Actually Works
A lower peroxide percentage doesn't guarantee an easier course. In a 2024 systematic review of five randomized trials involving 387 participants, desensitizing toothpastes reduced sensitivity during home bleaching with 22% carbamide peroxide, but they didn't show benefit for home bleaching with 16% carbamide peroxide. That's the practical problem with most teeth whitening sensitivity relief advice. It treats every gel, tray, and schedule as if they were interchangeable. They aren't.
Match Relief to Your Whitening Method and Ingredient
Match your relief plan to your exact whitening setup, not to a generic sensitivity claim on a box. The same toothpaste can help in one protocol and add nothing in another.
| Whitening method | Desensitizer evidence | Practical plan |
|---|---|---|
| Home custom tray, 10% carbamide peroxide, overnight | Relief gel with 5% potassium nitrate and 1,000 ppm sodium fluoride helped nearly every user | Apply relief gel in the tray when symptoms start |
| Home tray, 16% carbamide peroxide | Desensitizing toothpaste showed no benefit in the 2024 review | Don't rely on toothpaste alone; track symptoms and pause if they become significant |
| Home tray, 22% carbamide peroxide | Desensitizing toothpaste reduced sensitivity in the 2024 review | Pre-treat with desensitizing toothpaste and use it between trays |
| In-office, single session, 35% hydrogen peroxide | Evidence for this setup is thin; the home-bleaching review doesn't cover it | Use desensitizer before and after the chair visit, guided by the office |
| In-office, two sessions, 35% or 38% hydrogen peroxide | Evidence is limited for this schedule | Ask the dentist for a specific desensitizing protocol; don't assume one |
| Whitening toothpaste, no peroxide | No peroxide, so no peroxide-driven sensitivity to manage | Choose a sensitivity-labelled formula if you already have sensitive teeth |
Read the table as a decision tool, not as a ranking of whitening strengths. If you're using a 16% home tray, buying a desensitizing toothpaste and assuming you're covered is the weak move. You need a pacing plan, a symptom record, and a clear pause point. At 22%, that same category of toothpaste has a better basis for use before and between applications.
In-office work sits in a different position. Home-bleaching evidence doesn't transfer to a chair session, so treat the office's own protocol as the deciding factor. For a two-session plan at 35% or 38%, ask before the first appointment what the office will use if sensitivity builds between visits, how long you should wait, and whether the second session changes if the first one hurts. A vague answer like "use sensitive toothpaste" isn't a protocol for that schedule. You want product type, timing, and a threshold for postponing session two.
Why Lower Does Not Automatically Mean Gentler
Peroxide concentration is only one variable. Session count, contact duration, delivery method, and tray fit can matter as much. A lower-strength gel worn overnight in a loose tray that leaks onto gum tissue can bother you more than a stronger gel used briefly in a tray that seals well. Repeated sessions change the picture too, because teeth don't fully reset the moment you remove a tray.
That's why I wouldn't choose a product only because its percentage looks modest. Check how many nights or chair sessions the plan requires, how long each application stays on, and whether the gel sits in a custom tray, a generic tray, or a strip. Two plans with similar percentages can produce very different exposure once you add up total contact time.
Practical rule: Match relief to total exposure, not just the percentage printed largest on the package.
If you're comparing gels, reading what is in teeth whitening products helps you separate the peroxide that whitens from the ingredients added for comfort, flavour, or stability. That distinction matters because a long ingredient list doesn't prove better relief.
What Each Desensitizing Ingredient Can Realistically Do
Potassium nitrate is the standard desensitizing ingredient in relief gels and sensitivity toothpastes. Its clearest effect is a modest reduction in how intense symptoms feel once they occur. Its effect on whether you develop sensitivity in the first place is inconsistent, so don't treat it as a shield that prevents every zing. If cold water still registers but drops from sharp to dull, that's the kind of change this ingredient is most likely to deliver.
Sodium fluoride is usually tested inside combination products rather than on its own. That makes its independent contribution hard to isolate, even when a combination gel works well. If a label leads with fluoride, don't assume fluoride alone explains the result. Look at the full formula and the delivery format.
The potassium nitrate and fluoride pairing is the most common combination in relief gels and desensitizing toothpastes. It's a sensible first choice for tray users because a gel can sit where symptoms start, inside the same tray, instead of being rinsed away after brushing. A toothpaste version is easier for daily use before and after whitening days, but it's a different exposure pattern from a tray gel.
Calcium-phosphate nanoparticles show up in some newer desensitizing formulas. Treat them as another option rather than an upgrade. Ingredient novelty doesn't replace tray fit, timing, and whether you'll consistently use the product on schedule.
The true cost of building in relief is time. Pacing sessions or adding a desensitizing step can stretch a course by several days. Plan for that time instead of skipping the desensitizer.
Use This Label Checklist Before You Buy
Don't start with brand claims. Start with the format that matches your whitening plan, then check whether DentalHealth.com or another retailer lists the exact peroxide and desensitizer details you need.
- Peroxide type: Confirm whether your whitener uses carbamide peroxide or hydrogen peroxide, because they're not interchangeable on a percentage-for-percentage basis.
- Percentage: Write down the exact strength, such as 10%, 16%, 22%, 35%, or 38%, and compare it with the table.
- Number of sessions: Count planned nights or office visits, because one session and two sessions don't carry the same relief evidence.
- Desensitizer format: Decide whether you need a tray gel for targeted contact or a brushing toothpaste for routine use between sessions.
- Claim match: Check that any sensitivity claim fits your peroxide type and schedule, not just whitening in general.
- Strongest label trap: Don't treat the highest percentage or longest ingredient list as the best relief. More isn't a reliable predictor here.
Don't assume a whitening toothpaste protects sensitive teeth just because it whitens without peroxide. Many whitening toothpastes focus on surface stain removal, while a sensitivity-labelled formula is built around a desensitizing ingredient. If you already react to cold drinks, pick the sensitivity formula first and treat stain removal as secondary.
Prepare Your Teeth Before the First Application
Preparation starts with ruling out pain that whitening will expose or worsen. Decay, cracked enamel, and a failing filling can all produce symptoms that look like ordinary sensitivity once peroxide reaches the tooth.
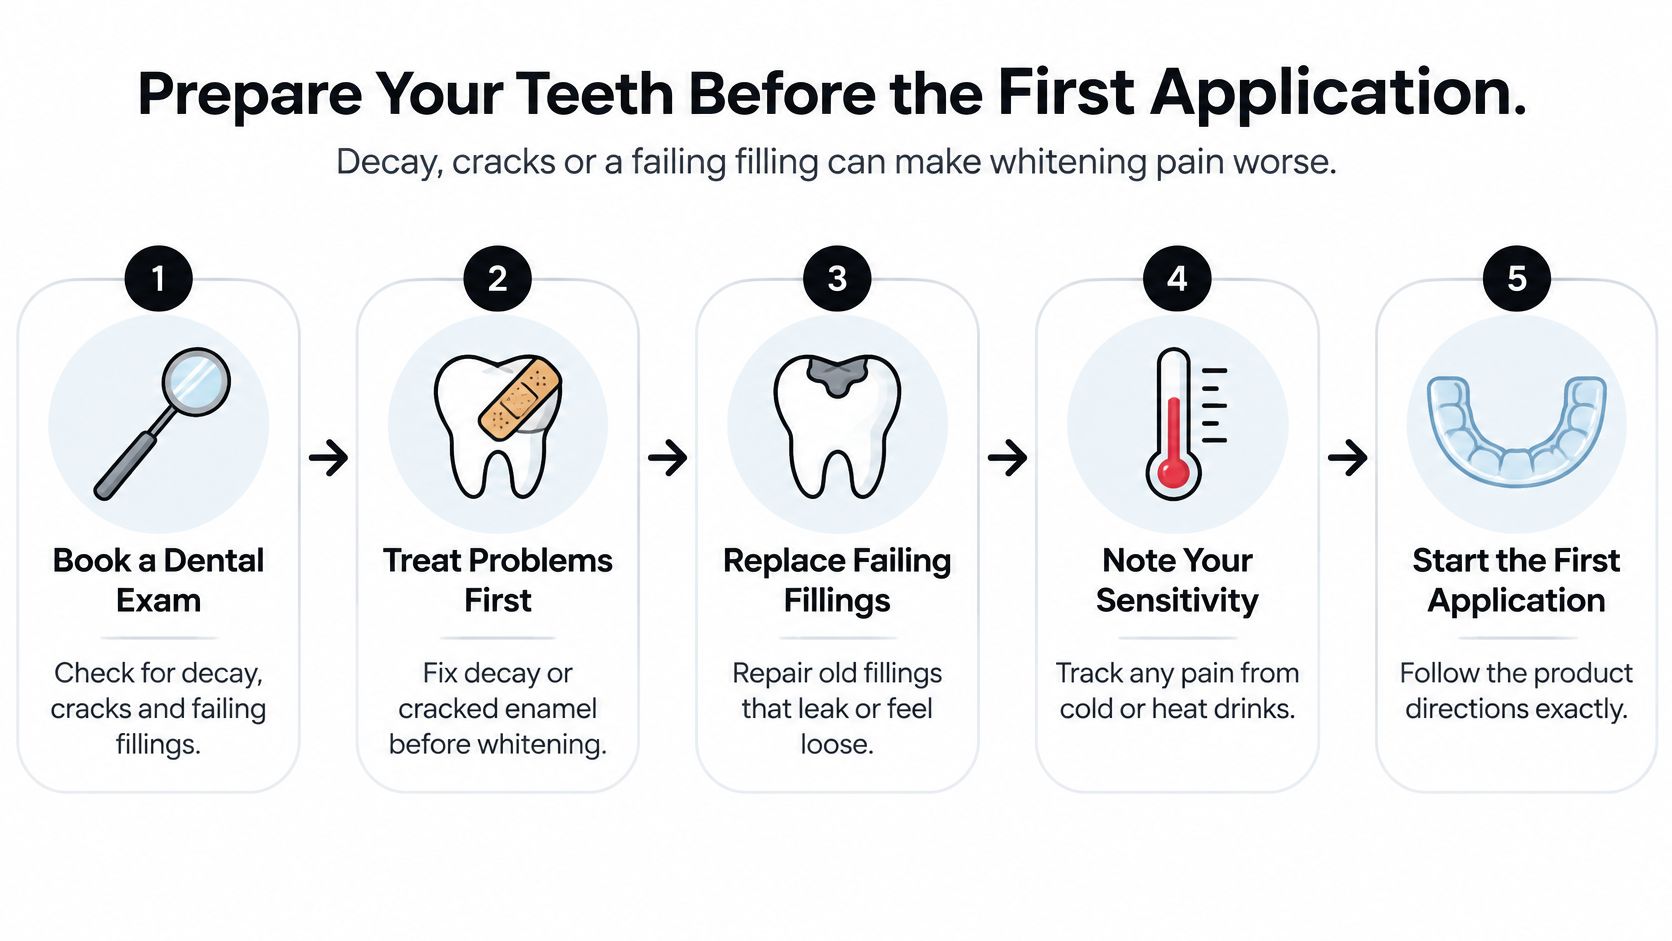
Five Steps Before Night One
- Book a dental exam so your dentist can check for decay, cracks, and defective restorations before peroxide is applied. Mention sensitivity from gum recession too, because exposed root surfaces react differently from enamel-covered crowns.
- Start a desensitizing toothpaste or gel containing potassium nitrate or fluoride in the days before the first application, with the timing set by your dentist or the product directions. Pre-bleaching desensitizer use is the approach evaluated in a systematic review and meta-analysis covering 10 trials and 394 participants.
- Check tray fit before any gel goes in, because a custom tray should seal without obvious gaps. A poor fit lets gel drift onto gums and makes dose uneven from tooth to tooth.
- Rehearse the fill by loading a thin layer rather than filling each well to the rim, then seating the tray and checking for squeeze-out over the edges. Overfilled trays increase gingival exposure, and correcting your dose on a practice run is easier than adjusting it once peroxide is in place.
- Record a baseline by noting which teeth react to cold and rating that reaction from 1 to 10. Without a baseline, you can't tell whether day three discomfort is new, worse, or the same sensitivity you already had.
If you're choosing a daily product for step two, the best toothpaste for sensitive teeth is a useful comparison point for ingredient and format. Pick one product and use it consistently instead of rotating tubes every few days.
Set A Measurable Expectation
That same meta-analysis reported that potassium nitrate and/or sodium fluoride reduced bleaching-related sensitivity risk versus placebo or no desensitizer, with an odds ratio of 0.45, and reduced symptom intensity, with a standardized mean difference of -0.47. In plain terms, preparation lowers your odds and softens symptoms. It doesn't remove sensitivity from the plan.
Preparation pays off at whatever strength you whiten. A lower peroxide percentage on its own is no guarantee of a painless course, which is why the pre-treatment work matters for every plan.
Don't credit fluoride alone if a combination product helps you. Most evidence evaluates combination formulations, so you can't cleanly separate fluoride's share from potassium nitrate's share. Use the product as directed, keep your baseline notes, and judge it by whether your cold reaction drops on your own 1 to 10 scale.
A desensitizer lowers your risk rather than switching pain off.
How to Apply Whitening Without Overloading Sensitive Teeth
Application errors create a lot of avoidable discomfort. Too much gel, too much time, and gel left sitting on gums all raise peroxide exposure without improving control.
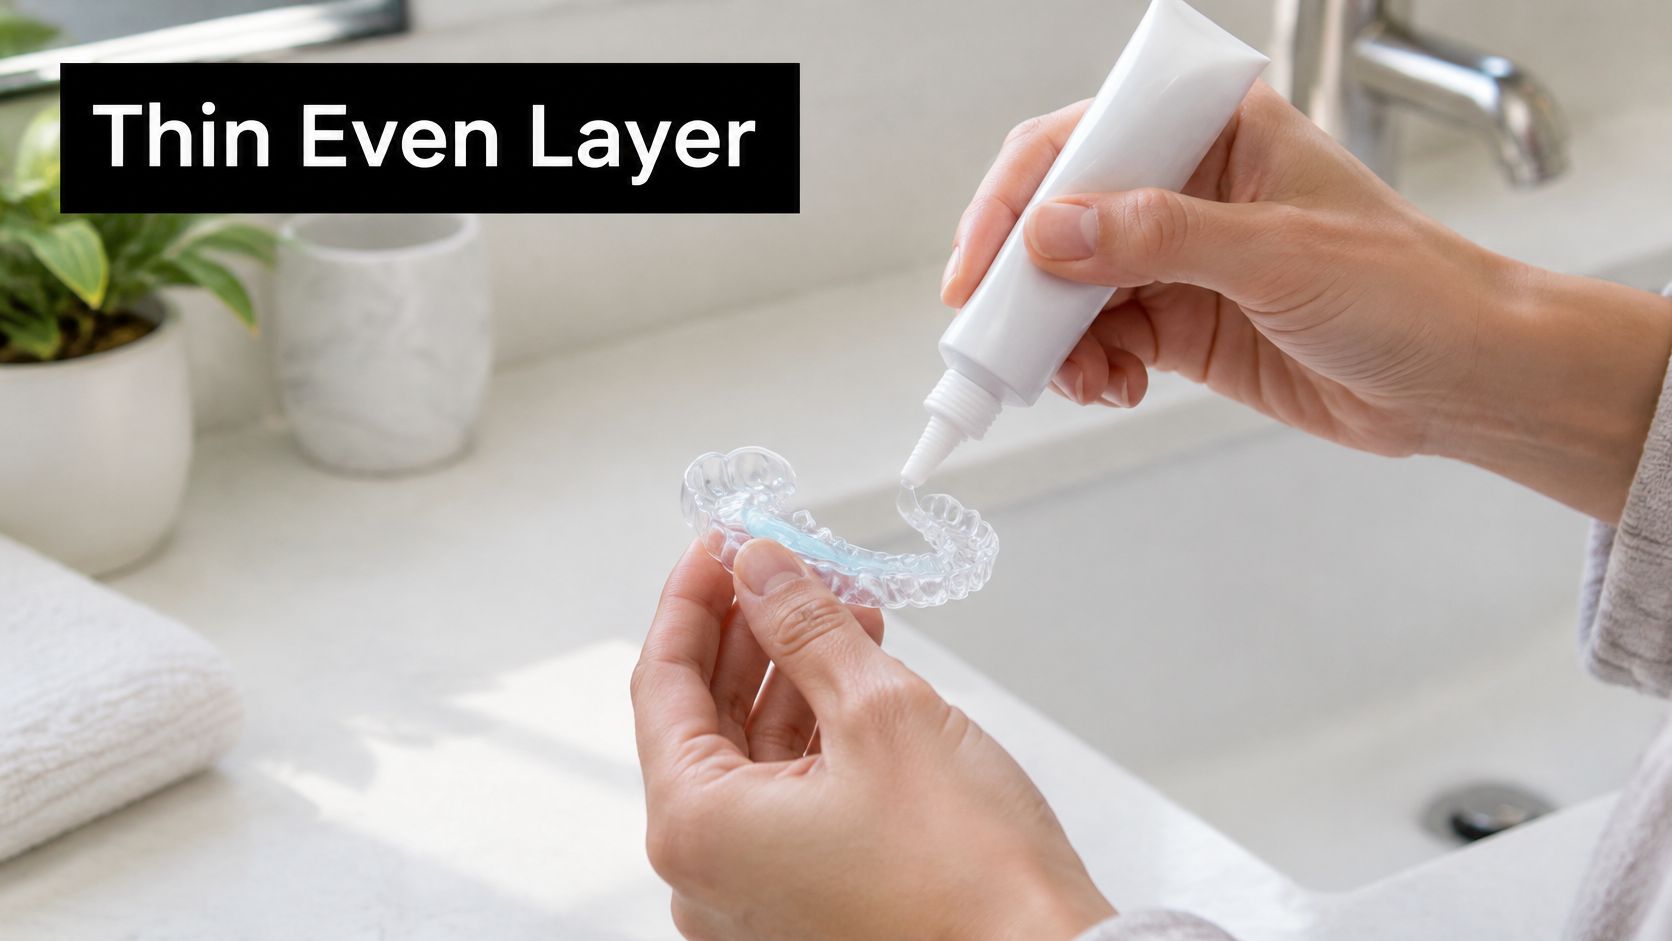
The Application Routine
- Apply the specified amount in a thin, even layer, because a measured dose keeps gel on enamel where it belongs. If gel bulges out when you seat the tray, you've used too much.
- Wear the tray for the stated time, not longer, because extra contact raises sensitivity without clear gains. Set a timer instead of estimating, especially with overnight trays.
- Wipe away overflow that spreads onto gums as soon as the tray is seated. A cotton swab or clean fingertip works, and this small step prevents a long, pointless exposure for soft tissue.
- Use a relief gel in the tray when sensitivity appears if your product or dentist directs that approach. In a 2002 clinical study, 12 of 16 patients who developed sensitivity on 10% carbamide peroxide used a gel containing 5% potassium nitrate and 1,000 parts per million sodium fluoride, and 11 of the 12 users, or 91.7%, reported reduced sensitivity.
- Skip a night for sharp pain rather than quitting the whole course. A rest night lowers total exposure while preserving the progress you've already made.
- Choose lukewarm drinks over very cold or hot ones during the course, and don't chew ice. Temperature extremes are the fastest way to test teeth that are already reactive.
Match the relief step to the strength you're using. That 2002 result also has limits: 16 of 30 participants developed sensitivity on 10% carbamide peroxide in the first place, so relief gels are best treated as a way to manage symptoms rather than prevent them. A lower percentage lowers the peroxide dose per session; it does not guarantee a painless course. Plan the desensitizer into the routine instead of expecting the whitening gel to be gentle on its own.
How Pacing Works In Practice
Say you're on a 14-night plan and sharp pain hits on night three. Skip a night, use the relief gel as directed, then switch to every other night for a week if symptoms settle. Add gel on the nights when sensitivity still shows up, and keep recording which teeth react and how strongly.
That pacing keeps you in treatment while cutting total exposure. You're changing one variable, the frequency, while the product, tray, and wear time stay the same, so you can tell whether the change helped. Swap gel strength, brand, wear time, and desensitizer all at once and you'll have no idea which change mattered.
Change one thing at a time and give each change a few nights to show its effect. First reduce overflow and confirm wear time. Then add the relief gel or skip a night. If sensitivity is still severe after a rest period, stop whitening and get the tooth checked instead of layering a stronger desensitizer on top of a possible dental problem.
Pause rule: Sharp pain earns a rest night. Severe pain after rest earns an exam.
Post-Whitening Care Timeline for the First Four Days
Timing calms people down because it turns a vague worry into a checkpoint. With strip- or tray-based treatments, the American Dental Association whitening guidance reports that symptoms may begin approximately 2 to 3 days after whitening starts and commonly resolve by about the fourth day after treatment. The ADA also reports that mild-to-moderate sensitivity can affect up to two-thirds of whitening users.
| Timing | What to do | Sensitivity to expect |
|---|---|---|
| Session day | Apply desensitizer before and after the session; wear the tray only for the stated time | Peak sensitivity is possible |
| Days 1-2 | Brush twice daily with a soft brush and desensitizing toothpaste | Often begins around day 2-3 with trays or strips |
| Days 2-3 | Keep sessions paced; pause for sharp pain | Mild to moderate, usually fading |
| Day 4 onward | Resume normal brushing; reassess any pain that remains | Usually resolved by about day 4 |
Session Day Through Day Two
On session day, keep contact time exact and use your desensitizer before and after if that's your plan. Don't add a second whitening session because the first one felt easy. Early comfort doesn't predict day two.
During days one and two, brush twice daily with a soft brush and desensitizing toothpaste. Use light pressure, because scrubbing reactive teeth and irritated gum margins adds a second problem. Choose room-temperature water if cold tap water triggers a response.
Days Two Through Four
Days two and three are when many tray and strip users first notice symptoms, so keep sessions paced and pause for sharp pain. Avoid acidic drinks such as citrus juice and limit coffee where you can for a few days, because acid and heat can both provoke reactive teeth. Use a straw for cold drinks and rinse with water after staining foods.
By day four, resume normal brushing if symptoms have faded and reassess anything that remains. Normal whitening sensitivity is mild, short-lived, and weaker each day. Pain that persists past this window, intensifies, or stays locked on one tooth isn't proof that whitening is working. It's a signal to reassess before another application.
Decide Whether to Keep Whitening or Call Your Dentist
Use symptoms, not stubbornness, to decide the next application. Mild sensitivity spread across several teeth is different from pain that isolates one tooth or wakes you at night.
Stop And Book An Exam If You Notice These Signs
- Lingering pain: Sensitivity stays after the cold or heat stimulus is gone, or pain starts spontaneously and wakes you at night.
- One-tooth pain: Discomfort is confined to a single tooth rather than spread across the whitened teeth.
- Biting pain: Pressure hurts, which points away from routine whitening sensitivity and toward a structural or restoration problem.
- Visible damage: You can see a crack, feel a rough edge, or notice a loose filling.
- Gum changes: Swelling or bleeding doesn't settle after you stop exposing the tissue to gel.
If sensitivity is mild, spread across teeth, and fades within about four days, you can usually keep whitening with paced sessions and desensitizer use. If any checklist sign appears, stop before the next application and ask for an exam. Reading about professional teeth whitening side effects can help you describe what you're feeling, but it doesn't replace that exam.
A dentist can check for decay or a defective restoration, then discuss an in-office desensitizing protocol or fluoride treatment matched to your plan. If recession is part of the problem, especially where the back of a tooth is exposed, your dentist may also discuss whether grafting for recession behind teeth belongs in a longer-term conversation with a periodontist. Bring the product label showing peroxide type, percentage, wear time, and number of sessions so the advice fits your exact exposure.
Visit DentalHealth.com to compare professional-grade whitening gels, potassium nitrate and fluoride sensitivity products, and remineralizing pastes by ingredient, strength, and format. Bring your peroxide type, percentage, and session plan with you as you shop, so you can build teeth whitening sensitivity relief into the course from day one rather than scrambling for it on day three.