
How to Use Zoom Teeth Whitening Gel for Trays
The syringe is on the counter, the custom trays are rinsed, and you still don't know whether tonight is an overnight wear or a short timer. That choice is the whole treatment. Zoom teeth whitening gel for trays is carbamide peroxide, so a higher percent is not a license to load more gel or sit longer than the label allows.
Zoom Tray Gel Strengths and Wear Times
If you have a Zoom syringe and trays that already fit, tonight's plan is the wear time printed on that syringe, once a day, for 14 days. Carbamide peroxide releases peroxide more slowly than a single in-office hydrogen peroxide visit, which is why the calendar matters more than how full the tray looks.
| Zoom strength | Active ingredient | Wear pattern in studies | Course | Reported shade change |
|---|---|---|---|---|
| NiteWhite 10% | 10% carbamide peroxide | Once daily, commonly overnight, minutes on the syringe label | 14 days | Up to 8 shades in 48 participants |
| NiteWhite 16% | 16% carbamide peroxide | Once daily, minutes on the syringe label | 14 days | Significant improvement at days 3, 9, and 14; shade steps not stated |
| NiteWhite 22% | 22% carbamide peroxide | Once daily, minutes on the syringe label | 14 days | Up to 9 shades in 42 participants (2024) |
NiteWhite 10% is the strength most often studied as an overnight home gel for at least two weeks. NiteWhite 16% and NiteWhite 22% were also worn once daily across the same 14-day course. Exact minutes for 16% and 22% are not published in those trials, so you read them off the syringe. If the box says a shorter session, you stop when the timer ends. You don't turn a daytime strength into an all-night wear because the percent looks modest.
A Philips clinical summary of Zoom take-home trays reports a randomized, single-blind trial in which 309 subjects were enrolled, 293 were treated at baseline, and 279 finished. Shade was read on the VITA Bleachedguide 3D-Master. Every tested product, 10%, 16%, and 22% carbamide peroxide, showed statistically significant whitening at days 3, 9, and 14. Separate U.S. in-vivo use of NiteWhite 10% in 48 participants, once daily for 14 days, reached up to 8 shades. A 2024 study of 42 participants using 22% carbamide peroxide once daily for 14 days reached up to 9 shades.
Why a higher percent still takes two weeks
Those shade numbers are ceilings from specific groups, not a promise for your enamel. Starting color, restorations, and whether you wear the tray all change the result. A stronger gel does not erase a skipped night. Doubling the drop or stacking two sessions the next evening is how gums get burned, not how you catch up.
Schedule rule: One labeled session a day beats a fuller syringe. If you miss Tuesday, Wednesday is still one session.
Set a timer for the minutes on your box before you twist the cap. If you're comparing Zoom with other dentist-style gels, a guide to teeth whitening gel brands is useful after you know your wear time, not instead of reading the syringe.
Clear Your Mouth and Restorations Before Night One
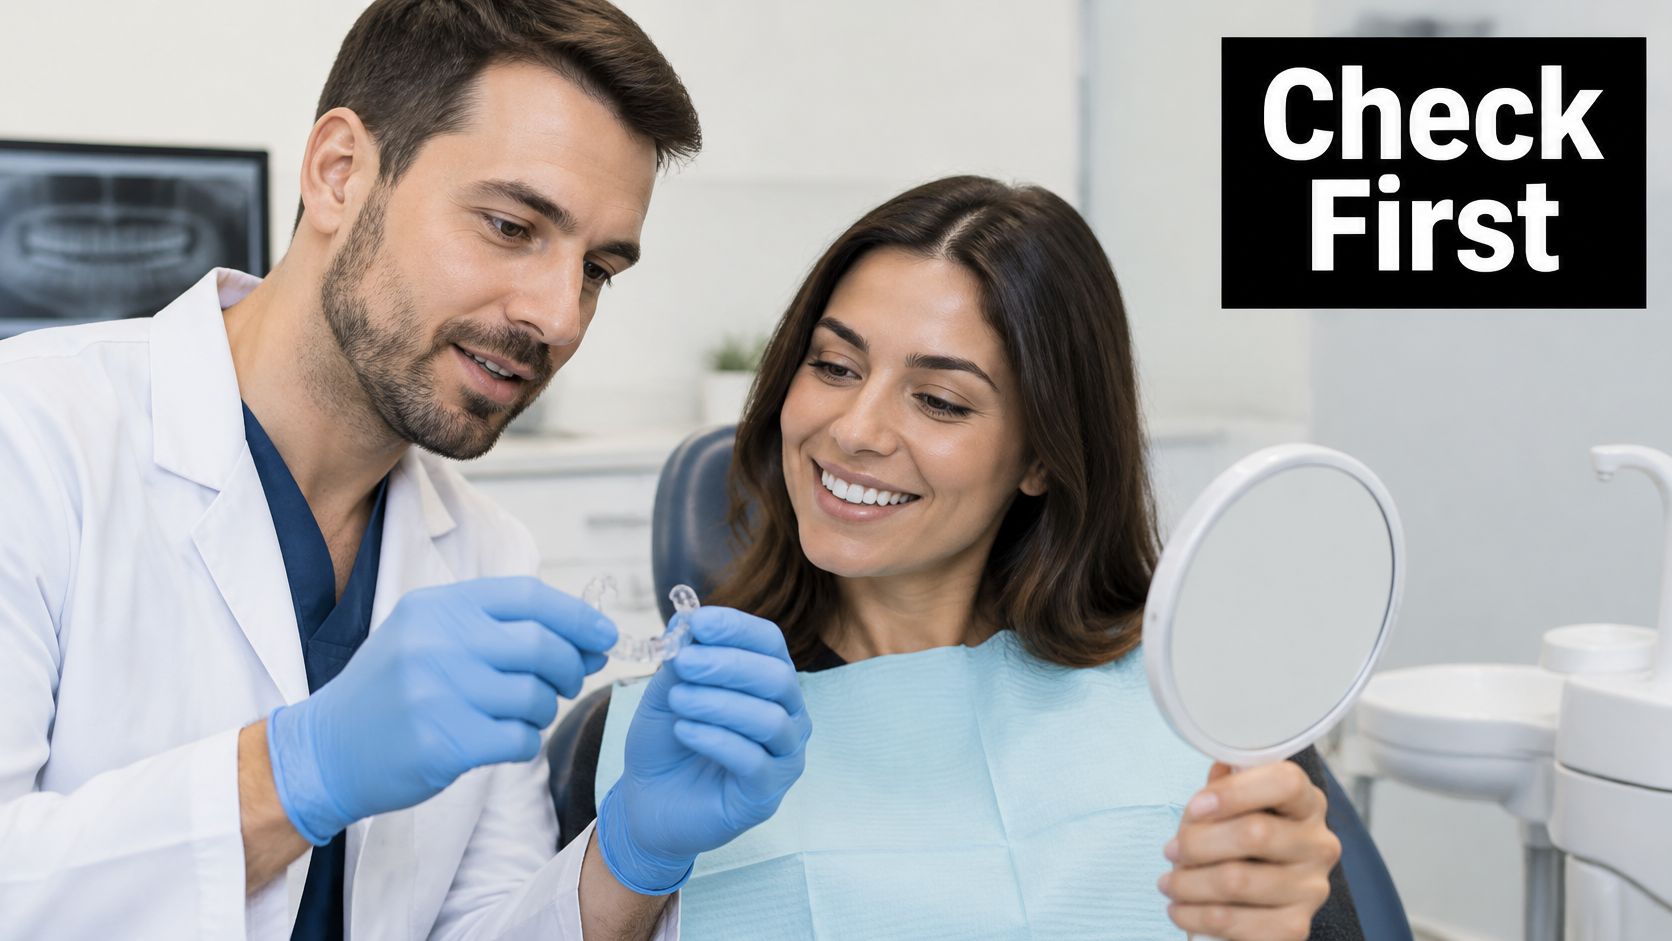
Start the 14-day course only when three things are already true. A dentist has looked for untreated decay, leaking fillings, enamel defects, sore gums, and exposed roots. The trays seat without rocking. You can keep the labeled wear without adding extra gel.
Wait if you have a cavity, bleeding or tender gums, tooth pain that was already there, or a front crown you are not ready to replace. Opening the syringe does not fix any of those.
What peroxide will not lighten
Whitening changes natural enamel. It generally leaves crowns, veneers, tooth-colored fillings, and sealants the color they were made. The American Dental Association's notes on whitening and restorations state that whitening chemicals may react with ceramic crowns, sealants, and other dental restorations. Reaction is not the same as bleaching them to match new enamel.
Say the crown on a front tooth was matched to today's shade. After neighboring teeth lighten several steps, that crown looks dark in photos. More gel will not catch the porcelain up. The usual fix is to replace or refinish the crown after whitening, once the enamel shade has settled.
A randomized split-mouth trial of 90 patients found that 10% carbamide peroxide in a home tray produced bleaching similar to 35% in-office hydrogen peroxide, with or without light, under the study conditions. That comparison is about natural tooth stain. It does not apply to decay, cracks, or gum disease, and it does not mean a filling will move on a shade guide.
Go, wait, or see the dentist first
- Go tonight: Mouth cleared, trays stable, and you can follow the labeled minutes without doubling up.
- Wait: Active decay, inflamed gums, or pain you can't explain.
- Book first: A front surface that is mostly restoration, or a stain you think is inside the tooth.
Intrinsic color from trauma, tetracycline, or a tooth that has died needs a dentist to decide whether trays are even the right tool. Take a phone photo in the same light on day 1 so day 14 is judged against enamel, not against a crown.
Dentist-provided Zoom whitening is a different bill from a take-home syringe. CareCredit's 2023 cost figures put the U.S. average at $583, with a stated range of $463 to $1,011. At home, our shelves carry whitening gels such as Opalescence, Zoom, PolaNight, and PolaDay, plus sensitivity products such as Fluoridex and MI Paste, along with Pro DenRX, Retainer Brite, and skin care. None of those gels recolor porcelain.
How to Load Zoom Gel into Whitening Trays
Use a clean, dry custom tray, or a boil-and-bite that already seats without gaps, and only after the mouth check above. The load is a small film, not a filled reservoir.
The short version of the load looks like this.
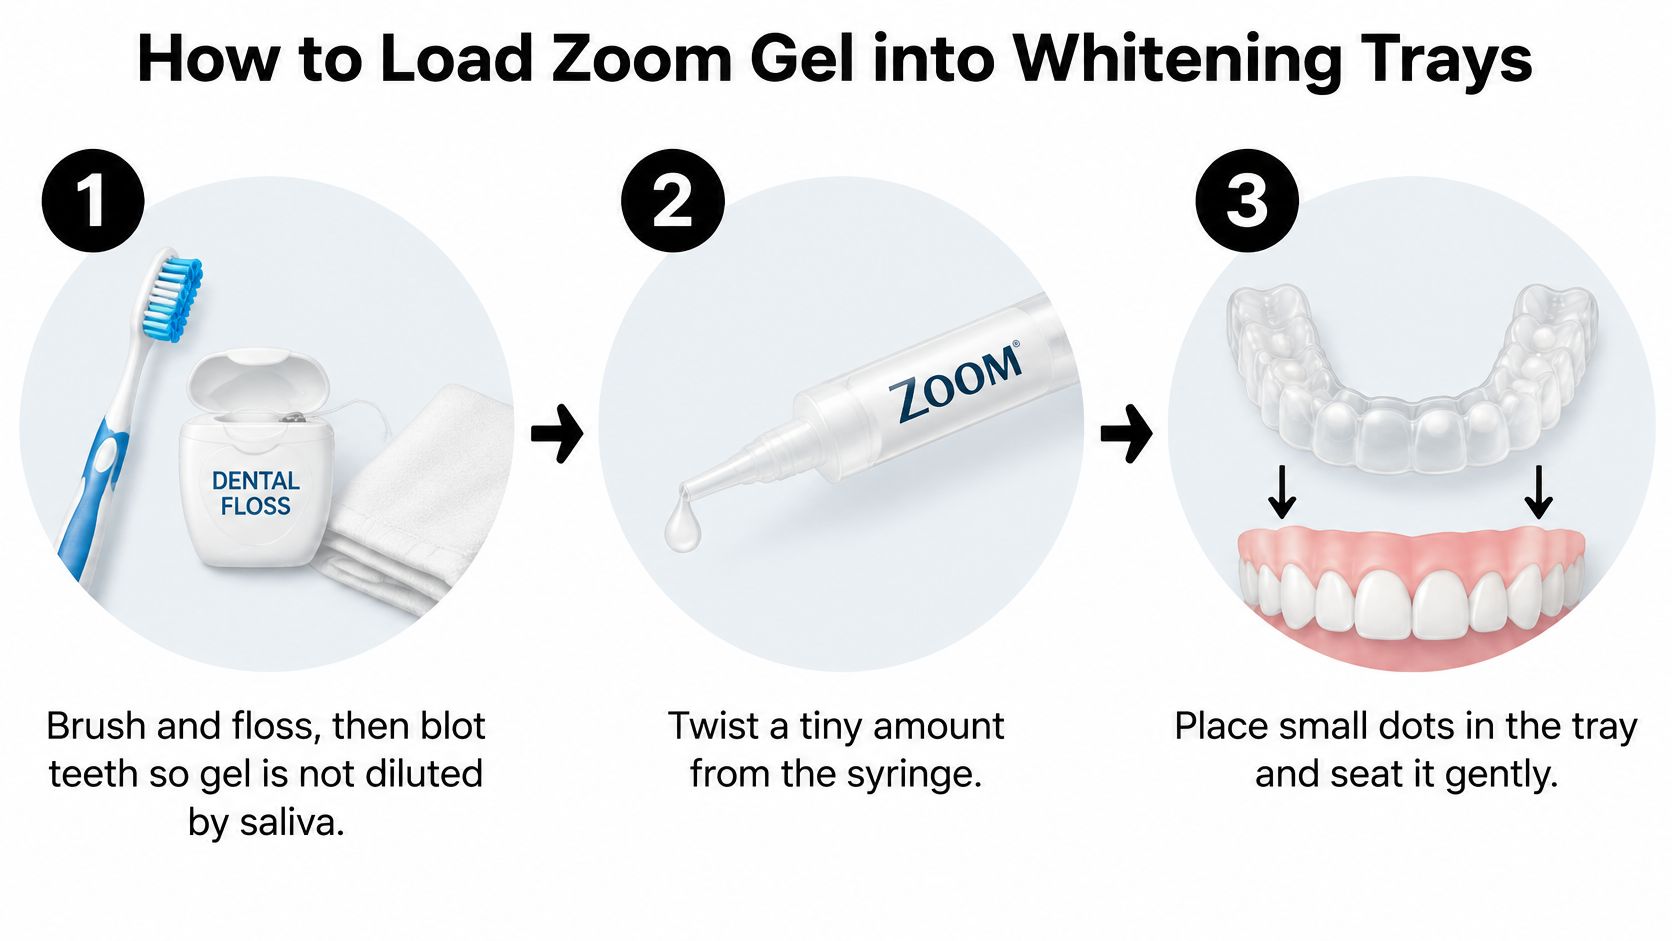
- Brush and floss, then blot. Brush and floss first so gel is not sitting on plaque. Blot the teeth with a tissue so saliva doesn't thin the peroxide. Wet enamel is why a full syringe can still look like nothing happened.
- Twist a tiny amount. For compartmented trays, one small drop goes in each tooth well on the facial side only. For a simple tray, a thin line along the facial channel is enough. Half the syringe is for the upper arch and half for the lower. You are not trying to coat the biting surface or the palate.
- Seat and press lightly. Put the tray in and tap or press it so gel touches each tooth. Firm mashing is not needed and pushes gel onto the gums.
- Wipe the gum line. Look in a mirror. If a ribbon of gel shows on the gingiva, wipe it with a clean finger or a cotton swab before you start the timer.
- Time the session and leave it alone. Set the timer to the minutes on that syringe. Don't sip, don't talk the tray loose, and don't add gel halfway through.
- Finish the mouth, then the trays. At the end, take both trays out, rinse with tepid water, and brush gently with a mild toothpaste.
The American Dental Association's overview of whitening options describes the same load for dentist-supervised tray peroxide: a small drop in the facial reservoir of each tooth, a well-fitting custom tray, excess removed, and the prescribed days rather than a longer exposure. A commonly studied home pattern is about 10% carbamide peroxide overnight for at least two weeks. Higher take-home strengths may call for shorter wear, which again comes from the label, not from how the gel feels. Visible change builds over weeks, not after one night.
What a bad load does
Extra gel does not buy extra shades. It sits on the gingiva and can burn. Overloading the tray, or pushing gel hard into the teeth, irritates tissue without a matching color gain. Skip whitening over untreated decay, a leaking filling, inflamed gums, or exposed roots until a dentist clears them. Treating a crown or filling as if it will bleach is the other miss, and it can leave a mismatch that needs replacement or refinishing.
A correct load is a faint film on the enamel and a dry gum line when you check the mirror. If you want to see the motion before you try it, this short clip walks through seating a tray without flooding the edges.
Custom trays plus a dentist's clearance are more reliable than a loose generic tray, especially if you already have restorations or a history of sensitive teeth.
How to Rinse and Store Trays After Whitening
When the timer ends, take both trays out. Rinse your mouth with lukewarm water, then brush gently with a mild toothpaste. Skip a gritty whitening paste on this pass. Enamel is more open right after peroxide, and a harsh abrasive can roughen it.
Cool water, then a full dry
Rinse each tray under cool water. Brush the inside lightly with a soft brush. Don't use hot water. A thin custom tray can warp, and a warped edge is what rocks or pinches the next night. Shake off the water and set both trays on a clean towel until they are fully dry, then put them in the case.
Gel left in a damp tray is the usual reason night two tastes foul or the edges feel slimy. Cap the syringes, keep them out of heat and sunlight, and don't share trays. A shared tray shares bacteria, and a warm windowsill breaks down peroxide before you've used the syringe.
For the next few hours, skip coffee, red wine, tea, and berries, and don't smoke in that window. Freshly treated enamel takes up stain more easily than it will tomorrow morning.
If a tray rocks, pinches the gum, or no longer seats after a filling or crown, stop. Have the fit checked. Packing extra gel into the gap only floods the tissue.
A practical walk-through of residue and case care is in this guide to cleaning whitening trays. The nightly close is short.
- Mouth rinsed: Tepid water, then a gentle brush with mild toothpaste.
- Trays rinsed: Cool water and a soft brush, no hot tap.
- Trays bone-dry: Air-dry fully before the case.
- Case closed, syringe capped: Away from heat and light.
That sequence is what keeps tomorrow's gel from tasting like last night's.
What to Do When Sensitivity Starts
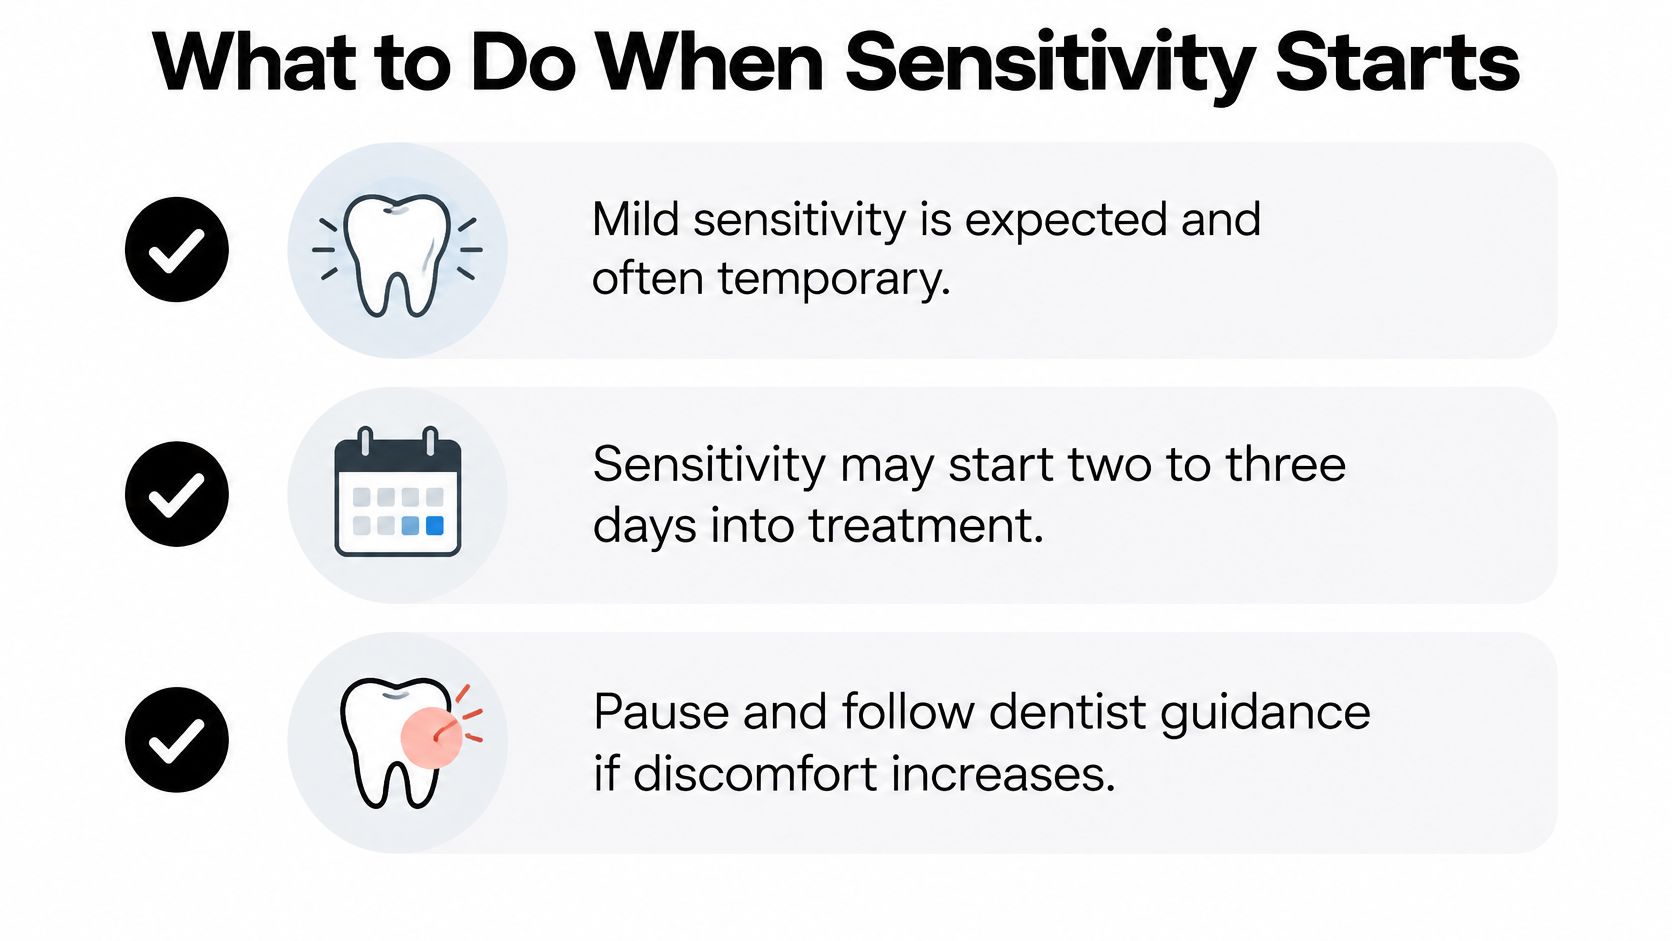
Mild zingers are common, and they are not proof the gel failed. Across bleaching users, transient mild-to-moderate sensitivity has been reported in up to two-thirds of patients. It often starts two to three days after tray whitening begins and usually settles by about the fourth day after the course ends, according to the American Dental Association's whitening topic page.
That same review compared tray carbamide peroxide and tray hydrogen peroxide. Color change favored carbamide peroxide, with a standardized mean difference ΔE of −0.45 (95% CI −0.69 to −0.21, p<0.001). Visual shade-guide change was not significantly different (p=0.70). Tooth sensitivity (p=0.83) and gingival irritation (p=0.62) were statistically similar. Swapping from a carbamide syringe to a hydrogen peroxide gel is not the first fix when night three stings.
Pause, then change frequency before strength
- Stop the gel for now. Don't push through sharp pain to protect the 14-day streak.
- Use a desensitizing toothpaste with fluoride or potassium nitrate, the kind dentists hand out for cold sensitivity, twice a day while you pause.
- Check the tray and the drop. Edges should not dig. Only a small facial drop or thin line should have been in the tray.
- Restart only with a dentist's OK, at the same dose, on a shorter or less frequent schedule. Don't move up to a higher percent because you paused.
A missed night does not get added to the next night. Two sessions back to back raise exposure without a matching shade benefit.
Frequency comes down before concentration goes up.
When a zinger is not normal
Cold water that zings while the tray is in, then fades after you take it out, can be managed with the pause above. Pain that wakes you, pain with no trigger, white burned gum tissue, or sensitivity that is still climbing after several paused days needs a dental visit, not another syringe.
If you want product-level ideas for that pause, see this note on Zoom whitening sensitivity relief. Begin with the lowest effective strength your dentist prescribed, and treat Zoom teeth whitening gel for trays as a timed cosmetic step on healthy enamel, not as a fix for a sore tooth.
DentalHealth.com stocks professional take-home whitening gels, including Philips Zoom tray formulas, plus sensitivity pastes and rinses you can keep next to the syringe. If you're ready to match a labeled wear time to a gel your dentist already cleared, browse the whitening and sensitivity shelves at DentalHealth.com.