

How to Use Teeth Whitening Pen: how to use teeth whitening pen in minutes
Using a teeth whitening pen is a pretty straightforward process: you prep by brushing and drying your teeth, apply a thin layer of gel, and then wait for it to set before you eat or drink. It’s become my go-to for quick touch-ups and keeping my smile bright on the fly.
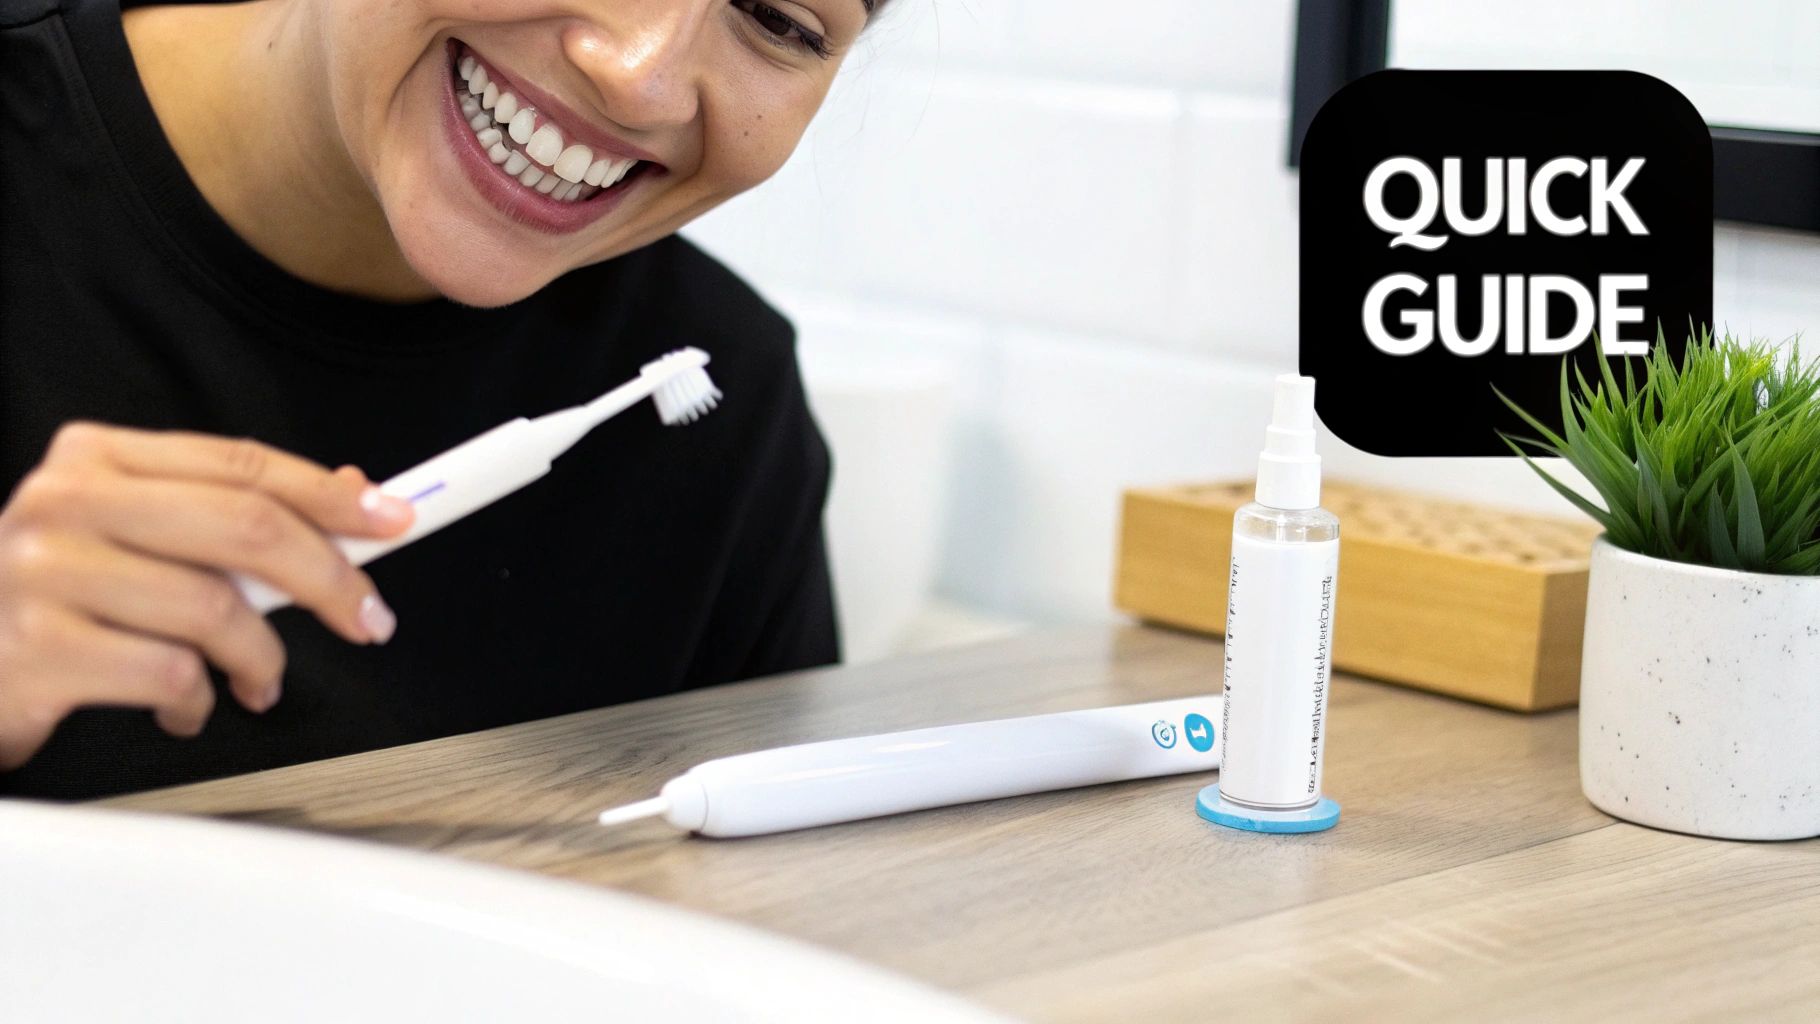
A Quick Guide to Using Your Whitening Pen
Teeth whitening pens are fantastic for on-the-go smile maintenance. They offer a simple way to lift surface stains without the hassle of bulky trays or messy strips. It's no wonder they've become so popular; they’re incredibly convenient, easy to use, and perfect for targeting those specific spots that bother you.
This rise in popularity mirrors a bigger trend in at-home dental care. While it might seem like a niche item, the search term “teeth whitening pen” pulls in between 15,000–20,000 global online searches every single month. With online sales for whitening products climbing by 4–5% annually, more people are looking for clear, reliable instructions online instead of getting a demo from their dentist. You can dig deeper into these market trends in teeth whitening to see just how much at-home care is evolving.
The Basic Whitening Pen Workflow
Before we get into the nitty-gritty, let's walk through the basic process. Understanding the core steps makes the whole thing feel less intimidating. The entire routine, from start to finish, takes just a few minutes, so you can easily squeeze it into your morning or evening.
For those of us who like a quick summary, here’s a table that breaks down the whole process.
Whitening Pen Application At a Glance
| Phase | Action | Why It Matters |
|---|---|---|
| Preparation | Brush, floss, and thoroughly dry your teeth. | A clean, dry surface ensures the gel adheres directly to the enamel for maximum effectiveness. |
| Application | Twist the pen to dispense gel and paint a thin layer onto visible teeth. | Even application prevents splotchy results and targets stains without irritating gums. |
| Setting | Keep lips away from teeth for 30-60 seconds to let the gel dry. | This creates a film that allows the active ingredients to work without being diluted by saliva. |
| Aftercare | Avoid eating or drinking for at least 30 minutes. | This gives the whitening agent enough time to penetrate stains and prevents new ones from forming. |
This simple four-phase process is really the foundation for getting great results. Think of it as a quick touch-up for your smile, designed to maintain brightness between more intensive treatments or right after you've had stain-causing foods and drinks like coffee or red wine.
Preparing Your Teeth for the Best Whitening Results
Think of it like painting a wall. You wouldn't just slap a fresh coat of paint over dirt and grime, right? You’d clean and prime it first. The same exact logic applies to your teeth before you use a whitening pen. This prep work is the secret that separates a brilliantly even smile from a splotchy, disappointing one.
Proper preparation ensures the whitening gel makes direct, uninterrupted contact with your enamel. This lets the active ingredients get to work without anything standing in their way. Starting with a clean slate isn't just a suggestion—it's essential for getting the results you want.
Create a Perfectly Clean Surface
First things first, your teeth have to be completely clean. Any leftover plaque or tiny food particles can act as a barrier, literally blocking the whitening gel from ever reaching the tooth surface. This is one of the most common reasons people end up with patchy results.
Getting started is simple, but don't skip these basics:
- Brush Thoroughly: Grab your regular toothpaste and spend a full two minutes brushing. Make sure you hit every single surface.
- Floss Carefully: Get between your teeth to clear out any hidden plaque and debris. Remember, the whitening gel can't work on surfaces it can't touch.
This quick routine removes the film that can weaken the gel and prevent it from absorbing properly. If you're looking for more ways to tackle discoloration, our guide on how to remove teeth stains at home has some great additional tips.
Pro Tip: Avoid using a whitening toothpaste right before you apply the pen. Some of those formulas can leave behind a residue that might mess with how the gel sticks to your teeth. Stick with your standard, non-whitening fluoride toothpaste for this pre-whitening clean.
The Overlooked Step of Drying Your Teeth
Alright, you've brushed and flossed. Now for the one step most people miss: drying your teeth. This is a game-changer. A dry tooth surface is exactly what the whitening gel needs to form a concentrated film and adhere properly.
Saliva is basically the natural enemy of at-home whitening treatments. The second it touches the peroxide-based gel, it starts diluting it and weakening its effect.
Getting your teeth dry is easy. You can gently pat them down with a clean, soft cloth or even a tissue. Another trick is to pull your lips back into a wide smile and just let the air dry them for about 30-60 seconds. It feels a little silly, but this small action makes a huge difference, ensuring the gel stays potent and concentrated right where you put it. This simple prep maximizes the whitening agent's contact time with your enamel, paving the way for a brighter, more uniform result.
Mastering the Application for an Even Smile
You’ve prepped your teeth, and now it’s time for the main event—applying the whitening gel. Honestly, this is where your technique makes all the difference. A careful, even application is what gets you that consistently brilliant smile instead of a patchy or splotchy one.
The idea is to paint a thin, uniform layer of gel onto each tooth, almost like you’re applying a single coat of nail polish. People often make the mistake of rushing this part or globbing on too much product, which can lead to uneven results or, worse, irritated gums. Let's get it right.
Priming and Painting Your Teeth
First things first, you have to get the gel flowing. The very first time you use your pen, you’ll probably need to twist or click the bottom quite a few times to prime it. It might take 10 to 20 clicks, so be patient until you see that first little bead of gel appear at the brush tip.
After that initial priming, you'll only need a couple of clicks for each use. The goal is to dispense just enough gel for a thin layer, not a thick mess. Remember, less is more here.
This diagram is a great reminder of the prep work we just covered, which sets the stage for a perfect application.
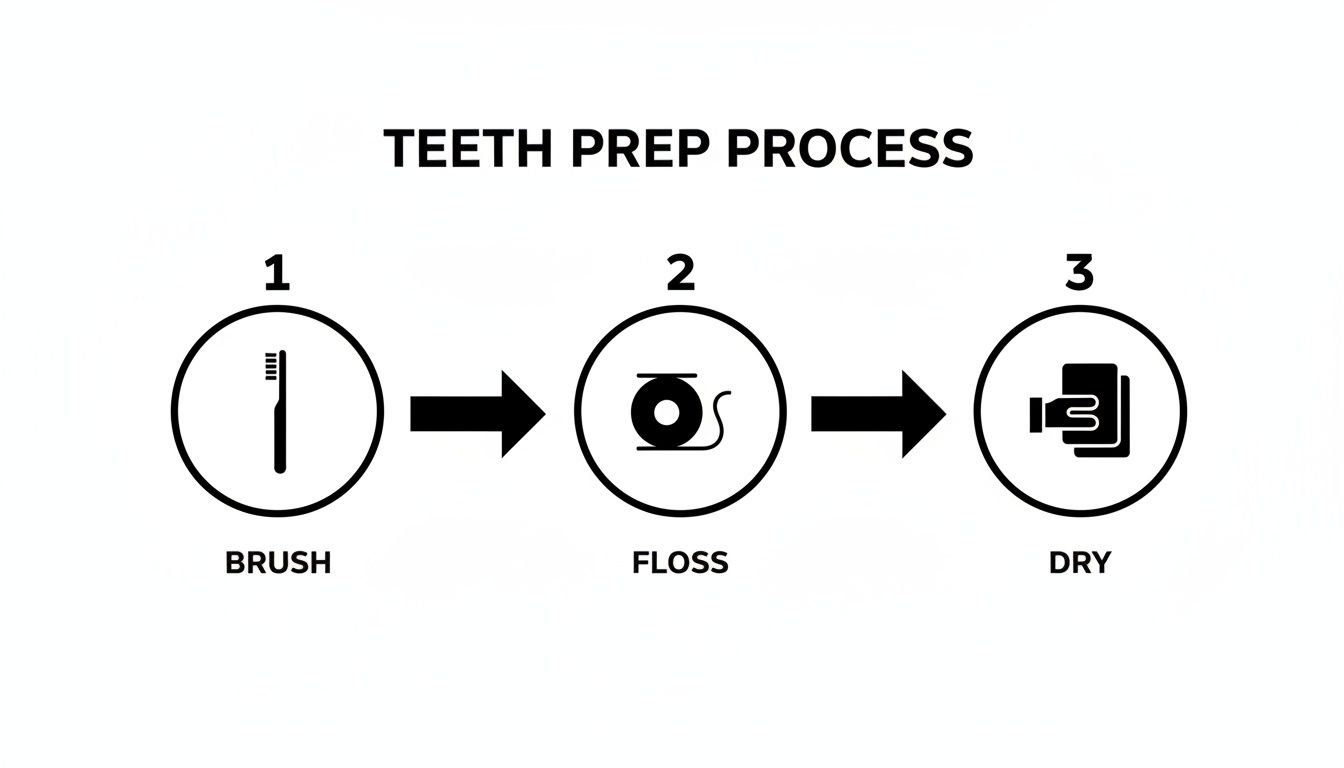
As you can see, the simple sequence of brushing, flossing, and drying creates the ideal canvas for the whitening gel to do its job.
With the pen ready, pull your lips back into a wide smile, almost like you're saying "cheese!" for a photo. Using short, deliberate, up-and-down strokes, paint the gel onto the surface of each tooth that shows when you smile. Really focus on getting an even coat and try to avoid painting your gums directly to prevent any potential irritation.
Letting the Whitening Gel Set
Once the gel is on, the next step is absolutely crucial: you have to let it dry. Keep that wide smile and your mouth open for about 30 to 60 seconds. This gives the gel a chance to form a dry film on your teeth, which keeps your saliva from immediately washing it away or diluting its strength.
It might feel a little awkward holding that pose, but this brief wait is essential. It ensures the active ingredients—usually carbamide or hydrogen peroxide—stay put to break down those stubborn stains.
A common mistake is closing your mouth too soon. Doing so immediately smears the gel onto your lips and inside your cheeks, completely undermining the application you just perfected. Try looking in a mirror and holding your smile until you can see the gel has set.
How well teeth whitening works is directly linked to how evenly the active ingredient stays on your enamel, and for how long. When you paint that thin layer onto dry teeth and keep your lips away for the recommended time, the gel forms a film and maintains contact. This is what leads to a more uniform shade change over one to two weeks. If you're interested in the data behind this, you can explore the teeth whitening pen market research to learn more about the science.
By mastering this application and setting process, you're not just using a whitening pen—you're ensuring the product works exactly as it's supposed to, paving the way for a noticeably brighter, more confident smile.
What to Do After You Apply the Whitening Gel
You've carefully painted on the whitening gel, but your work isn't over just yet. What you do in the next hour is just as important as the application itself for getting—and keeping—that brighter smile. This is when the whitening agents are most active, so protecting your teeth from new stains is the top priority.
The single most critical rule is to avoid eating or drinking anything for at least 20 to 30 minutes after the gel has dried. This gives the active ingredients enough time to really penetrate the enamel and break down stains without being washed away or diluted. Think of it like letting a fresh coat of paint dry; disturbing it too soon just ruins the finish.
Setting a Smart Usage Schedule
With a teeth whitening pen, consistency is what gets you real, noticeable results. A random, scattered approach simply won't create the cumulative effect needed to lift stains. The best way forward is to establish a clear routine that fits your smile goals and your life.
For an initial whitening cycle, here's a common and effective game plan:
- Initial Phase: Apply the gel once or twice a day for a solid one to two weeks. This concentrated effort is designed to lift those stubborn surface stains and create a visible shift in your tooth shade.
- Maintenance Phase: After that initial period, you can scale back to a maintenance plan. This could be as simple as using the pen a few times a week or just as needed for quick touch-ups after your morning coffee or a glass of red wine.
Following a structured approach like this also helps prevent overuse, which can sometimes lead to sensitivity. If you do notice any discomfort, we've got you covered. Check out our guide on how to reduce teeth sensitivity after whitening for some really helpful tips.
Keep in mind, a whitening pen isn’t designed for a dramatic, overnight transformation. Its real strength is in its ability to gradually brighten your smile and help you maintain that brilliance over time. Patience and consistency are your two best friends here.
Integrating Whitening into Your Daily Routine
The easiest way to maintain your results is to make whitening a seamless part of your oral care. Instead of treating it like a separate chore you have to remember, just weave it into habits you already have. For example, applying the gel right after you brush in the morning or evening is a perfect way to stay on track.
This habit-stacking approach reflects a bigger trend in how we think about dental care today. People are learning to incorporate these tools into their daily wellness routines, and it's working. Many users report applying their pens right after brushing, waiting the recommended time, and then using them for upkeep between more intensive treatments.
By making the pen a regular player in your routine, you’re not just whitening your teeth—you're actively preventing new stains from ever setting in. It’s a proactive strategy that ensures your smile stays bright long after that initial treatment cycle is over.
Pro Tips for Better Results and Less Sensitivity
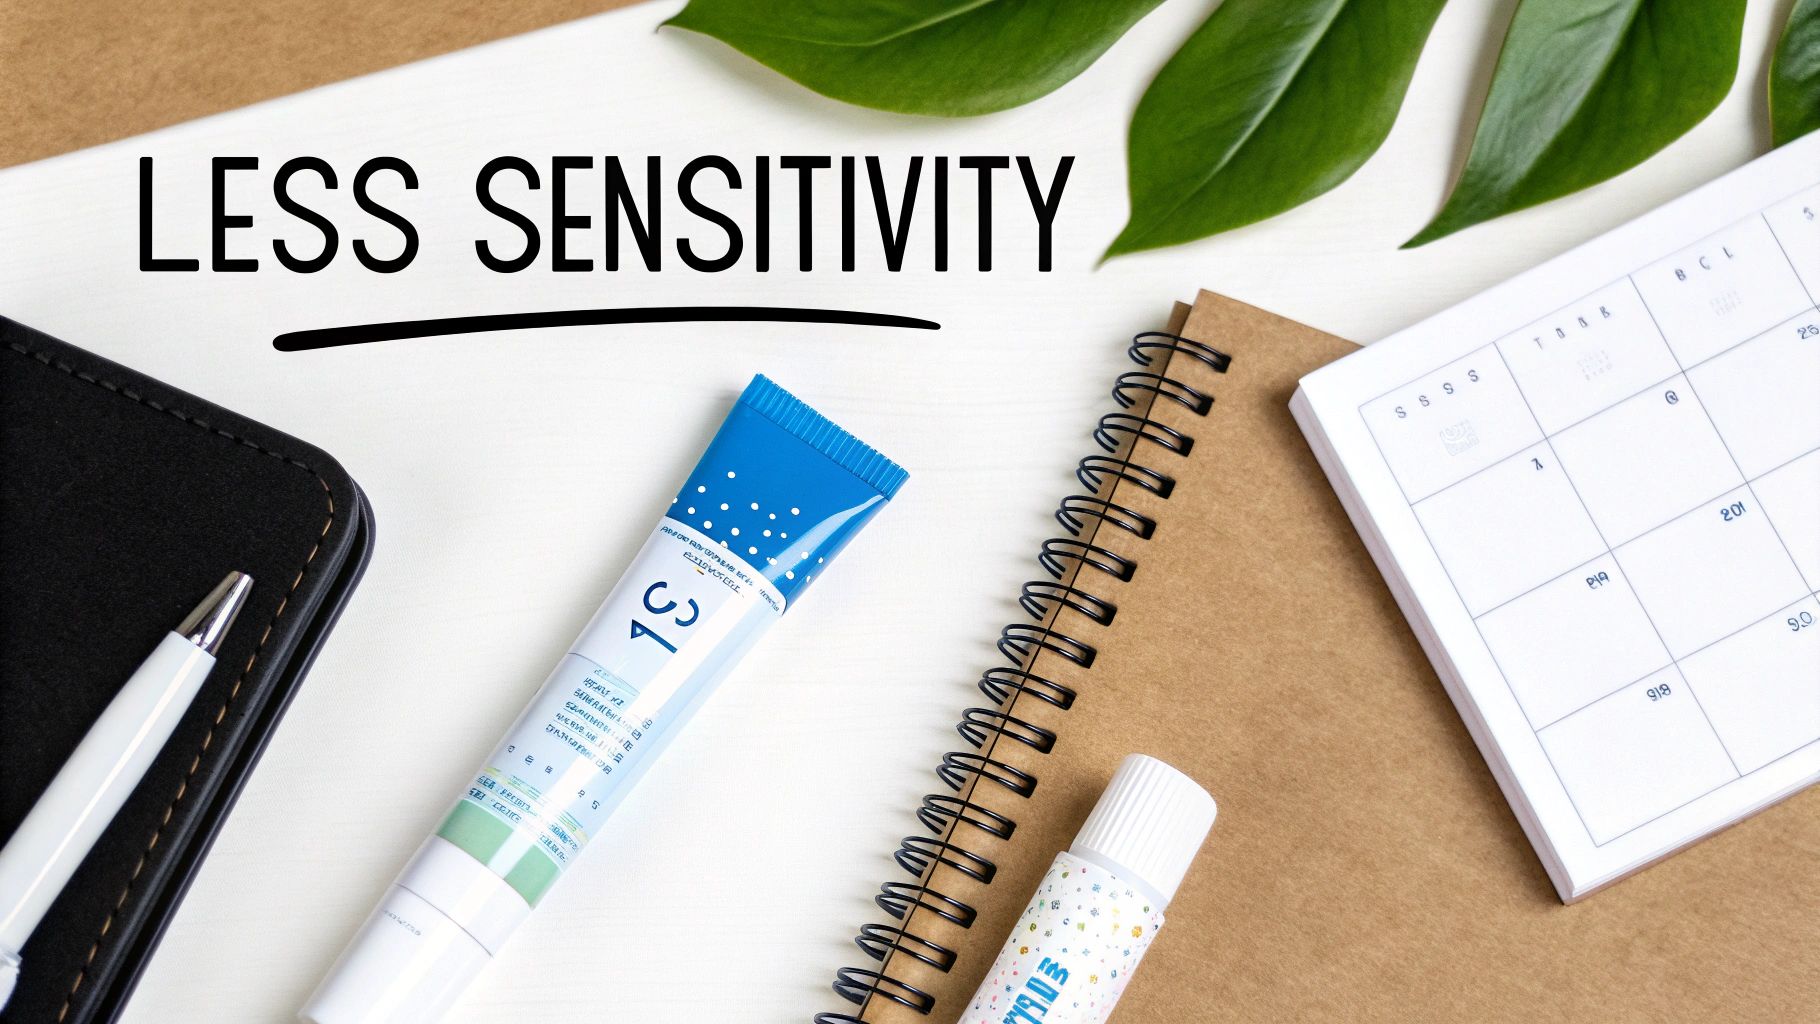
Knowing the basic steps is one thing, but getting those truly brilliant, comfortable results is a whole other game. A few small tweaks to your routine can make a massive difference, turning a good whitening experience into a great one.
Let’s talk about some of the insider strategies I've picked up over the years to help you boost your brightness while keeping sensitivity in check.
One of the simplest yet most overlooked tips is to be mindful of what you eat and drink while you're actively whitening. You're putting in the work to lift stains, so the last thing you want to do is invite new ones in.
This means you’ll want to temporarily cut back on the usual suspects:
- Coffee and black tea
- Red wine
- Dark sodas
- Berries and soy sauce
Your tooth enamel becomes slightly more porous right after a whitening session. Think of it like a freshly cleaned slate—it's more susceptible to picking up new pigments. Giving your teeth a break from these staining items helps lock in your progress.
Smart Strategies for Sensitive Teeth
Tooth sensitivity is probably the number one concern I hear about, but it doesn't have to be a deal-breaker. The trick is to be proactive, not reactive. If you already know your teeth can be a bit touchy, a little prep work goes a long, long way.
A fantastic strategy is to switch to a desensitizing toothpaste about a week or two before you even start whitening. These toothpastes often contain ingredients like potassium nitrate that help block the tiny pathways to your tooth nerves. This essentially calms things down before the whitening gel even enters the picture. For a deeper dive, our complete guide on teeth whitening for sensitive teeth has even more detailed advice.
If you do start to feel that familiar "zing" of sensitivity, don't just grit your teeth and bear it. It’s perfectly okay to switch your routine to every other day. This gives your teeth time to recover while still letting you get to your goal, just over a slightly longer timeline. Your comfort is key.
Common Whitening Mistakes and How to Avoid Them
Even with the best intentions, it's easy to make small mistakes that can affect your results or cause unnecessary irritation. I've put together this quick troubleshooting table to help you identify and fix some of the most common issues people run into.
| Mistake | Potential Problem | Solution |
|---|---|---|
| Applying too much gel | Gum irritation, uneven whitening, wasted product. | Twist the pen just enough for a thin, even layer. A little goes a long way. |
| Not drying teeth first | The gel gets diluted by saliva and can't adhere properly. | Use a clean, dry cloth or tissue to gently pat your teeth dry right before applying the gel. |
| Applying to gums or lips | Can cause temporary irritation or white spots on soft tissue. | Be precise with the brush tip. If you get gel on your gums, wipe it off immediately with a Q-tip. |
| Eating/drinking too soon | Re-staining your freshly whitened teeth. | Wait at least 30 minutes after the gel has dissolved. Avoid staining foods for a few hours if possible. |
Getting the hang of it just takes a bit of practice. By avoiding these common slip-ups, you set yourself up for a much smoother and more effective whitening journey.
Protecting Your Pen and Your Progress
Last but not least, let's talk about storage. Where you keep your whitening pen actually matters more than you might think. The active ingredients—usually carbamide or hydrogen peroxide—are sensitive and can break down if they're exposed to heat and light.
Always store your pen in a cool, dry place, like a medicine cabinet or a bedroom drawer. Please, don't leave it in a hot car or on a sunny bathroom counter. Proper storage keeps the gel stable and potent, ensuring you get the full whitening power you paid for, from the first click to the last.
Got Questions? We’ve Got Answers.
Jumping into a new whitening routine always brings up a few questions, and that's perfectly normal. Getting the right info upfront helps you feel confident and sets you up for the best possible results. Let's walk through some of the most common things people ask about using teeth whitening pens.
Think of this as your quick-start guide to clearing up any confusion.
"My Teeth Are Sensitive. Can I Still Use a Whitening Pen?"
Yes, you absolutely can, but you'll want to be smart about it. Tooth sensitivity is probably the number one concern we hear about, but it doesn’t have to stop you from getting a brighter smile. The trick is to be proactive.
If you already know your teeth can be a bit touchy, don't go all-in with a twice-a-day routine right off the bat. Instead, ease into it:
- Go Slow: Start by applying the gel just once a day. You could even try every other day to see how your teeth react. This gives them time to get used to the whitening agent.
- Cut Down the Time: Instead of leaving the gel on for the full recommended time, try a shorter period at first. You can always work your way up.
- Prep with the Right Toothpaste: Like we mentioned earlier, switching to a desensitizing toothpaste a week or two before you even start whitening can be a game-changer.
The bottom line is to listen to your body—or in this case, your teeth. If you feel any real discomfort, just take a break for a day or two. A comfortable whitening journey is always the most successful one.
"How Long Until I Actually See a Difference?"
This is a big one. It's so important to have realistic expectations here. Whitening pens are designed for gradual, consistent improvement, not an overnight transformation. They work by gently lifting away the surface stains that build up day after day.
Most people start to see a noticeable change within the first 3 to 7 days of using the pen daily. Your smile will look its brightest and best after you've completed a full treatment cycle, which is usually about one to two weeks. Just remember, these pens are fantastic for maintenance and zapping fresh stains, giving you a definite—but subtle—boost.
Here's a Pro Tip: Snap a "before" picture in good, natural lighting before you start. It’s tough to spot gradual changes in the mirror each day, but when you compare your photo after a week, you'll really see the progress.
"Will a Whitening Pen Damage My Enamel or Dental Work?"
When you stick to the instructions, teeth whitening pens are perfectly safe for your natural tooth enamel. The peroxide levels in these at-home products are specifically formulated to be effective without being harmful. The single best thing you can do for safety is to follow the directions and not overdo it.
Now, when it comes to dental work, that's a different story. It’s critical to know that whitening gels do not work on artificial materials.
- Crowns
- Veneers
- Fillings
- Bonding
None of these will change color. The gel only whitens your natural teeth, so any dental restorations will stay the exact same shade they were when your dentist put them in. If you have a lot of dental work on your front teeth, whitening could create a color mismatch that you'll definitely notice.
"What if Some of the Gel Gets on My Gums?"
It happens! Especially when you're just getting the hang of it, a little gel might touch your gums. You might feel a slight tingle or see a temporary white spot.
Don't worry. Just grab a cotton swab or a clean tissue and gently wipe the extra gel away. To avoid it next time, try applying a slightly thinner layer and being a bit more careful around the gumline. If your gums feel irritated for more than a few minutes, take a day off from whitening and rinse with some warm salt water to soothe them.
Ready to get that brighter, more confident smile with a product you can trust? At DentalHealth.com, we offer a curated selection of professional-grade whitening pens and other at-home dental care solutions recommended by dentists. Find the perfect tool to maintain your smile and enjoy free shipping on all USA orders.