

How to whiten bonded teeth: Safe tips for a brighter smile
So, you’re looking to brighten your smile but have some dental bonding in the mix? It’s a common question, and the short answer is that you cannot whiten the bonding material itself with typical bleaching products.
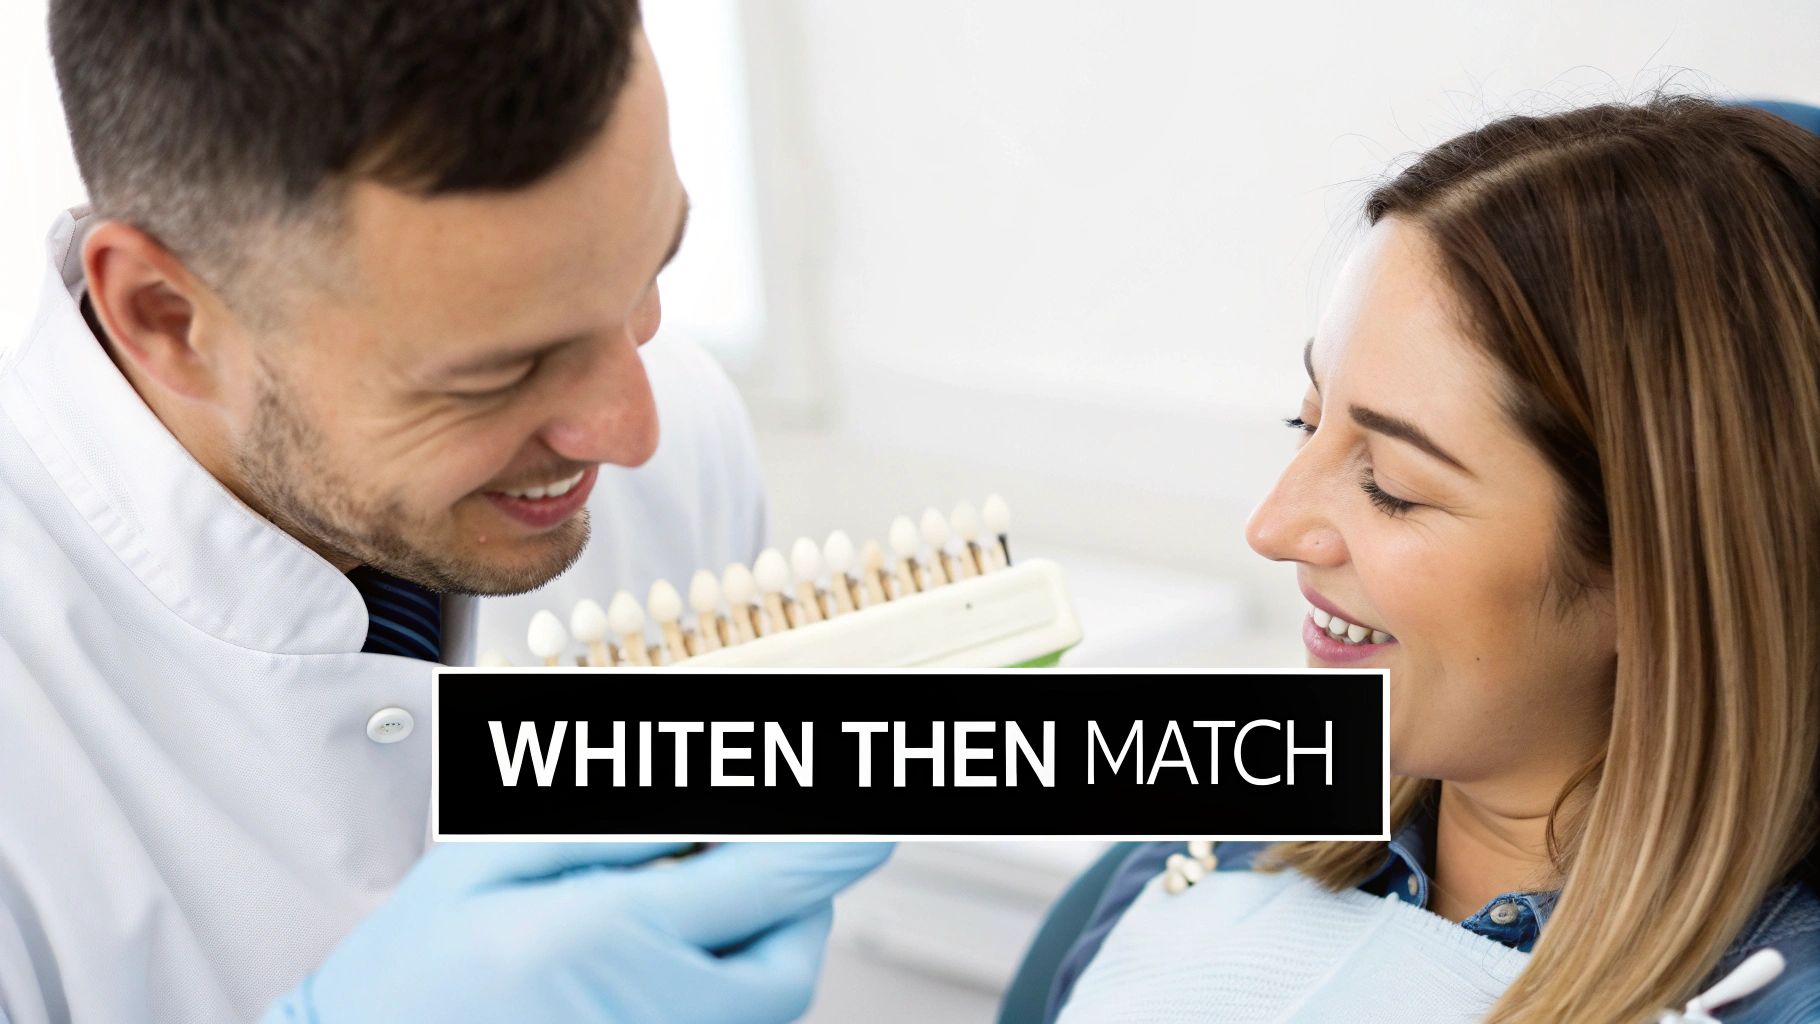
The real strategy is a two-step dance: first, you whiten your natural teeth to the shade you’re aiming for. Then, you head back to the dentist to have the old bonding replaced so it perfectly matches your newly radiant smile.
Why Dental Bonding Won't Whiten
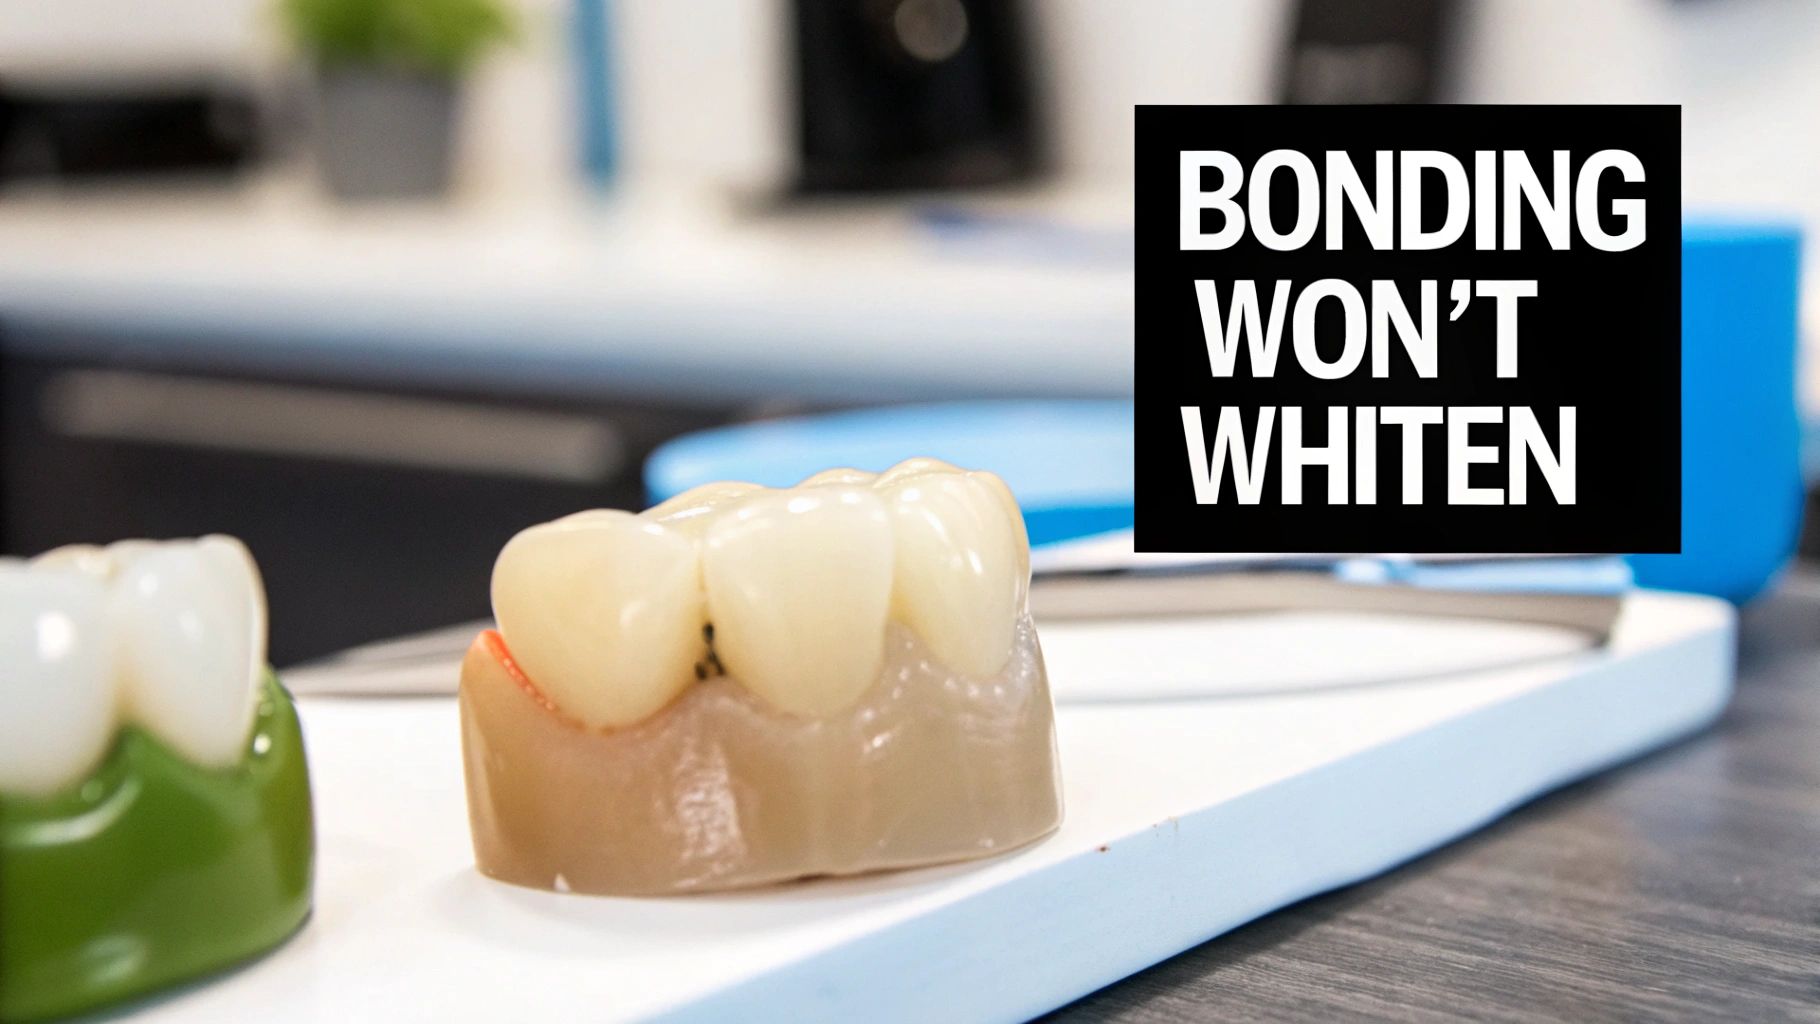
If you've ever slapped a whitening strip over a bonded tooth and been baffled by the patchy results, you're definitely not alone. It’s a frustrating experience, but the problem isn't the product—it's the fundamental difference between your tooth enamel and the composite resin used for bonding.
Think of it this way: your natural tooth enamel is porous. It has tiny, microscopic channels that allow whitening agents like hydrogen or carbamide peroxide to seep in and break down stains from the inside out. That’s why professional treatments work so well on natural teeth.
Composite resin, on the other hand, is a completely different beast. It's a non-porous, plastic-based material. The dentist custom-mixes its color to match your teeth during the initial procedure, and once it's cured with that blue light, the shade is locked in for good. It simply won't react to bleaching agents.
To really nail down why this happens, let's compare the two side-by-side.
Natural Enamel vs Dental Bonding Whitening Response
| Characteristic | Natural Tooth Enamel | Dental Bonding (Composite Resin) |
|---|---|---|
| Material Structure | Crystalline, porous mineral structure. | Non-porous, synthetic plastic and glass mixture. |
| How It Stains | Absorbs stains deep within its pores. | Stains accumulate on the surface over time. |
| Response to Bleaching | Peroxide penetrates pores to break down internal stains. | Bleaching agents cannot penetrate the surface; color remains unchanged. |
| Color Matching | Color can be lightened several shades. | Color is fixed when applied; must be physically replaced to change shade. |
This table clearly illustrates the core issue: one material is like a sponge, and the other is like a sealed countertop. You can scrub the countertop, but you can't change its inherent color without replacing it.
The Real Purpose Of Dental Bonding
Dentists love using bonding because it’s such a versatile and minimally invasive tool for all sorts of cosmetic fixes. We use it all the time to:
- Fix chips or cracks: It’s perfect for restoring the original shape of a damaged tooth.
- Close small gaps: Bonding can fill those little spaces between teeth without needing braces.
- Reshape or resize teeth: It helps make a tooth look longer or more uniform with the rest of your smile.
- Cover up stubborn stains: For deep discoloration that won’t respond to whitening, bonding can offer a great cover-up.
Now, while bonding is pretty good at resisting stains at first, it can pick up some discoloration over time from things like coffee, tea, or smoking. But these are surface stains. Unlike the stains in your enamel, they can't be bleached away.
This is exactly why trying to whiten bonded teeth often creates a very obvious color mismatch. It’s the same principle we see when people try to whiten porcelain veneers, too. If you're curious about that, you can check out our guide on how to whiten veneers at home.
The core takeaway is this: The color of composite resin is permanent. Whitening efforts will only lighten the surrounding natural teeth, making the bonded areas appear darker or more yellow in contrast.
The desire for these kinds of flawless smiles is driving huge growth in the dental world. The global cosmetic dentistry market hit USD 37.16 billion in 2024 and is on track to soar past USD 115 billion by 2032. This just goes to show how many people are investing in their smiles and why getting the whitening and matching process right is so important.
Your Whitening and Matching Game Plan
Getting a bright, even smile when you have existing dental work isn't about finding some miracle product. It's about having a smart, strategic process. The real secret is coordinating the whitening of your natural teeth with the replacement of your bonding, all under a dentist's watchful eye. This team approach is what stops that dreaded color mismatch in its tracks and leaves you with a stunning, uniform result.
Your journey doesn't start with a whitening kit from the store; it starts with a conversation in the dental chair. Honestly, this first chat is the most important step in figuring out how to whiten bonded teeth the right way.
The Essential Dental Consultation
Before you even think about buying a whitening gel, you need to see your dentist. They're going to look at a few key things that will dictate the best path forward for your smile.
First off, your dentist will check the overall health of your teeth and gums to make sure you're even a good candidate for whitening. If you have any active decay or gum disease, that has to be handled before any cosmetic work begins. They'll also take a close look at your existing dental bonding—checking its age, condition, and any signs of wear and tear. This helps figure out if the bonding was due for a replacement anyway.
Most importantly, this consultation is where you build a realistic plan. Your dentist can help you pick a whitening goal and lay out the whole timeline, from the first bleaching session to the final appointment for your new bonding.
Pro Tip: Bring in some photos of smiles you like. It gives your dentist a much clearer picture of your aesthetic goals and helps them pick a target shade that's both bright and natural-looking for you.
Whitening Your Natural Teeth
Once your dentist gives you the all-clear, it’s time to lighten your natural teeth to that new shade you’ve picked out. This sets the color standard that your brand-new bonding will be matched against. You’ve basically got two solid options here.
In-Office Professional Whitening
- Best for Speed: If you want to see a big change fast, this is it. A single visit can lighten teeth by several shades.
- Professional Supervision: A dentist applies a powerful, high-concentration peroxide gel, sometimes using a special light to activate it. This ensures everything is done safely and effectively.
- Higher Cost: It's definitely the pricier option, but you're paying for immediate, high-impact results.
Professional At-Home Kits
- More Gradual: These kits, which you get from your dentist, come with custom-made trays and professional-strength gel (like Opalescence or PolaDay) that you use at home over a few weeks.
- Greater Control: You can watch your progress every day and stop the moment you hit that perfect shade. This is fantastic for avoiding that overly-white look.
- Cost-Effective: This route is way more affordable than in-office treatments but still delivers fantastic, professional-grade results.
The right choice really depends on your budget, how quickly you want results, and how sensitive your teeth are. For this specific purpose, many people find that a professional at-home kit gives them the perfect blend of control and power.
Replacing and Matching Your Bonding
So, your natural teeth have reached their final, brilliant color. Now, you wait. It can take up to two weeks for the shade to fully "settle" after you finish whitening. Once it has, it’s time for the final act. You’ll head back to your dentist to have the old composite resin gently removed and replaced.
This is where the real artistry happens. Your dentist will meticulously select a new composite resin that’s a perfect match for your newly brightened teeth. They'll then skillfully apply and sculpt the material so it blends seamlessly with your natural tooth, polishing it to a glossy, lifelike finish.
The final result is a smile that's consistently bright and looks completely natural. Every single tooth—bonded or not—shares the same beautiful shade. No one will ever be able to tell where your real tooth ends and the bonding begins.
Choosing the Right At-Home Whitening Kit
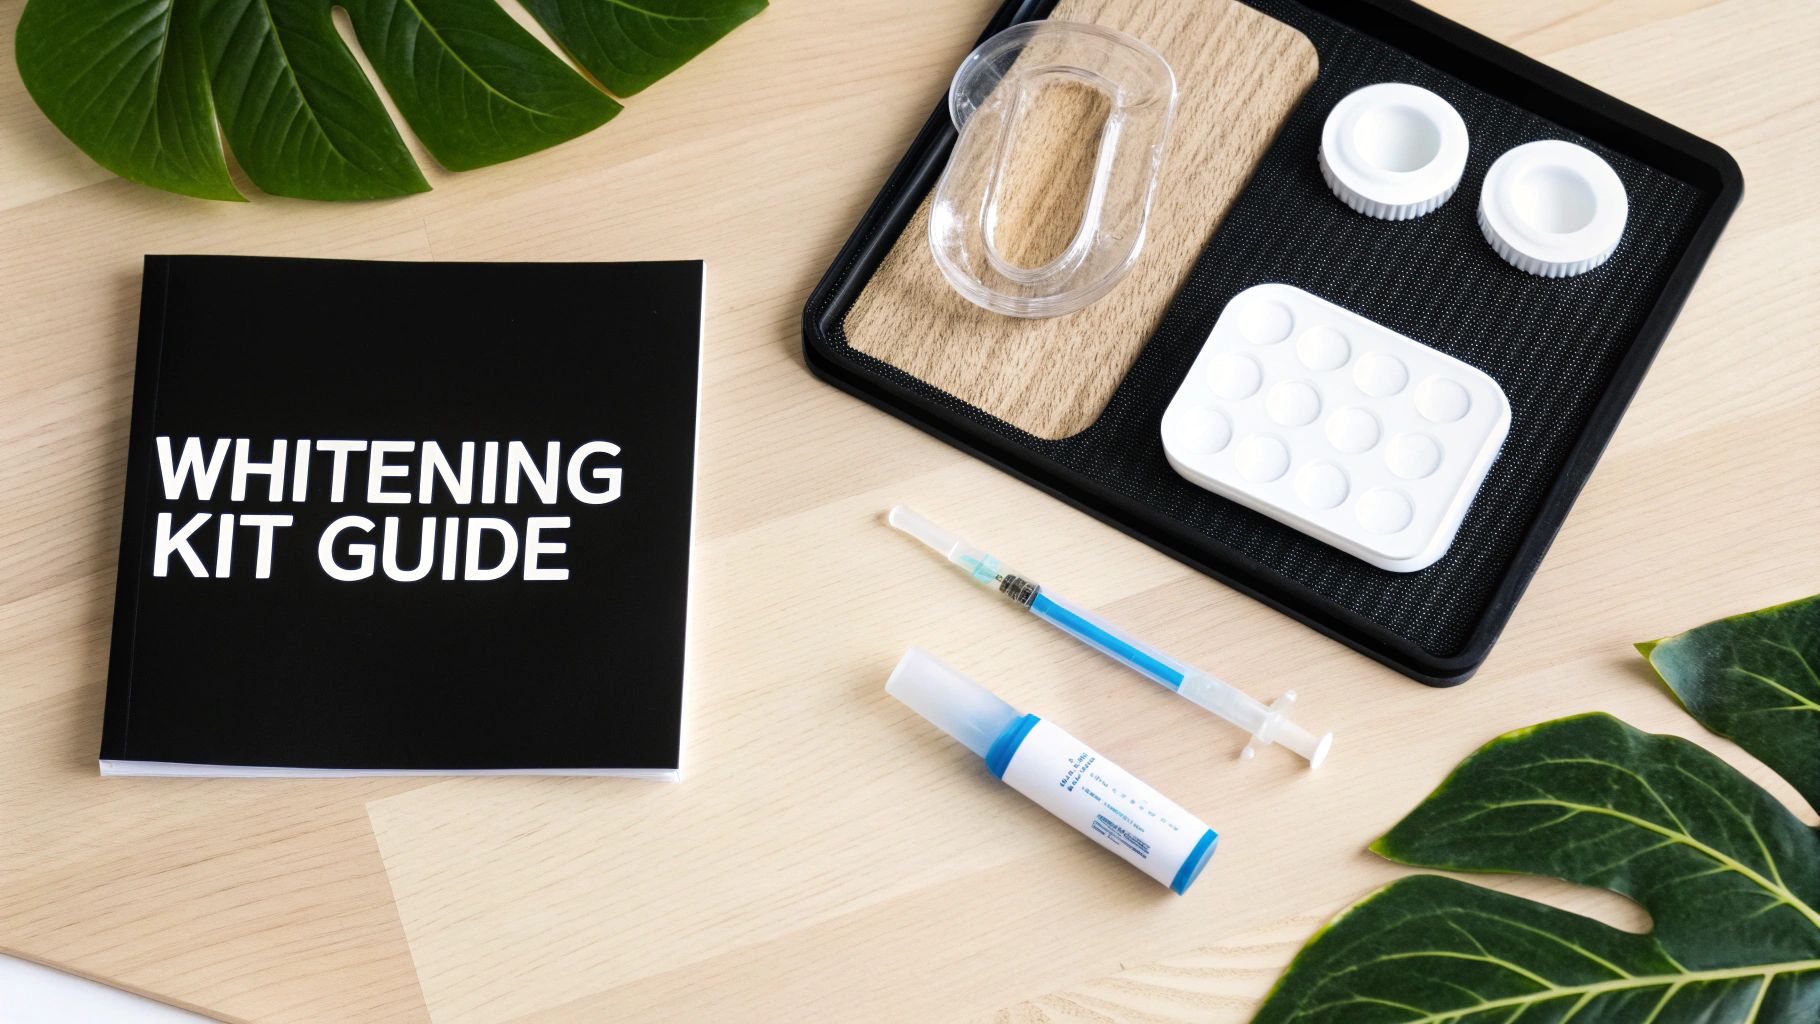
Once your dentist gives you the green light for at-home whitening, you’re faced with a sea of options. It can feel a little overwhelming, but picking the right professional-grade kit is a huge step toward getting that perfect shade before your bonding is replaced. This is about more than just grabbing a box off the shelf; you need to match the product to your specific goals and sensitivity levels.
The global teeth whitening market hit about USD 7.5 billion in 2023, and retail channels accounted for roughly 59% of those sales. That tells you just how much people trust at-home solutions, and thankfully, it means professional kits are more accessible than ever.
Decoding Peroxide Concentrations
The "power" behind any whitening gel is its peroxide concentration—usually carbamide peroxide or hydrogen peroxide. While higher percentages can deliver faster results, they also come with a higher risk of temporary tooth sensitivity. This is where your dentist’s advice is absolutely golden.
For example, if you have pretty resilient teeth and want to see results quickly for an upcoming event, your dentist might suggest a stronger gel like PolaDay CP 35%. This high-octane carbamide peroxide formula can make a noticeable difference in a short amount of time. On the other hand, if you’ve dealt with sensitivity before, a gentler approach with a 10% or 15% Opalescence gel will give you a gradual, more comfortable whitening experience.
Delivery Systems: Custom vs. Pre-Filled Trays
How you apply the gel is just as critical as the gel itself. The two main professional systems boil down to a trade-off between a custom fit and out-of-the-box convenience.
- Custom-Fit Trays: Your dentist makes these from an impression of your teeth. The result is a tray that fits your smile like a glove, ensuring the gel covers every tooth surface evenly while protecting your gums from irritation. For at-home whitening, this is pretty much the gold standard.
- Pre-Filled Trays: These are the simple, one-size-fits-most options that are ready to go as soon as you open the package. They’re incredibly easy to use, but they might not give you the same perfectly uniform coverage as a custom tray—which is exactly what you need when you’re aiming for an even shade across your natural teeth.
The whole point here is to achieve a consistent, brilliant shade on your natural teeth. That new shade becomes the target for your replacement bonding. Picking the right kit is your first real move in that direction.
Figuring out the safest and most effective option can be tricky. For a little extra help, you might want to look at a guide on choosing the best dental whitening kit. It can offer some different perspectives as you weigh your options.
Ultimately, your choice needs to align with the whitening plan you've mapped out with your dental team. For a closer look at some of the top-rated kits out there, check out our deep dive into the best teeth whitening products available today.
How to Manage Sensitivity While Whitening
Tooth sensitivity is one of the most common side effects of whitening. If you're not ready for it, that little "zing" can quickly derail your whole plan. But here’s the good news: it's almost always temporary and totally manageable with a few simple tricks.
Knowing how to handle sensitivity means you can get to your brightest smile without the discomfort. It happens because the whitening gel needs to open up the microscopic pores, or dentin tubules, in your teeth to lift stains. This is what lets the magic happen, but it can also briefly expose the nerve endings to things like cold air or drinks.
Proactive Steps for a Comfortable Experience
The best way to deal with sensitivity is to get ahead of it. Don't wait until you're already feeling that twinge to take action. A little prep work starting a couple of weeks before you whiten can make all the difference.
- Use a Desensitizing Toothpaste: For 1-2 weeks before you start, switch to a toothpaste with potassium nitrate or high fluoride, like Fluoridex. These ingredients are fantastic because they work by blocking those tiny tubules in your dentin, which helps shield the nerves from getting irritated.
- Stay Hydrated: This one is simple but effective. Drinking lots of water while you're whitening helps prevent your mouth from getting too dry, which can sometimes make sensitivity feel worse.
Making Adjustments During Whitening
If you do start to feel some sensitivity during your treatment, you're in complete control. The goal is a whiter smile, not a painful one.
The most effective approach is to listen to your body. If your teeth are feeling sensitive, it's a signal to adjust your routine, not to stop completely. A minor change can make a huge difference.
For example, if the instructions say to wear your trays for 60 minutes, try cutting that back to 30 minutes. This reduces how long the peroxide is in contact with your teeth. You could also try adding a "rest day" between sessions, giving your teeth a full 24-hour break to recover.
If the sensitivity is still bothering you, just talk to your dentist about dropping down to a lower-concentration gel. You'll still get incredible results—it will just take a little more time to reach your goal shade.
These small tweaks are the key to a successful and comfortable experience. For more tips and tricks, you can read our guide on how to reduce teeth sensitivity after whitening. At the end of the day, a process that feels good is one you'll actually stick with.
Keeping Your Brilliantly Matched Smile Bright
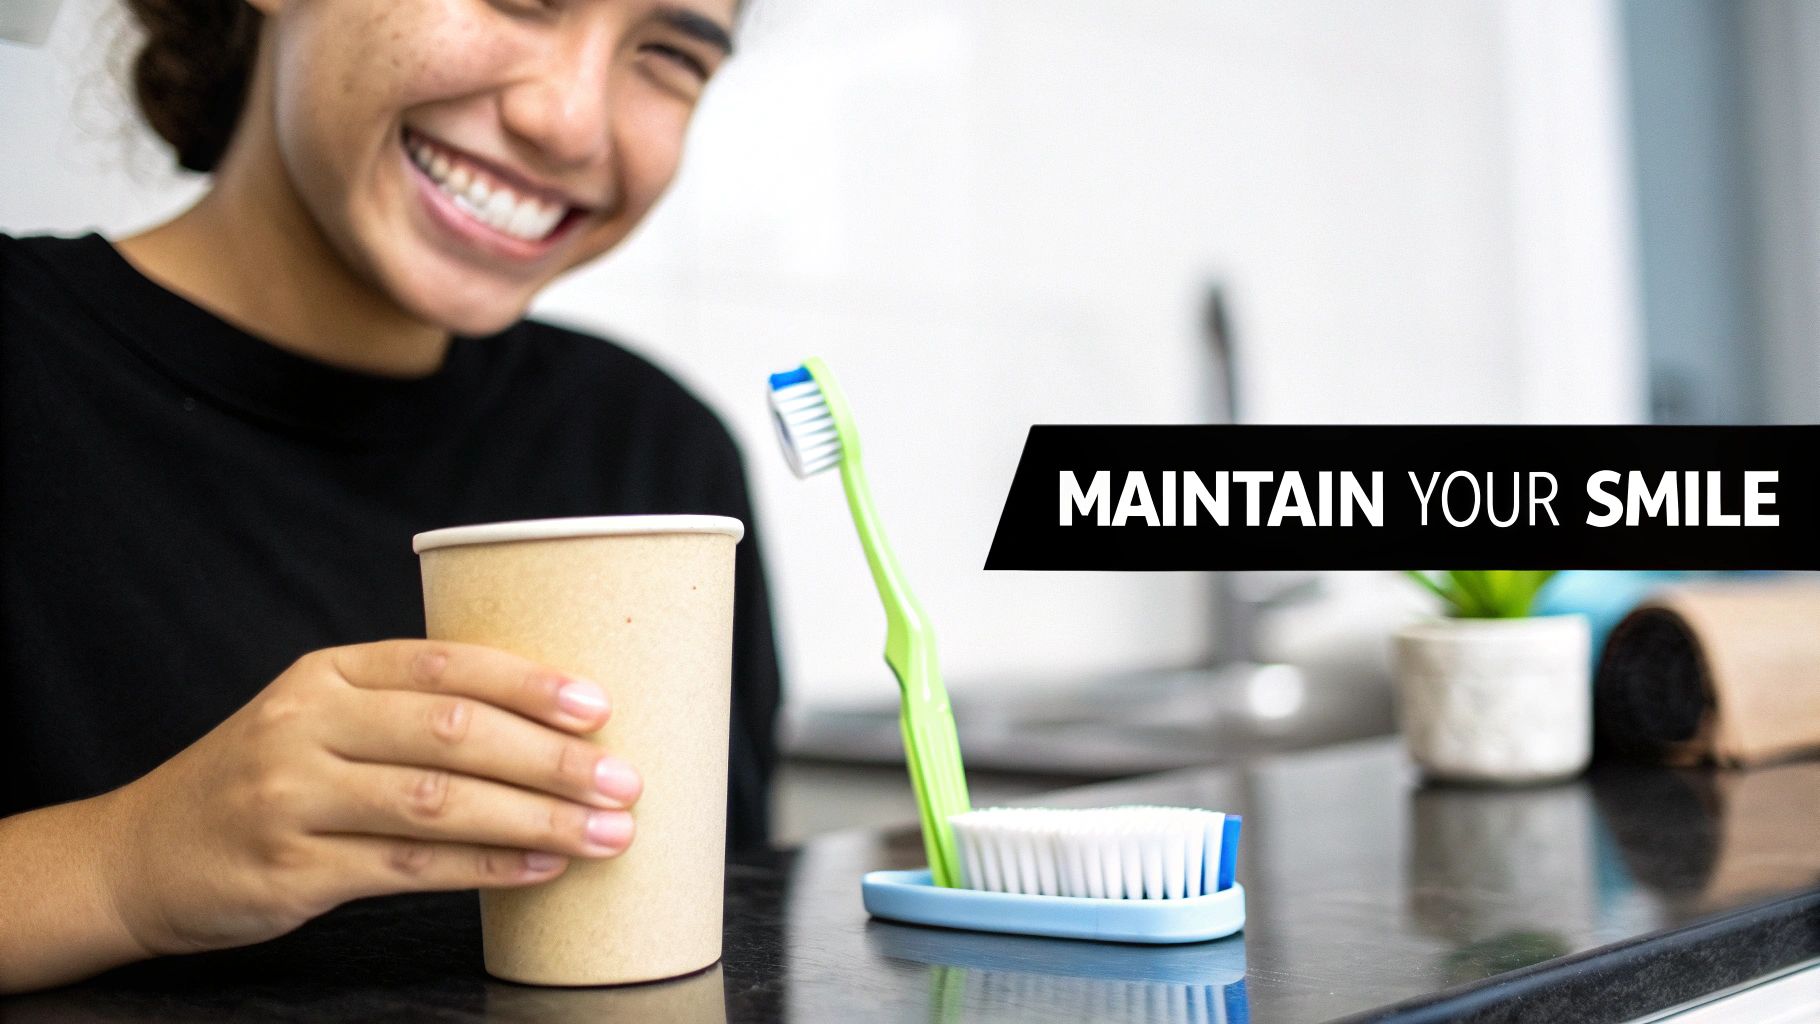
You did it. You went through the process of whitening your natural teeth and then had your bonding replaced to match perfectly. Now comes the easy part: protecting that investment so your beautifully uniform smile stays that way.
Long-term maintenance isn’t about some complicated new routine. It’s all about building simple, consistent habits that stop new stains before they even have a chance to set in. Think of it as your smile’s daily defense shield.
Daily Habits to Prevent Stains
The old saying "the best defense is a good offense" is spot-on here. You don’t need to swear off your morning coffee or that glass of red wine, but a few smart adjustments can make all the difference.
- Make Straws Your Best Friend: When you’re drinking coffee, tea, red wine, or even dark sodas, using a straw is a game-changer. It channels the liquid past the front surfaces of your teeth, dramatically cutting down on direct contact and staining.
- Rinse and Repeat: Just finished some berries, tomato sauce, or soy sauce? Take 30 seconds to swish your mouth with water. This simple move washes away the pigmented culprits before they can cling to your enamel or your bonding.
- Brush Gently, but Consistently: A solid routine of brushing twice a day is non-negotiable. It clears away the daily plaque buildup that acts like a sticky magnet for stains, which is what can make your smile look dull and yellowed over time.
Here's the bottom line: Prevention is always easier than correction. These small daily choices are your most powerful tools for extending the life of your whitening results and keeping your bonding looking brand new.
Choosing the Right Maintenance Products
Not all toothpastes are created equal, and this is especially true when you have composite bonding. Picking the wrong product can actually do more harm than good.
The number one thing to look for is a non-abrasive formula. Many toothpastes, especially those that promise "extreme whitening," contain harsh abrasives that can create microscopic scratches on the surface of your bonding. You won't see them at first, but over time they dull the resin’s glossy finish and, ironically, make it more likely to pick up new stains. Always opt for gentle, enamel-safe formulas.
The desire for great at-home care has never been stronger. In fact, North America held a 32.4% share of the global teeth whitening market back in 2021. This just shows how much people value accessible, high-quality products to maintain their smiles. If you're curious, you can read more about these teeth whitening market trends on futuremarketinsights.com.
By adopting these smart habits, you’re doing more than just brushing your teeth—you’re actively protecting your investment and ensuring your brilliantly matched smile stays bright for years to come.
Your Top Questions About Whitening Bonded Teeth, Answered
When you're looking into whitening your smile but have dental bonding, it's totally normal for questions to pop up. It can feel like a tricky situation, especially with so much conflicting info out there. Let's clear up some of the most common questions we hear from people just like you.
Can I Just Use Whitening Strips or Charcoal Toothpaste?
It's tempting to grab an over-the-counter solution, but you should definitely steer clear of both of these if you have bonding. Whitening strips are designed to work only on natural tooth enamel. The result? They’ll lighten the teeth around your bonded spots, creating a noticeable mismatch that actually makes your bonding look even darker.
Charcoal toothpaste is an even bigger problem. These products are abrasive, and the gritty particles can easily create micro-scratches all over the smooth surface of your composite resin. This not only dulls that nice, glossy finish but also creates tiny crevices where new stains from coffee, tea, or wine can settle in even faster.
Your best bet is to stick with a gentle, non-abrasive toothpaste and the professional game plan you and your dentist created.
How Long Should I Wait to Replace My Bonding After Whitening?
Patience really is a virtue here. After you've finished whitening your natural teeth, most dentists will have you wait at least two weeks before coming back in to replace the bonding. This little waiting period is absolutely critical for a couple of reasons.
First off, your tooth color needs time to stabilize. The shade can fluctuate a bit immediately after treatment, so waiting gives it time to settle into its final, true color. This ensures your dentist can pick the perfect shade of composite resin for a seamless match.
The second reason is all about chemistry. The peroxide in whitening gels can temporarily weaken the bond between adhesives and your tooth enamel. Waiting two weeks gives your enamel time to fully remineralize, ensuring your new bonding will be strong, secure, and built to last.
What if My Bonding Is New but My Natural Teeth Are Stained?
This is an incredibly common scenario. Maybe you had a chip fixed recently, and now you've noticed your other teeth look a little yellow in comparison. The good news is the game plan is very similar—you're just working backward.
Instead of whitening your teeth and then replacing old bonding, the goal is to carefully whiten your natural teeth until they match the shade of your new bonding.
This is where professional at-home whitening kits truly shine. They give you complete control, allowing you to monitor your progress every day and stop the moment you hit that perfect color match. To make it foolproof, ask your dentist for the specific shade code of your existing bonding (they have it in your chart). This gives you a clear target, so you don't accidentally over-whiten and create a whole new color mismatch.
Ready to start your journey to a brighter, more even smile? DentalHealth.com offers a curated selection of professional-grade, at-home whitening kits and sensitivity management products from top brands like Opalescence and PolaDay. Find the perfect dentist-recommended solution delivered right to your door at https://dentalhealth.com.