
Zoom Whitening Instructions: Your Complete At-Home Guide
You've just finished a Zoom whitening session, or opened a take-home kit and found yourself wondering how much gel to use, how long to wear the trays, and whether that sharp cold sensation is normal. The instructions often look simple, but small choices, such as overfilling a tray or ignoring gum irritation, can make the experience uncomfortable and the result uneven.
The safest approach isn't to chase the strongest possible routine. It's to match the Zoom whitening instructions to the product you have, your starting dental health, and the way your teeth respond. The decision points below will help you know when to continue, when to shorten a session, and when to stop and ask a dentist.
What Zoom Whitening Actually Includes
You may receive a box labelled “Zoom” and assume it contains one standard treatment. It does not. Zoom is a family of Philips professional whitening products with two main routes: a dentist-supervised chairside procedure and a take-home system prescribed or supplied through a dental practice. Their gels, exposure times, tray designs, and supervision differ, as explained in this overview of Zoom teeth whitening. Home-kit directions should not be substituted for chairside instructions.
Chairside treatment uses concentrated hydrogen peroxide, soft-tissue protection, and several short applications. Philips' published science summary describes an in-office protocol using either 25% or 15% hydrogen peroxide and whitening within one hour. The commonly described original chairside formulation contains 25% hydrogen peroxide and may improve shade by up to 8 shades in one session, according to independent clinical summaries such as this overview of Zoom whitening. The usual sequence consists of three 15-minute gel rounds, with fresh gel placed between cycles.
Take-home systems spread lower-intensity treatment across several days. Philips patient materials list 10%, 16%, and 22% carbamide peroxide for overnight or multi-hour wear. They also list 9.5% hydrogen peroxide for 30 minutes twice daily and 14% hydrogen peroxide for 15 minutes twice daily. Philips says its take-home line can produce optimal results within 2 weeks, with some regimens producing a whiter smile in 3 days or full results after 9 uses. The product-specific details appear in the Philips take-home patient handout.
Zoom product formats at a glance
| Format | Active strength | Wear time | Application setting | Typical results |
|---|---|---|---|---|
| Chairside Zoom | 25% or 15% hydrogen peroxide, depending on protocol | Three 15-minute gel rounds | Dental office with isolation and lamp activation | Rapid shade improvement during and after the appointment |
| Take-home carbamide peroxide | 10%, 16%, or 22% carbamide peroxide | Overnight or several hours, according to the prescribed gel | Custom or supplied trays at home | Gradual brightening over repeated applications |
| Take-home hydrogen peroxide | 9.5% or 14% hydrogen peroxide | 30 minutes twice daily or 15 minutes twice daily, according to strength | Trays at home | Faster daily sessions with a shorter wear period |
| Unverified LED kit | Varies | Follow the product label | Home or spa-style setting | Not equivalent to authentic Philips Zoom treatment |
The choice depends on how quickly you want treatment completed and how much control you need over exposure. Chairside treatment provides a concentrated appointment with professional monitoring. Take-home trays allow a slower, adjustable routine. If sensitivity develops, that flexibility can make it easier to pause or reduce exposure, rather than forcing the same schedule. Products marketed as “Zoom-like” are not automatically authentic Philips Zoom products, so their labels should not be treated as Philips' protocol.
Before You Start the First Tray
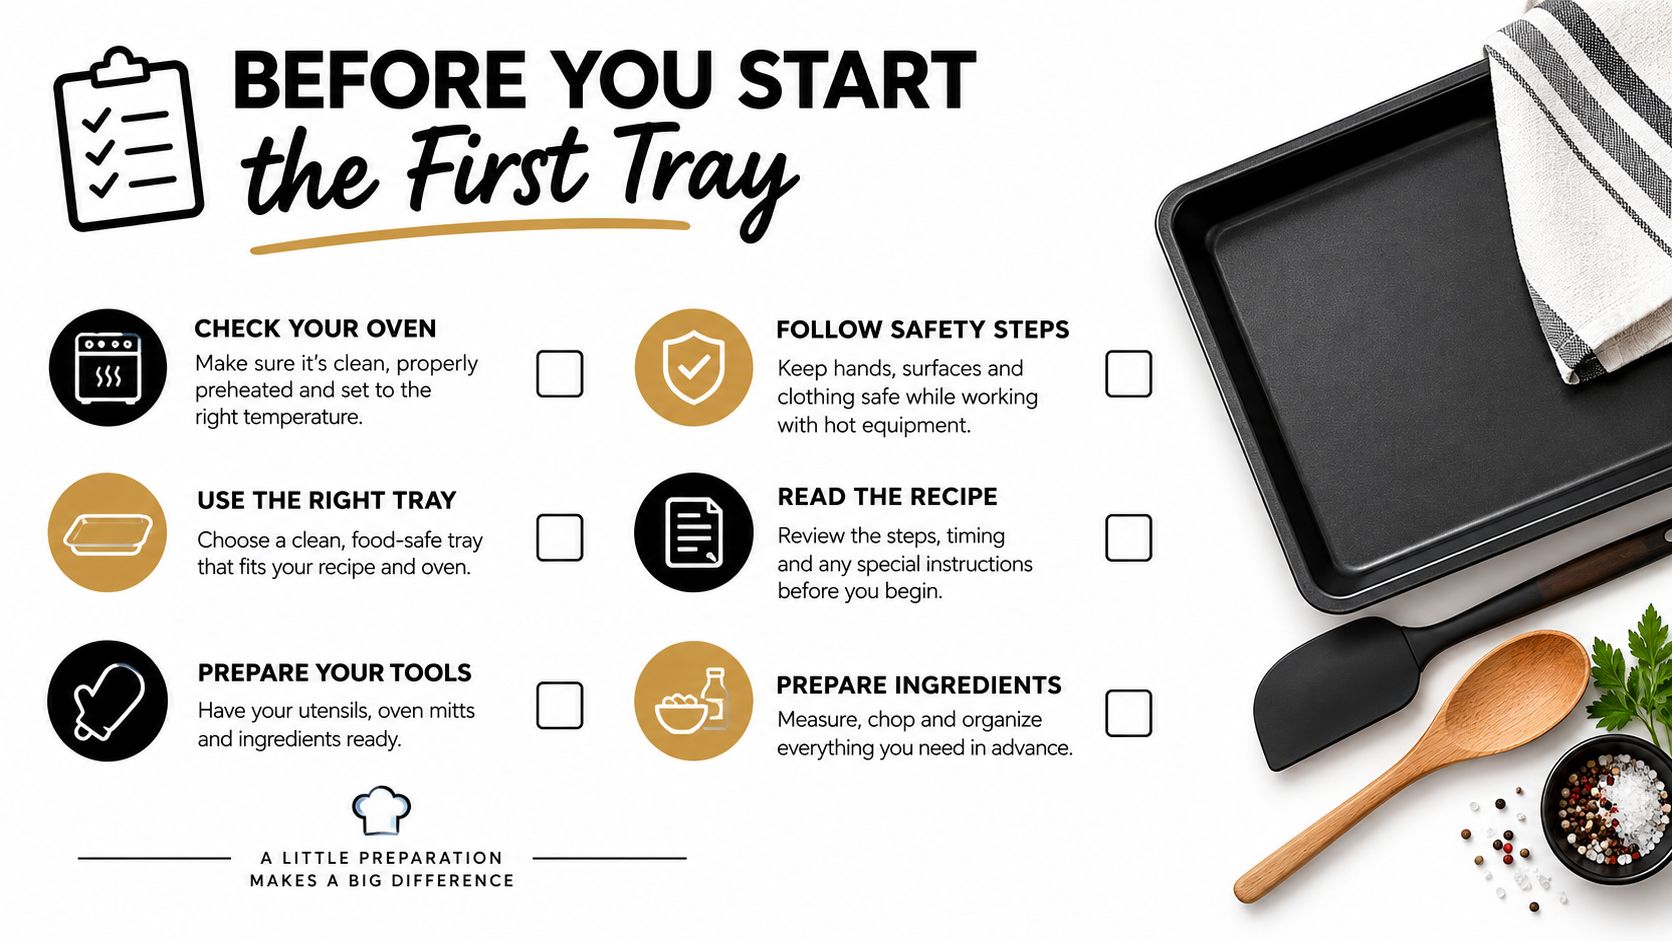
A take-home tray isn't a good place to discover an untreated cavity. Before beginning, check that your teeth and gums are comfortable, there's no obvious cracked tooth, and you haven't been told that you have active decay or gum disease. Peroxide can irritate inflamed tissue and may trigger significant discomfort in a tooth that already needs treatment.
Front fillings, crowns, bonding, and veneers also need a conversation with your dentist. Whitening changes natural tooth structure, but it doesn't lighten restorations. If a front crown or veneer is already matched to your current shade, whitening the neighboring teeth can create a mismatch rather than a uniform smile.
Decide whether this week is the right time
Health Canada advises consulting an oral health professional before home whitening if you're pregnant, have gum disease, untreated cavities, pre-existing sensitivity, or another dental condition. Its home tooth-whitening safety guidance is a useful screening point, but your own dentist's assessment takes priority.
Delay the first tray if your gums are bleeding, a tooth has started aching, or you've recently had dental work that has left the area tender. It's also sensible to avoid starting immediately around a cleaning or orthodontic adjustment if your gums feel raw. Whitening works better when you begin with calm, healthy tissues rather than trying to push through irritation.
Pre-condition if sensitivity is likely
If you've had sensitive teeth before, start a desensitizing toothpaste routine before the first application. Philips materials recommend using desensitizing toothpaste for 2 weeks before in-chair Zoom treatment, and products containing potassium nitrate or 5% NovaMin are commonly used for sensitivity support. Follow the product label rather than placing ordinary toothpaste inside the tray.
Practical rule: A quiet mouth is a better starting point than a rushed schedule. If a tooth already reacts to cold, identify the cause before adding peroxide.
Medication use, pregnancy, gum recession, enamel defects, and previous strong reactions to whitening all deserve professional review. Don't assume a lower concentration makes every situation suitable for home treatment. The right question isn't only “Can I whiten?” It's “What needs attention before I whiten?”
Running Your At-Home Zoom Routine
Start with clean, dry trays and a gentle brushing routine. Brush without an abrasive scrub, rinse away toothpaste, and dry the tray wells so the gel doesn't slide immediately toward the gums. Place a thin rice-grain-sized bead in each tooth compartment, not a line across the whole tray. More gel doesn't whiten faster. It usually creates overflow, gum irritation, and a mess.
Your wear time depends on the concentration and the instructions supplied with your specific product. Philips materials list 10% carbamide peroxide for overnight wear, 16% carbamide peroxide for 4 to 6 hours, and 22% carbamide peroxide for 30 to 60 minutes during the day in relevant take-home regimens. Hydrogen peroxide versions may use 30 minutes twice daily at 9.5% or 15 minutes twice daily at 14%, so check the product label and dentist's directions instead of guessing from another kit.
Seat the tray from the front and press it gently into place. Don't bite down hard, because pressure can force gel toward the gumline. If gel appears on the gums, wipe it away with a clean fingertip or dry cotton swab. A mild fullness, saliva increase, or occasional tingling can happen, but burning gums, sharp pain, or persistent throbbing means the tray should come out.
For a more detailed visual walkthrough, see how to use dental whitening trays.
When the session ends, remove the tray carefully and rinse your mouth with cool water. Rinse the tray as well, using a soft toothbrush if residue remains, then let it dry before storing it in its case. Hot water can distort some tray materials, so cool or lukewarm water is the safer default.
Keep a simple session log. Record the date, gel strength, wear time, and whether sensitivity appeared during the session or afterward. Stop when you've reached the shade goal agreed with your dentist, not because you feel compelled to use every remaining application. Philips says take-home results can reach up to 9 shades after 14 days, but your response may be less or more noticeable, and continuing after your target can add discomfort without adding a useful benefit.
How the In-Office Zoom Appointment Works
A chairside appointment follows a controlled sequence, and knowing that sequence makes the experience less mysterious. The clinician first checks your teeth and gums, records a starting shade, and confirms that the visible teeth are clean enough for consistent gel contact. This baseline matters because teeth can look temporarily lighter while dehydrated immediately after treatment.
Next, the clinician retracts the lips and cheeks and covers the gums with a protective barrier. That isolation is one of the key differences between professional chairside Zoom and LED-only spa treatments. A light by itself doesn't make a treatment equivalent to a dental-office protocol, especially when the gel concentration, barrier placement, and monitoring differ.
What happens during the gel cycles
The clinician applies fresh hydrogen peroxide gel and activates it with the Zoom chairside lamp. The core protocol uses three 15-minute applications, with gel removed and reapplied between cycles. In a randomized, examiner-blind clinical study, clinicians followed three applications per treatment, and the Zoom group showed an average improvement of about 7.8 shades by Day 7, while performing about 1 to 2 shades better than the comparator at measured follow-up points. The study is available through the PubMed clinical summary.
Between rounds, remain still and breathe through your nose when possible. Tell the clinician immediately if gel reaches the gum, a tooth becomes sharply painful, or the retractor feels too tight. The team can remove residue, check the barrier, adjust positioning, and decide whether the next cycle should continue.
The active sequence is short, but preparation and final care add time. The clinician may compare your final shade with the baseline and apply fluoride or a desensitizing product such as Relief ACP. A separate Philips Zoom WhiteSpeed trial used gingival barriers, direct gel application, and three 15-minute sessions with an LED lamp; it reported a Day-7 median color reduction of 6.34 versus 4.08 for a non-light comparator, with p = 0.0059, as described in the Philips clinical document.
When Sensitivity Shows Up Mid-Course
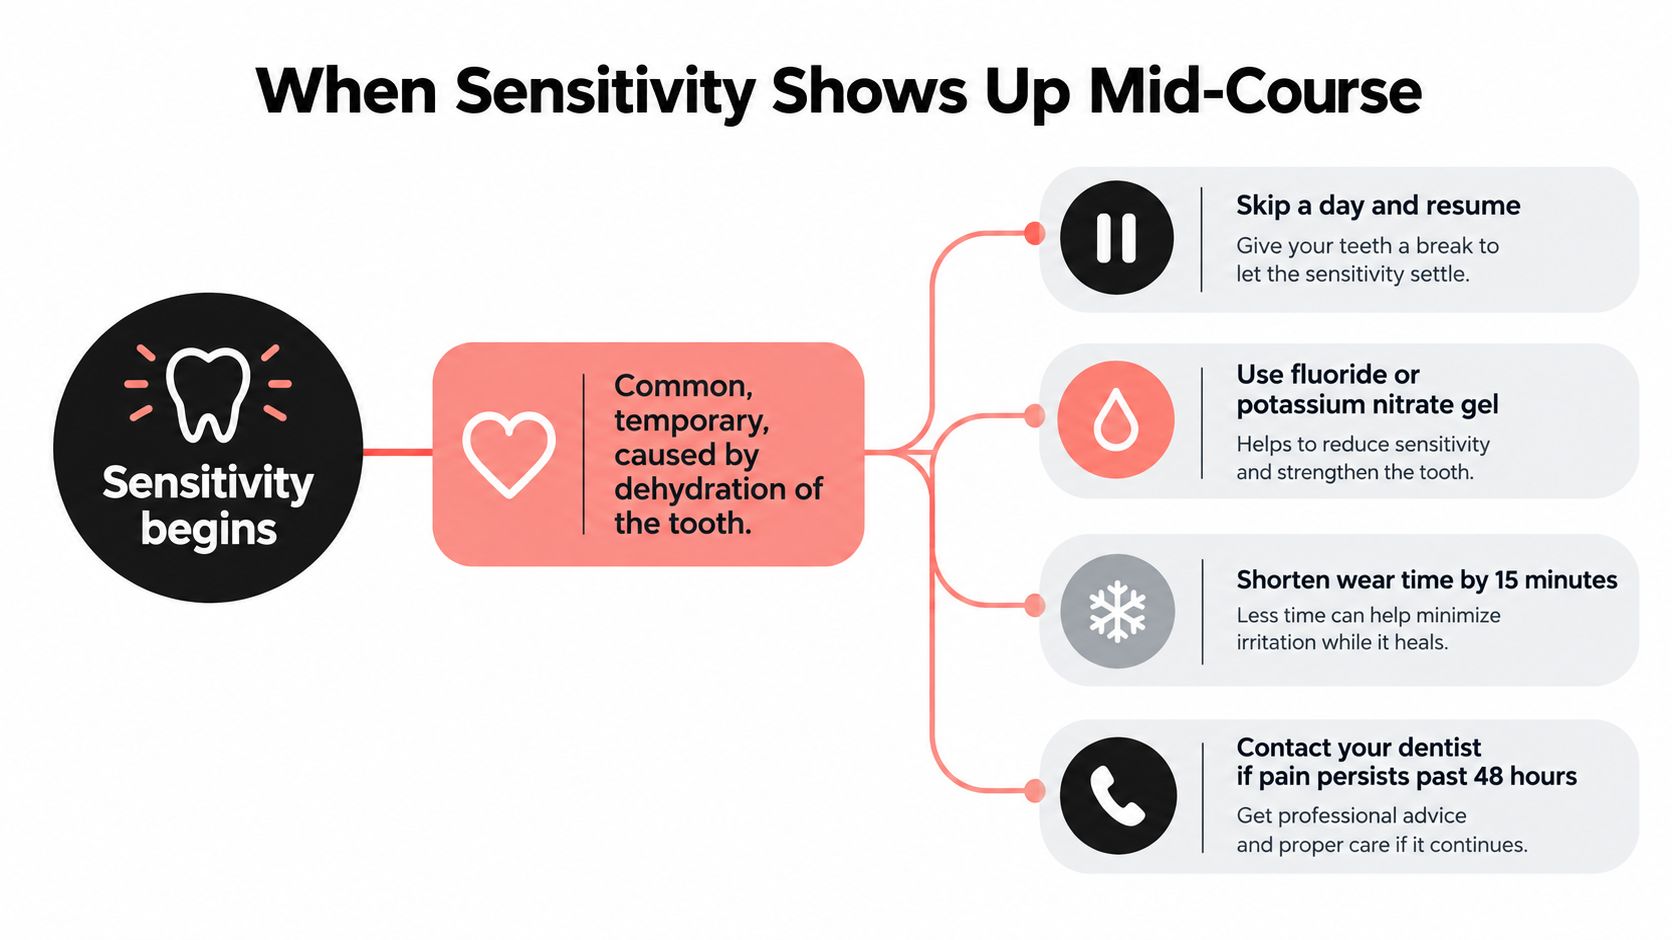
You finish a tray, sip cold water, and feel a sudden zing. That reaction does not automatically mean enamel damage. Peroxide can temporarily increase fluid movement through the tooth's dentinal tubules, causing a brief cold sensation or thermal ache. Philips' patient materials state that sensitivity usually settles within 1 to 3 days. They suggest whitening every other day or switching to a lower-concentration gel. The Philips sensitivity guidance supports treating discomfort as a signal to adjust your routine, not something to endure.
Use this graded response:
- Pause briefly: Skip the next session and let your teeth settle. Resume only after the discomfort has clearly eased.
- Reduce exposure: Shorten the next wear period according to your dentist's advice. Do not compensate for missed time with a longer session.
- Lower the dose: If symptoms return repeatedly, ask whether a lower-strength gel suits you better. A stronger product is not automatically better for your mouth.
- Stop for warning signs: Sharp pain in one tooth, gum blistering, swelling, or pain that continues after removing the tray requires dental advice.
The smallest useful adjustment often works best. Change one factor at a time, such as session frequency, wear duration, or gel strength, so you can identify what your teeth tolerate.
You can use desensitizing toothpaste before and during the course, as explained in this guide on how to reduce teeth sensitivity after whitening. Some clinicians prescribe or provide potassium nitrate or fluoride gel for use in the tray. Do not substitute a random product without checking its directions. Avoid very hot, very cold, or highly acidic foods around a session while your teeth adjust.
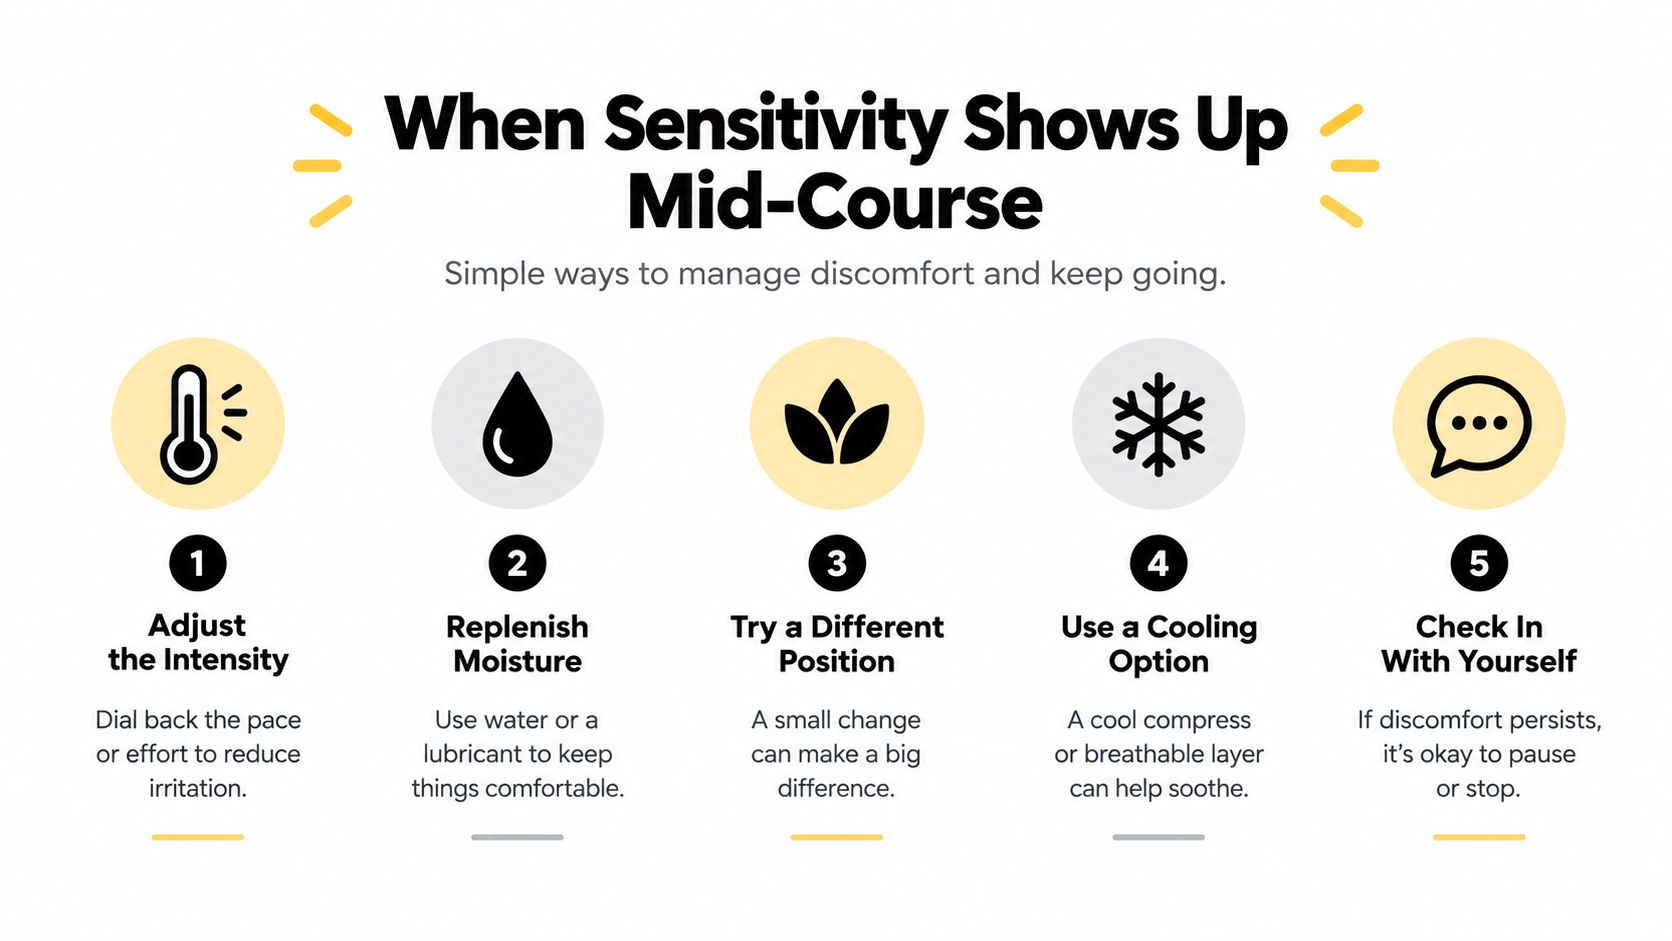
Sensitivity that fades soon after tray removal is usually manageable. Pain that lingers for hours, worsens, or stays in one tooth means you should pause and call your dentist.
The American Dental Association notes that transient sensitivity can occur in up to two-thirds of users during early bleaching. Philips also cited a 2024 USA study in which 100% of patients experienced little-to-no tooth sensitivity after 14 days of take-home use. Individual tolerance still varies, so your response should set the pace.
Aftercare That Protects the Results
The morning after whitening is when many routines go off course. You may reach automatically for coffee, order pasta with marinara, and open a glass of red wine because the appointment is over. Those choices expose freshly treated teeth to strongly colored liquids and sauces during the early aftercare window, when the tooth surface is more receptive to staining.
Choose pale, low-color foods and drinks for the first 48 hours. Water, milk, plain rice, eggs, chicken, white fish, and uncolored yogurt are easier choices than coffee, tea, berries, tomato sauce, dark soda, curry, or wine. Tobacco also belongs on the avoid list, because it can quickly reintroduce dark staining.
A practical aftercare timeline
| Time window | Safe choices | Avoid |
|---|---|---|
| First day | Water, milk, plain rice, eggs, chicken, white fish, uncolored yogurt | Coffee, tea, red wine, tomato sauce, berries, dark soda, tobacco |
| Second day | Continue pale foods and rinse with water after meals | Strongly pigmented foods and drinks, especially if sensitivity remains |
| After the initial window | Resume a varied diet while limiting staining exposure and rinsing after colored drinks | Frequent un-rinsed exposure to coffee, tea, soda, wine, and tobacco |
After eating or drinking something that may stain, rinse with water. If you drink coffee, tea, or soda later in your routine, a straw can reduce contact with the front teeth. Brush twice daily with a fluoride toothpaste that's suitable for your sensitivity level, and floss so plaque doesn't hold stain along the gumline. Brush gently rather than trying to polish away color with force.
Professional cleaning helps remove surface deposits, but it can't replace daily habits. If you use a maintenance tray, follow the gel's prescribed strength and wear time. Philips materials describe take-home options that can be used for touch-ups, but your dentist should set the schedule, especially if sensitivity has been an issue.
A low-concentration maintenance routine may suit some people every few months, while others need less frequent use. Don't make a fixed calendar your only guide. Your shade, lifestyle, restorations, and comfort should decide when a touch-up makes sense.
Putting Your Whitening Plan Together
A useful plan begins with your starting point, not with the strongest gel in the cabinet. If your main issue is recent coffee or tea staining and your teeth are otherwise healthy, a dentist may recommend take-home trays or a chairside session followed by home maintenance. If you're preparing for an event and want a rapid change, chairside treatment offers a concentrated, supervised route. If sensitivity is your concern, a slower take-home routine gives you more control over pauses and wear time.
Use this decision framework:
- Healthy teeth, flexible timeline: Follow the prescribed take-home strength, log each session, and adjust only when sensitivity or gum irritation calls for it.
- Fast deadline: Arrange a dental assessment before chairside treatment, then follow the post-treatment restrictions rather than judging the final shade immediately.
- Existing front restorations: Ask the dentist to plan the final shade before whitening, because crowns, veneers, and fillings won't change color with peroxide.
- Sensitivity-prone mouth: Pre-condition with an appropriate desensitizing toothpaste, start conservatively, and keep a lower-strength option available if your dentist approves it.
- Maintenance stage: Use the tray only at the cadence supplied for your gel. Don't add sessions just because the result looks slightly less bright after normal hydration and daily wear.
The most reliable long-term habits are simple: protect the first 48 hours, manage daily staining exposure, and respond early when sensitivity appears. A forgotten tray, smoking relapse, or skipped shade check can derail a good routine more easily than a lack of expensive equipment.
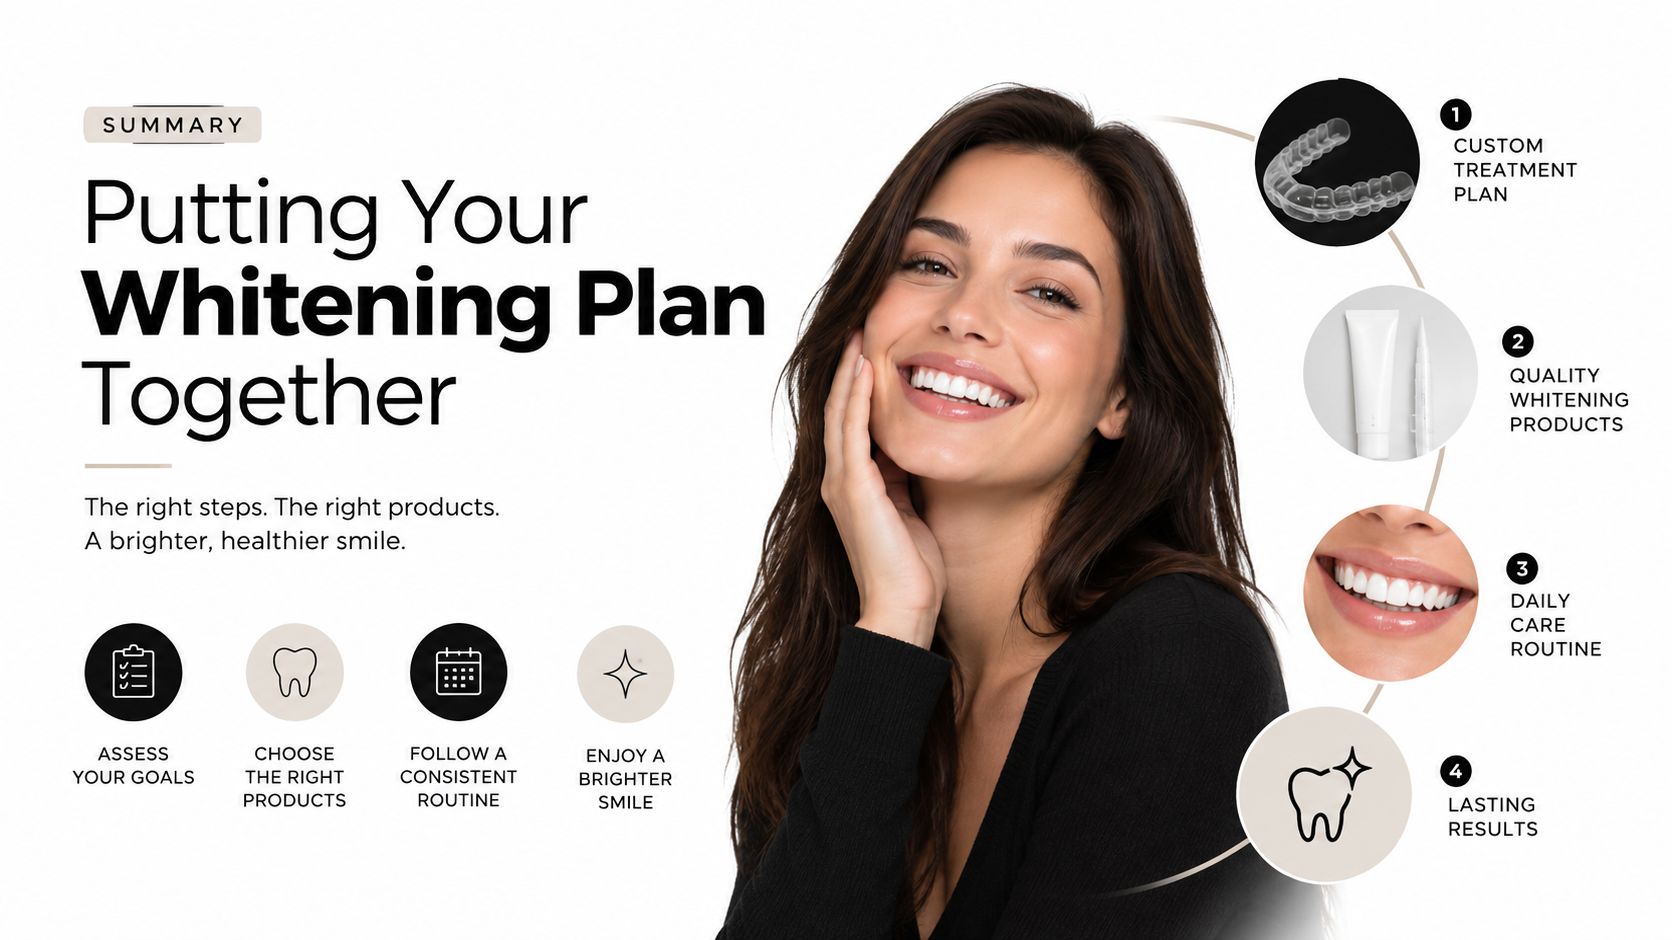
Rule of thumb: If sensitivity remains mild and your shade holds steady for two weeks, maintain the routine. If discomfort persists or the shade goal isn't being reached, pause and reassess the concentration with your dentist.
DentalHealth.com offers Philips Zoom take-home products, whitening gels, sensitivity care, and practical guidance for tray use and aftercare. Visit DentalHealth.com to compare relevant professional-grade oral care options and choose supplies that fit the routine your dental professional has recommended.