

How to Care for Retainers Your Orthodontist Will Approve Of
So, you’ve made it through your orthodontic treatment. Congratulations! That new smile is a huge accomplishment, but the journey isn't quite over yet. Think of your retainer as the key to protecting that investment for life.
Putting your retainer care on the back burner is a bit like buying a brand-new car and deciding never to change the oil—it’s not a question of if things will go wrong, but when. Without a solid cleaning routine, that custom-fit device can quickly become a haven for bacteria.
What happens next isn't pretty:
- Bad Breath (Halitosis): Bacteria and plaque build-up create unpleasant odors.
- Stains and Discoloration: Your retainer can turn yellow, and so can your teeth.
- Plaque and Tartar: This stuff can harden on your retainer, potentially leading to cavities and gum issues when you wear it.
- Retainer Damage: Using the wrong cleaning products can warp, crack, or weaken the material.
Why Proper Retainer Care Is Non-Negotiable
Knowing how to clean your retainer properly really starts with identifying which kind you have. Each type has its own quirks and material needs. The big three are Essix (the clear plastic ones), Hawley (the classic wire and acrylic combo), and bonded (the permanent kind fixed to your teeth).
The daily cleaning basics are pretty similar across the board, but their materials react differently to deep cleaning methods. Before we dive into the nitty-gritty of caring for your specific type, you might find it helpful to check out this complete buyer's guide to dental retainers online.
Your retainer is a custom-made medical device. It’s precision-engineered to stop your teeth from shifting back to their old positions. Treating it right ensures it can do its job for years, saving you from the frustration and expense of orthodontic relapse.
The sheer number of people relying on these devices is staggering. In fact, the global market for orthodontic retainers was valued somewhere between $2.6 billion and $3.4 billion in 2023-2024. That's a whole lot of smiles being protected. You can dig into more data about the orthodontic retainer market if you're curious.
This guide will give you the simple, effective routine you need to keep that smile perfectly in place.
Your Daily Retainer Cleaning Playbook
Locking down a simple, effective daily routine is the single most important thing you can do for the long-term health of your retainer. It only takes a few minutes a day to stop bacteria, plaque, and nasty odors from building up. Think of it less like a chore and more like protecting your orthodontic investment.
The goal is to give your retainer a quick clean every time you brush your teeth. This simple step washes away saliva and plaque before they get a chance to dry and harden onto the surface. Consistency here is everything if you want to avoid that cloudy film and yellowing that can happen over time.
Essential Tools for Removable Retainers
You don't need some complex, expensive setup to keep your Essix or Hawley retainer in great shape. Honestly, simpler is usually better. Your daily cleaning kit really only needs two things:
- A dedicated soft-bristled toothbrush: Keep a separate brush just for your retainer. This avoids transferring germs back and forth and makes sure the bristles are soft enough that they won't scratch the plastic or acrylic.
- Gentle, clear liquid soap: A mild, unscented, and dye-free soap works perfectly. It cleans away grime without the harsh chemicals you'd find in other cleaners that can actually damage the retainer material.
Whatever you do, never use hot water to rinse or clean your retainer. The material, especially in clear Essix-style retainers, can easily warp with heat, making it completely useless. Always, always stick to cool or lukewarm water.
Another common mistake is reaching for toothpaste. It seems like it would make sense, but most toothpastes are abrasive. They'll create tiny, microscopic scratches all over your retainer's surface, which ironically become the perfect hiding spots for even more bacteria to grow.
This infographic breaks down the basic care process, showing how a consistent routine is the foundation for every retainer type.
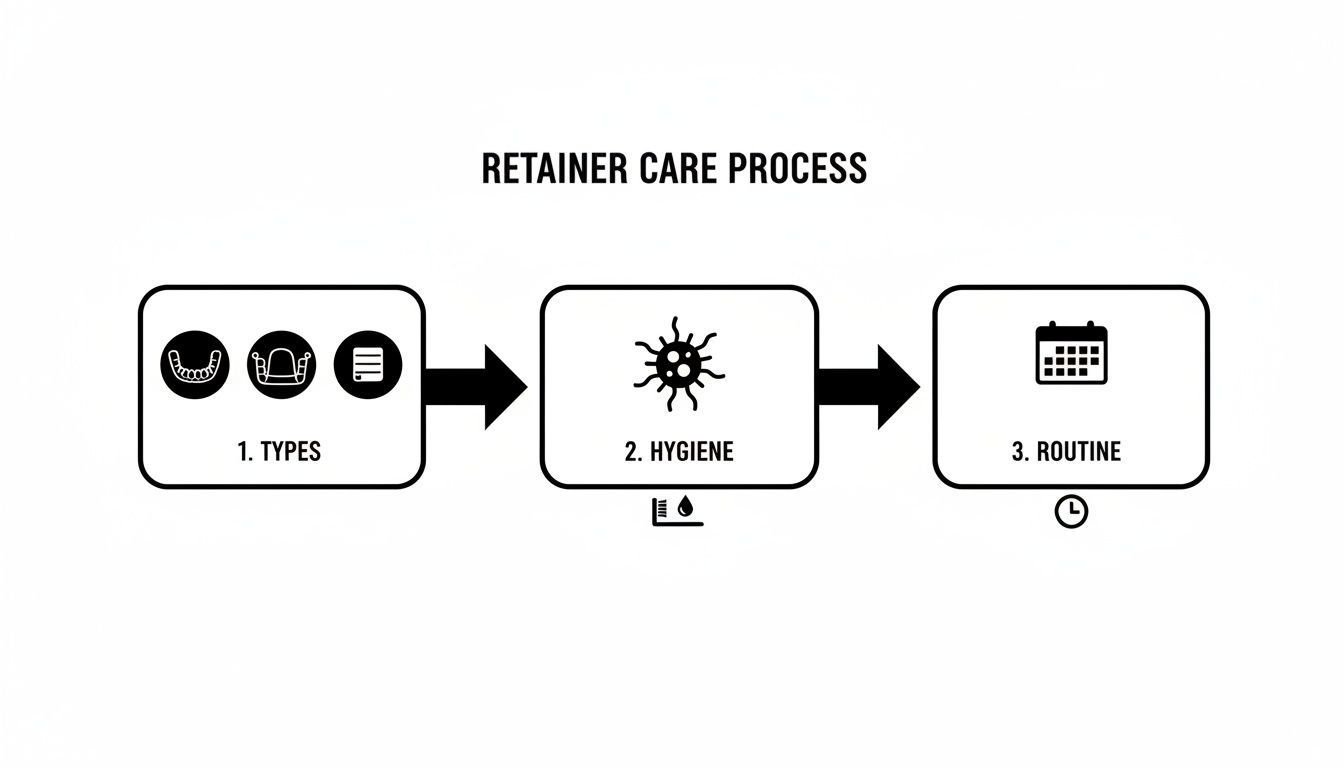
As you can see, no matter which kind of retainer you have, sticking to a solid hygiene plan is fundamental to your overall oral health.
Cleaning Your Bonded Retainer
If you have a bonded (or permanent) retainer, your daily care is built right into your normal brushing and flossing routine. That little wire is a natural trap for plaque, so being meticulous here is non-negotiable.
Your most critical tool is a floss threader. This is a simple plastic loop that helps you guide a piece of floss underneath the bonded wire so you can clean between each tooth properly. Gently work the floss up and down against the side of each tooth and run it along the wire itself to knock loose any trapped food and plaque. If you want a more detailed breakdown, check out our article on how often you should be cleaning your retainer.
Skipping this step is a recipe for serious plaque and tartar buildup. This dramatically increases your risk for cavities and gum inflammation around the very teeth your retainer is supposed to be protecting. Make flossing under that wire a non-negotiable part of your nightly routine.
And this isn't just friendly advice—it's backed by science. Studies show that uncleaned retainers can become breeding grounds for bacteria like Streptococcus and Candida, which are directly linked to plaque, tooth decay, and other oral infections. This is why a consistent cleaning habit is so vital for your health.
Deep Cleaning Your Retainer for a Fresh Start
Daily cleaning is your first line of defense, but a weekly deep clean is the secret weapon that truly keeps your retainer pristine. This step tackles the stubborn buildup, odors, and discoloration that a quick daily scrub might miss. It’s like hitting a reset button, ensuring your retainer stays as fresh and hygienic as the day you got it.
Going the extra mile once a week removes microscopic bacteria and dissolves the beginnings of tartar. Think of it as preventative maintenance that saves you from dealing with a cloudy, foul-smelling appliance down the road. Luckily, you have a few powerful and easy options to choose from.
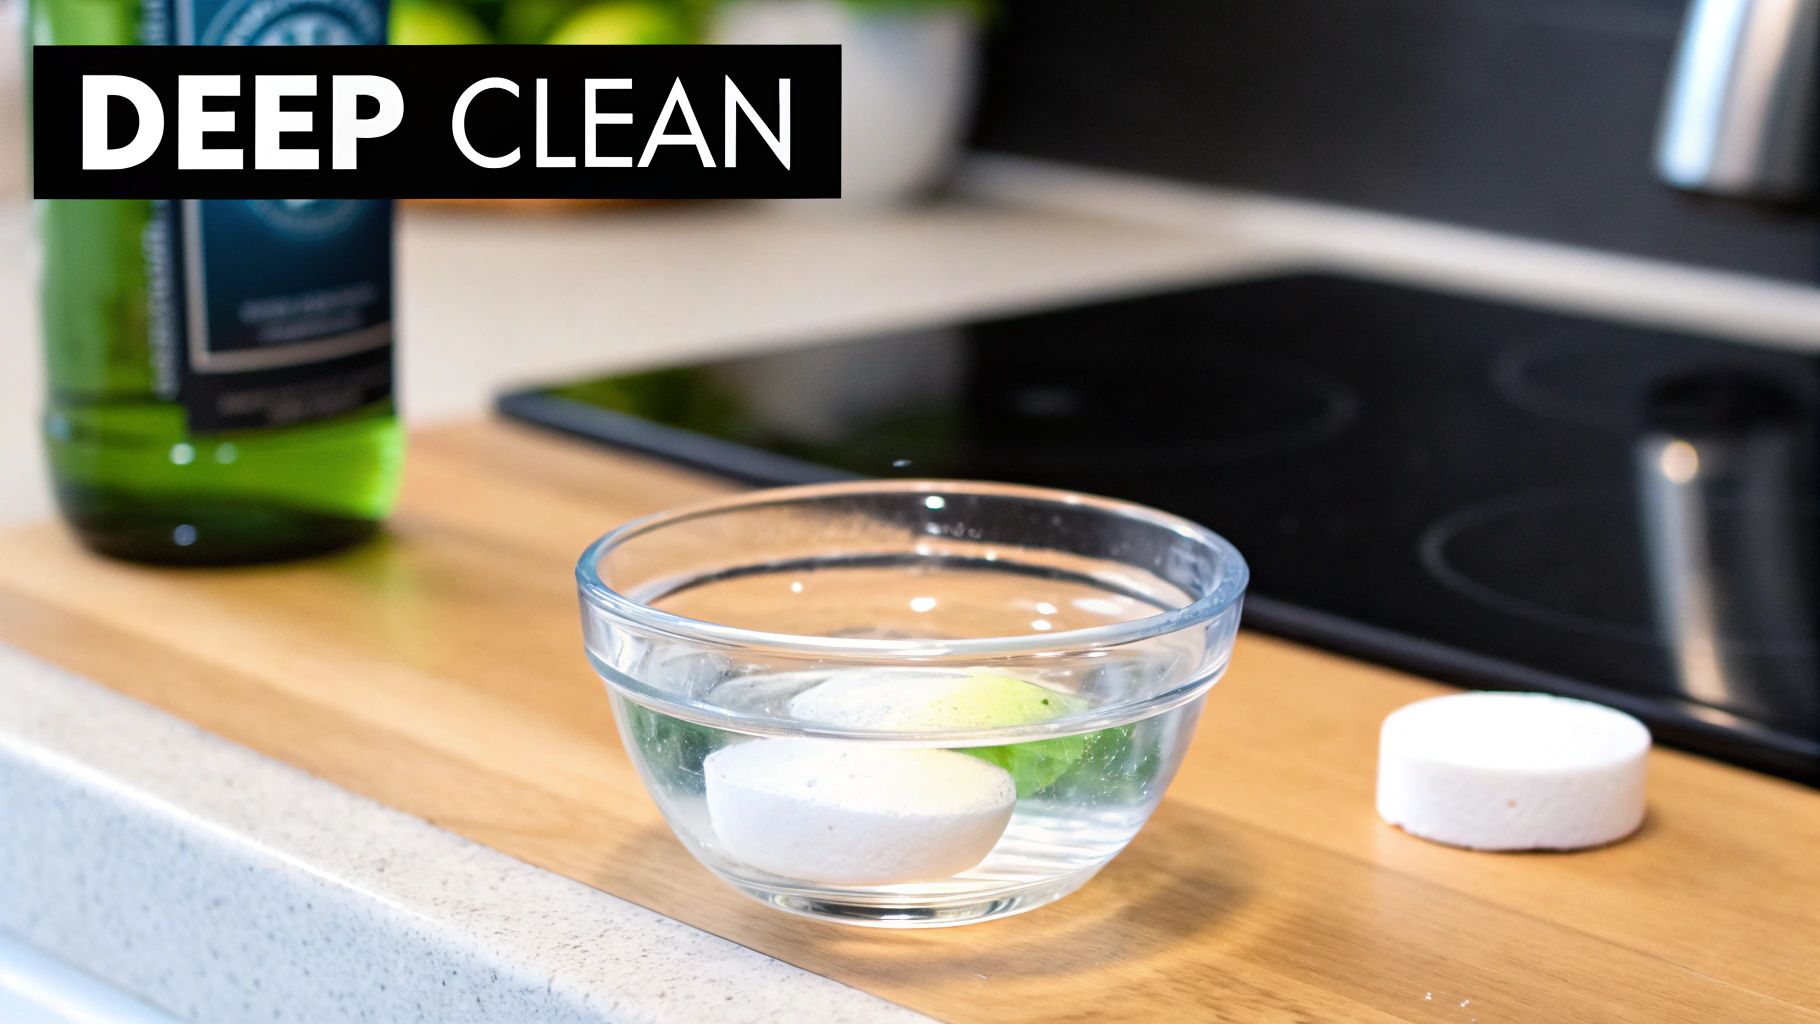
Using Effervescent Cleaning Tablets
Specialized cleaning tablets, like Retainer Brite, are a popular and incredibly effective choice. These tablets are formulated to kill odor-causing bacteria and dissolve plaque without using harsh chemicals that could damage your retainer's material. They are simple to use—just drop a tablet into a cup of lukewarm water and submerge your retainer.
A typical soak lasts about 15 minutes. It’s crucial not to leave your retainer in for hours, as prolonged exposure can sometimes affect the plastic. After the soak, give it a gentle brush and a thorough rinse with cool water.
Be mindful of the ingredients, though. Some tablets contain persulfates, a known allergen that can cause reactions in sensitive individuals. The FDA has highlighted the need to rinse retainers completely after using these cleaners to remove any residue.
DIY Soaking Solutions
If you prefer a more hands-on approach, a couple of household staples can work wonders. These methods are cost-effective and use ingredients you probably already have in your pantry.
- White Vinegar Soak: Mix equal parts white vinegar and lukewarm water. Let your retainer soak for about 20 minutes to dissolve mineral buildup (that cloudy white film). Vinegar is acidic, so avoid soaking for too long, and always follow with a thorough rinse and gentle brushing.
- Baking Soda Solution: Create a paste with baking soda and water to gently scrub away stains, or dissolve two tablespoons in a cup of water for a deodorizing soak. This helps neutralize acids and odors, making it an excellent gentle cleaner.
When choosing cleaning solutions, it’s helpful to understand the properties of various agents. For example, understanding pH neutral cleaners can prevent damage to delicate materials over the long term.
No matter which method you choose—tablet, vinegar, or baking soda—the final rinse is the most critical step. Rinsing thoroughly under cool, running water ensures no cleaning agents are left behind, leaving your retainer fresh, clean, and ready to wear.
Comparing Retainer Deep Cleaning Solutions
To help you decide which deep cleaning method is the best fit for your routine, here’s a quick breakdown of the most common options for removable retainers.
| Cleaning Method | Best For | How to Use | Pros | Cons |
|---|---|---|---|---|
| Cleaning Tablets | Killing bacteria, removing plaque and odors | Dissolve one tablet in water, soak retainer for 15-20 mins, then rinse | Very effective, easy to use, pre-measured | Can be costly over time, may contain allergens (persulfates) |
| White Vinegar | Dissolving mineral (tartar) buildup | Soak in 50/50 mix of vinegar and water for 20 mins, then brush & rinse | Inexpensive, effective against cloudy buildup | Strong smell, can be too acidic if used for too long |
| Baking Soda | Deodorizing and gentle stain removal | Make a paste to scrub or dissolve in water for a soak | Very cheap, neutralizes odors, gentle abrasive | Less effective on heavy tartar and deep stains |
Ultimately, the best choice depends on what you're trying to tackle—whether it's funky odors, cloudy buildup, or just general upkeep.
If you're still on the fence, we put together some detailed retainer cleaner reviews that compare popular brands and DIY options. This can help you find the perfect fit for your routine and budget.
Smart Storage and Handling Habits to Avoid Damage
A lost or broken retainer is an expensive, frustrating setback that almost always leads to your teeth shifting back. The single most important habit you can build is deceptively simple: if the retainer isn’t in your mouth, it must be in its case. No exceptions.
This one rule is your best defense against the most common retainer disasters. As an orthodontist, I've heard countless stories of retainers getting wrapped in a napkin at a restaurant, only to be tossed out with the trash. It happens so often that the American Association of Orthodontists flags it as a frequent post-treatment problem. You can read more about common orthodontic issues they've tracked.
Another classic mistake is leaving a retainer on a nightstand or counter. To a curious pet, it looks like the perfect chew toy. The cost and hassle of getting a replacement are completely avoidable if you just use the case consistently.
Traveling with Your Retainer
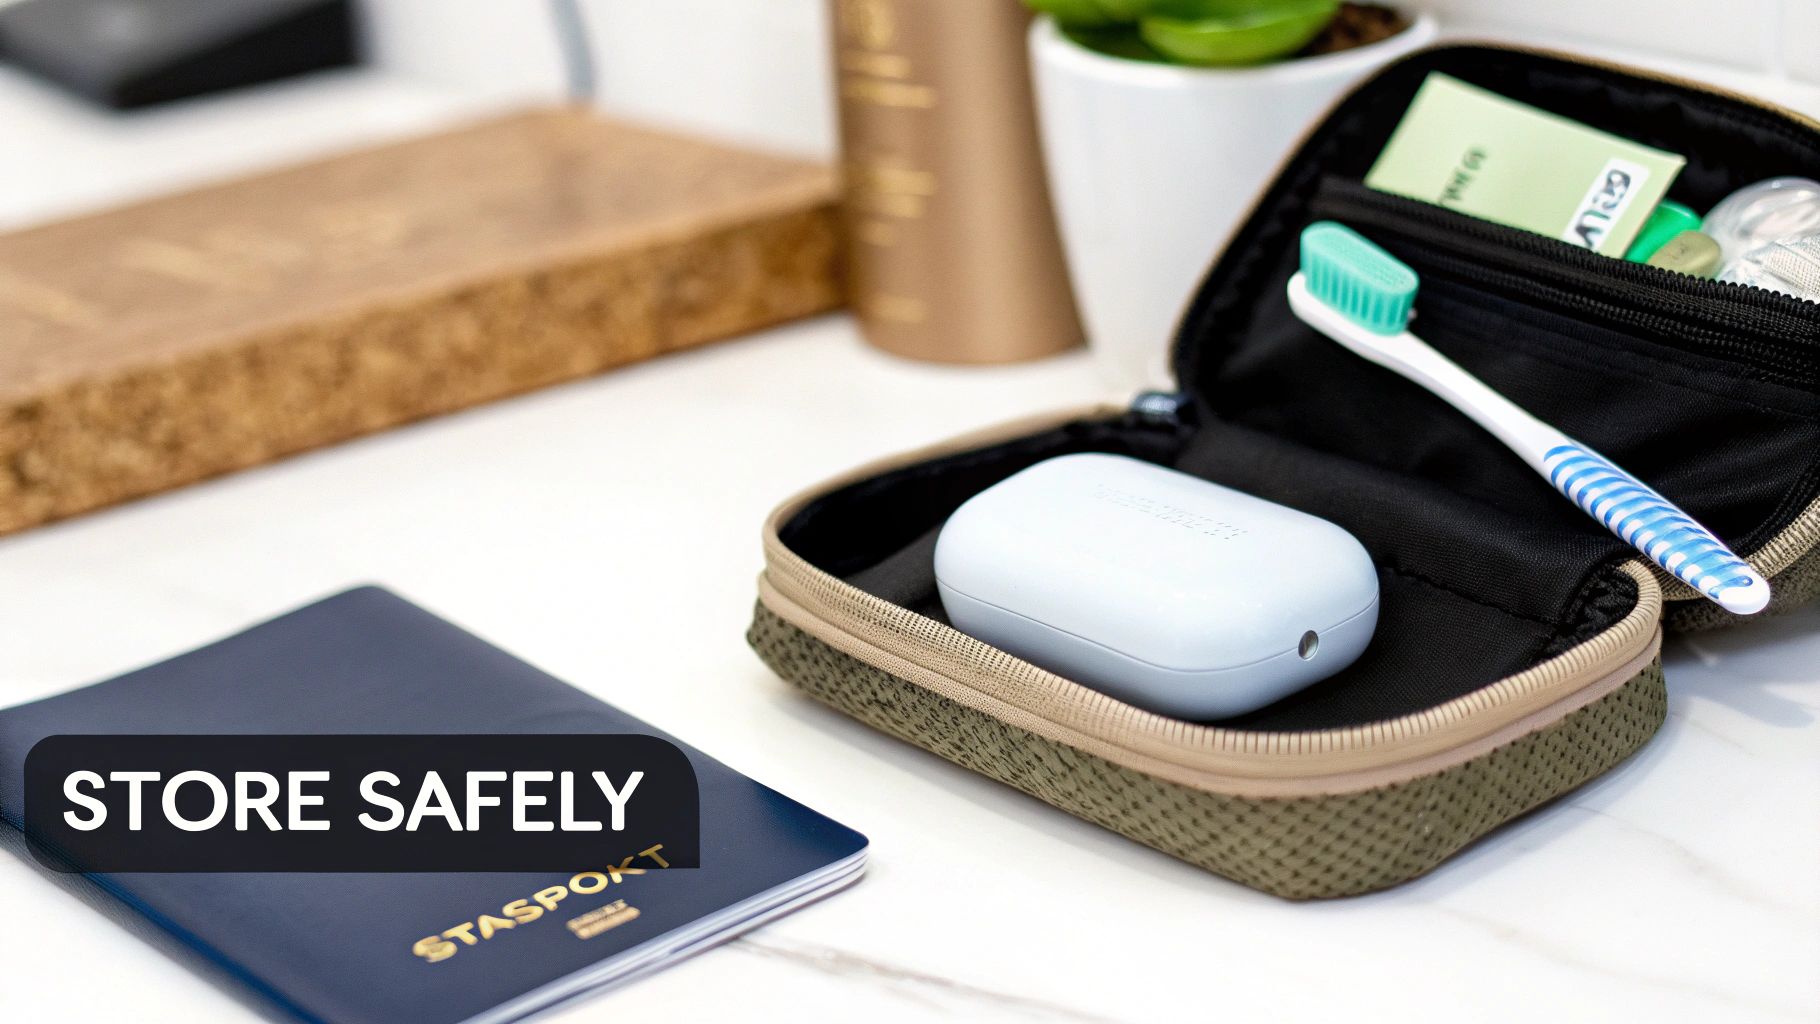
Your storage habits become even more critical when you're away from home. Traveling introduces new risks, but a little bit of planning makes all the difference.
- Carry-On Only: This is non-negotiable. Never, ever pack your retainer in a checked bag. Luggage gets lost or delayed, and going without your retainer for even a few days can let your teeth start moving. Keep it in your purse, backpack, or carry-on at all times.
- Pack Your Cleaning Kit: Don't forget your dedicated retainer toothbrush and cleaning solution. Sticking to your daily routine while on the road prevents nasty buildup and keeps your appliance feeling fresh.
- Watch Out for Extreme Heat: Never leave your retainer in a hot car. High temperatures can easily warp the delicate plastic, making it unwearable. The same goes for leaving it in direct sunlight on a hotel windowsill.
A protective case does way more than just prevent loss—it shields your retainer from physical damage, dust, and airborne bacteria. Think of it as essential gear, not an optional accessory.
Keeping Your Retainer Case Clean
Ironically, the very case designed to protect your retainer can become a breeding ground for germs if you neglect it. A dirty case just transfers bacteria right back onto your freshly cleaned retainer.
Luckily, cleaning the case is a breeze. At least once a week, give it a good wash with warm water and some gentle dish soap. I recommend using a small brush to really get into the corners and crevices where grime likes to hide.
Let it air dry completely before you snap it shut. This prevents creating a moist environment where bacteria love to multiply. Taking this simple step ensures both your retainer and its home base stay hygienic, protecting your oral health and the investment you've made in that smile.
Troubleshooting Common Retainer Problems
Even if you follow your cleaning routine to the letter, you'll probably run into a few issues with your retainer now and then. Don't worry—most of the common problems are pretty easy to solve. The trick is knowing what to look for so you can act fast to protect your smile and your appliance.
One of the top complaints, especially from people with clear Essix retainers, is that they start looking cloudy or yellowish. This is almost always a sign of plaque and tartar buildup. Your daily scrub helps keep it at bay, but that stubborn film sometimes needs a more powerful approach, like a weekly deep soak, to get your retainer looking crystal clear again.
Another frequent problem is a funky smell that just won't go away. If your retainer still has an odor right after you've cleaned it, that’s a red flag that bacteria are hiding out in the material's microscopic pores. This is your cue to step up your deep-cleaning game. For more related tips, check out our guide on how to get rid of bad breath permanently.
When Your Retainer Fit Feels Off
A retainer that doesn't fit right is a big deal and needs your immediate attention. It doesn't matter if it suddenly feels too loose or uncomfortably snug—both are signs that something is wrong. Either your retainer has warped, or your teeth have already started to shift.
If it's loose, it's not doing its job of holding your teeth in place, which puts all your orthodontic progress at risk. On the other hand, a tight fit is a serious warning that your teeth are on the move. Whatever you do, don't try to force a tight retainer into your mouth. Your first move should be to call your orthodontist for advice.
Crucial Tip: Never, ever try to adjust a retainer yourself. Bending a Hawley wire or trying to reshape the plastic at home is a surefire way to cause permanent damage. You'll almost certainly end up needing an expensive replacement. Always leave adjustments to the professionals.
Heat is the number one enemy of a good retainer fit. Warping is a leading cause of damage, particularly for Essix retainers. The thermoplastic they're made from can deform at temperatures as low as 140°F (60°C). That's a temperature easily reached by hot tap water or by leaving it in a hot car. Colgate has more info on protecting retainers from heat damage.
Handling Physical Damage
Accidents happen. Finding a crack in your clear retainer or a bent wire on your Hawley can be stressful, but what you do next is what really counts.
- Small Cracks: A tiny hairline crack might not seem like a big deal at first, but it can get worse. It also creates a perfect new hiding spot for bacteria.
- Bent Wires: A bent wire makes a Hawley retainer totally ineffective. Worse, it could push your teeth in the wrong direction.
- Broken Bonded Retainers: If the wire on your permanent retainer breaks or pops off a tooth, it's an urgent problem that needs to be fixed right away.
For any of these issues, the solution is the same: call your orthodontist and make an appointment as soon as you can. While you wait for your appointment, you can use a bit of orthodontic wax to cover any sharp edges on a Hawley or bonded retainer to keep it from irritating your tongue or cheeks.
Putting off a repair gives your teeth the freedom to shift, potentially undoing months or even years of hard work. Acting quickly is the best way to protect your investment.
Common Questions About Retainer Care
Even when you have a solid routine down, questions are bound to pop up. Let's dig into some of the most common things people wonder about when it comes to the day-to-day reality of living with a retainer. Getting these small details right is what protects your orthodontic investment for the long haul.
One of the biggest questions we hear is about using toothpaste. It seems like it would work, right? But it's a hard no. The ingredients that make toothpaste great for tough tooth enamel are way too abrasive for the softer acrylic or plastic of your retainer. Over time, toothpaste creates thousands of microscopic scratches that become magnets for bacteria, leading to that cloudy look and funky odors you want to avoid. Just stick with a gentle, clear liquid soap.
Handling Everyday Scenarios
Life happens, and your retainer is along for the ride. So, what do you do if you accidentally drop it on the floor? A quick rinse under the faucet just won't cut it against the germs it just met. This is a time for an immediate, thorough cleaning with your dedicated soft-bristled brush and soap. For extra peace of mind, a quick soak in a cleaning solution is a great idea before it goes anywhere near your mouth again.
Another thing people often forget about is the retainer case itself. How often should that be replaced? A good rule of thumb is to grab a new one every six to twelve months. Even with regular washing, cases can build up grime in their nooks and crannies, becoming a breeding ground for bacteria. If you notice any cracks or it just won't come completely clean anymore, replace it sooner.
Your retainer case is just as important as the retainer itself. A dirty case will contaminate a perfectly clean retainer the second you put it away. Make a habit of washing it with soap and water a few times a week and letting it air dry completely.
When to Call Your Orthodontist Immediately
Some situations are more urgent than others, and this is especially true for bonded retainers. If you feel that permanent wire break or come loose from a tooth, this is not a "wait and see" problem. That wire has officially stopped doing its job, putting your teeth at immediate risk of shifting back to their old positions.
You need to call your orthodontist’s office right away and get on their schedule for a repair. Delaying that appointment—even by just a few days—can be enough to compromise your results and potentially land you back in treatment. Don't ever try to fix it yourself. If there are any sharp ends, cover them with orthodontic wax and get professional help ASAP to keep that smile perfectly aligned.
At DentalHealth.com, we stock all the professional-grade products you need to keep your smile looking its best, from retainer cleaners to sensitivity toothpastes. Shop our complete collection of oral care essentials today!