

How to Use the Teeth Whitening Pen for a Brighter Smile
Using a teeth whitening pen couldn't be simpler, really. You just brush and dry your teeth, twist the pen to get the gel flowing, and then paint a thin, even layer onto the front of each tooth. The trick is to avoid your gums and keep your lips pulled back for about a minute so the gel can set. That's when it starts to work its magic.
Your Quick Start Guide to a Brighter Smile
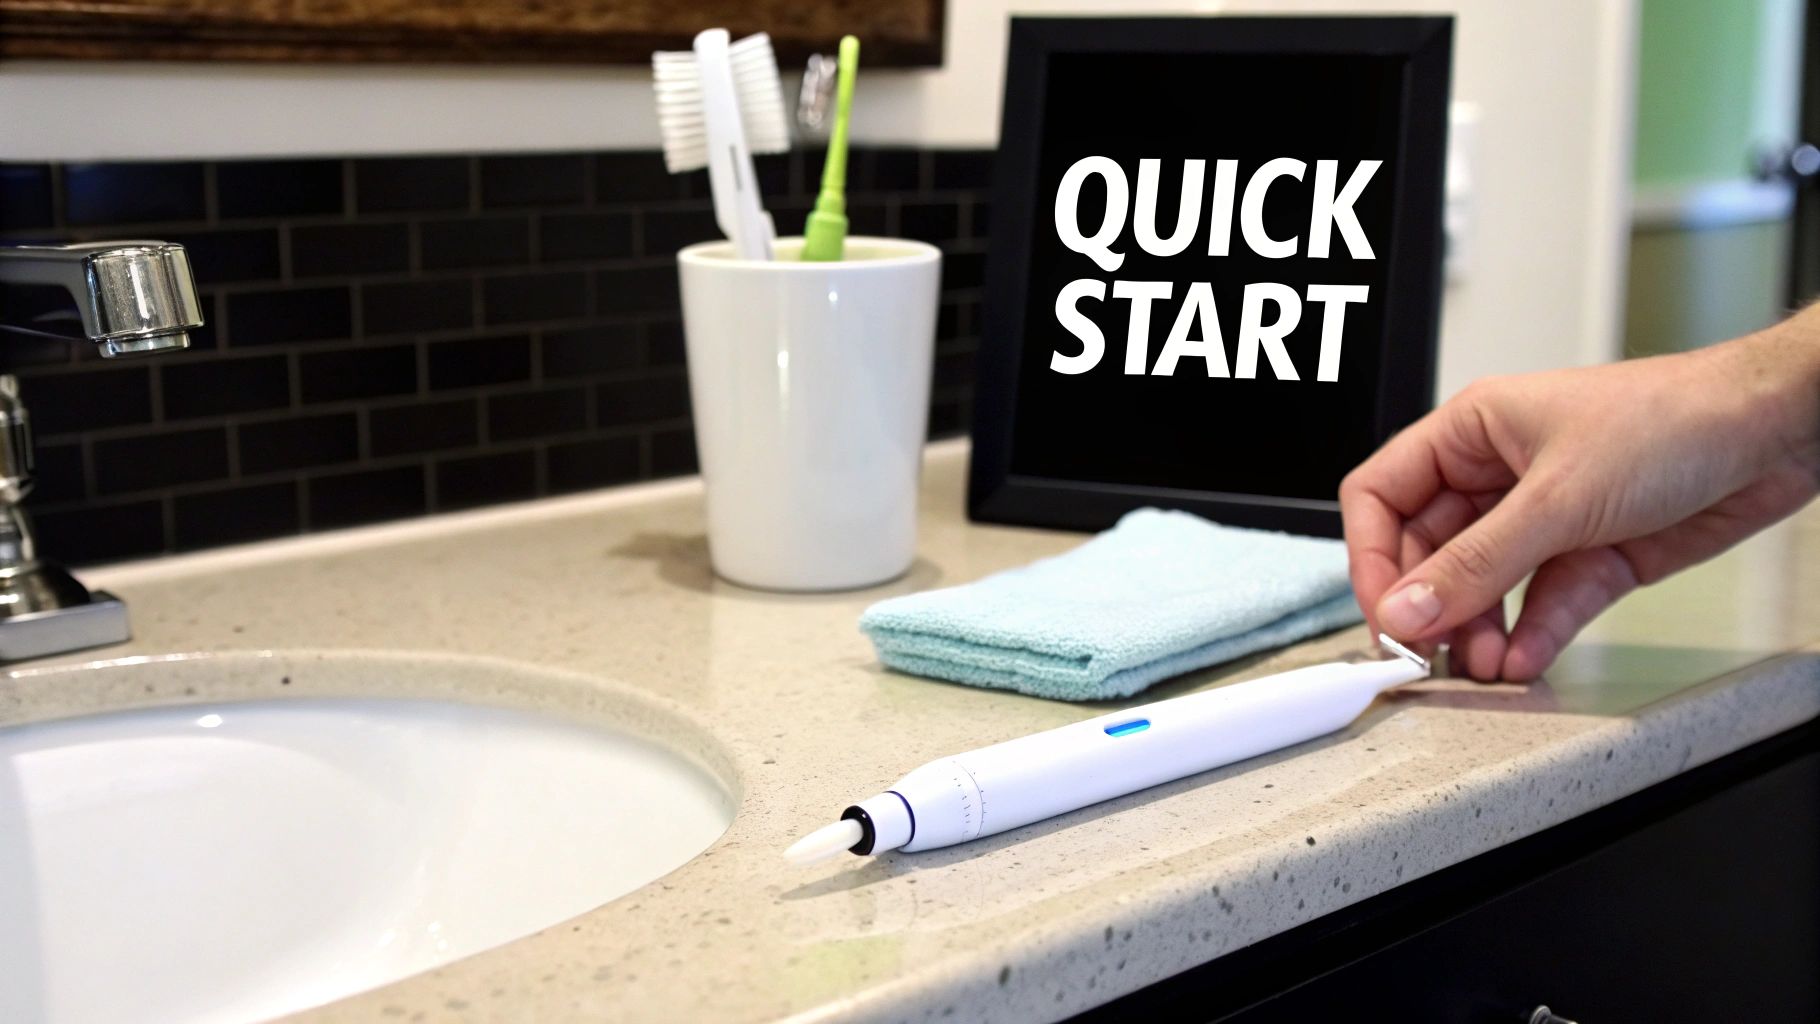
Jumping into at-home teeth whitening can feel a bit overwhelming, but I promise it doesn't have to be. This quick guide will walk you through exactly how to use a whitening pen for your very first application. You'll feel confident handling professional-grade products like Opalescence or PolaDay right from the start.
Think of this as your personal cheat sheet to a brighter, more confident smile.
There’s a good reason these pens are so popular. The global market for teeth whitening pens was valued at a staggering USD 574.6 million in 2025 and is only expected to grow. People are actively seeking convenient ways to get professional results at home. You can dig into the numbers yourself by reviewing the market analysis from Future Market Insights.
Key Actions for a Successful Application
To get the results you're hoping for, every little step matters. From the prep work to the actual application, each action plays a specific role in how well that whitening gel interacts with your enamel.
If you’re curious about other methods beyond just the pen, our guide on how to whiten teeth at home fast is packed with additional techniques.
Here’s a simple table to break down the process at a glance.
Teeth Whitening Pen Quick-Start Summary
This table summarizes the core steps to make your first application a success. Think of it as your roadmap to getting the most out of every drop of whitening gel.
| Step | Action | Why It's Important |
|---|---|---|
| Preparation | Brush, floss, and thoroughly dry your teeth. | A clean, dry surface ensures the gel sticks directly to the enamel for maximum effectiveness. |
| Application | Apply a thin, even layer of gel to each tooth. | This prevents splotchy results and guarantees a consistent, even whitening across your smile. |
| Post-Care | Avoid eating or drinking for 30-60 minutes. | This gives the active ingredients enough time to penetrate stains without being diluted or washed away. |
Following these key points helps ensure the active ingredients can do their job properly, giving you a consistent and noticeable result.
Prepping Your Teeth for the Best Whitening Results
What you do before you even click open that whitening pen is just as important as the application itself. Think of it like painting a wall—you wouldn't start without cleaning and prepping the surface first, right? The same logic applies to your teeth. Proper prep is the insider secret to getting that uniform, brilliantly white smile without any annoying patchiness.
First things first, you need a completely clean slate. This is non-negotiable. Before every single time you whiten, you absolutely must brush and floss thoroughly. This simple step clears away any plaque and lingering food particles that would otherwise act as a barrier, physically blocking the whitening gel from making contact with your enamel. When the gel can work directly on the tooth surface, its effectiveness just skyrockets.
The Most Overlooked Prep Step
Now, here’s the one crucial step that almost everyone skips: thoroughly drying your teeth. After you've brushed and flossed, grab a clean tissue or a soft cloth and gently pat the front surfaces of your teeth completely dry.
Saliva is the natural enemy of teeth whitening gel. It immediately starts to dilute the active ingredients, like carbamide peroxide, making them far less potent. A dry tooth surface, on the other hand, allows the gel to adhere properly and work at its maximum strength.
This simple three-part routine—brush, floss, and dry—is what truly sets the stage for professional-level results. It guarantees every tooth gets even coverage and the whitening agents can penetrate deep into the stains without anything getting in the way.
It’s this meticulous prep that helps celebrities and influencers get those flawless-looking results. In fact, just brushing your teeth right before you apply the gel can boost the peroxide’s efficacy by as much as 40%. Skipping this can lead straight to splotchy, uneven whitening, which is one of the most common complaints I hear from beginners. You can find more details on how the pros do it by exploring teeth whitening market insights from SkyQuestt.
And if you're someone who deals with sensitivity, using a remineralizing product beforehand can be a game-changer. For more on that, you can learn how to use MI Paste Plus in our detailed guide.
The Right Way to Apply Whitening Gel
Now that your teeth are prepped and ready, it's time for the main event: applying the whitening gel. The difference between a splotchy, uneven result and a consistently bright, professional-looking smile often comes down to your application technique. Getting this part right is absolutely crucial for seeing the results you want from powerful products like GLO or Zoom.
The goal here is to paint a very thin, even layer of gel onto each tooth you plan on whitening. Think of it like applying a perfect, smooth coat of nail polish. Slathering on extra gel won't make your teeth whiter faster—it just wastes the product and can irritate your gums.
Perfecting Your Application Technique
Before you begin, pull your lips back into a big, wide smile. You want to get them as far away from your teeth as possible. Now, twist the bottom of the pen just enough for a tiny bead of gel to appear on the brush tip.
The prep work we just covered is the foundation for a good application. This simple chart breaks it down.
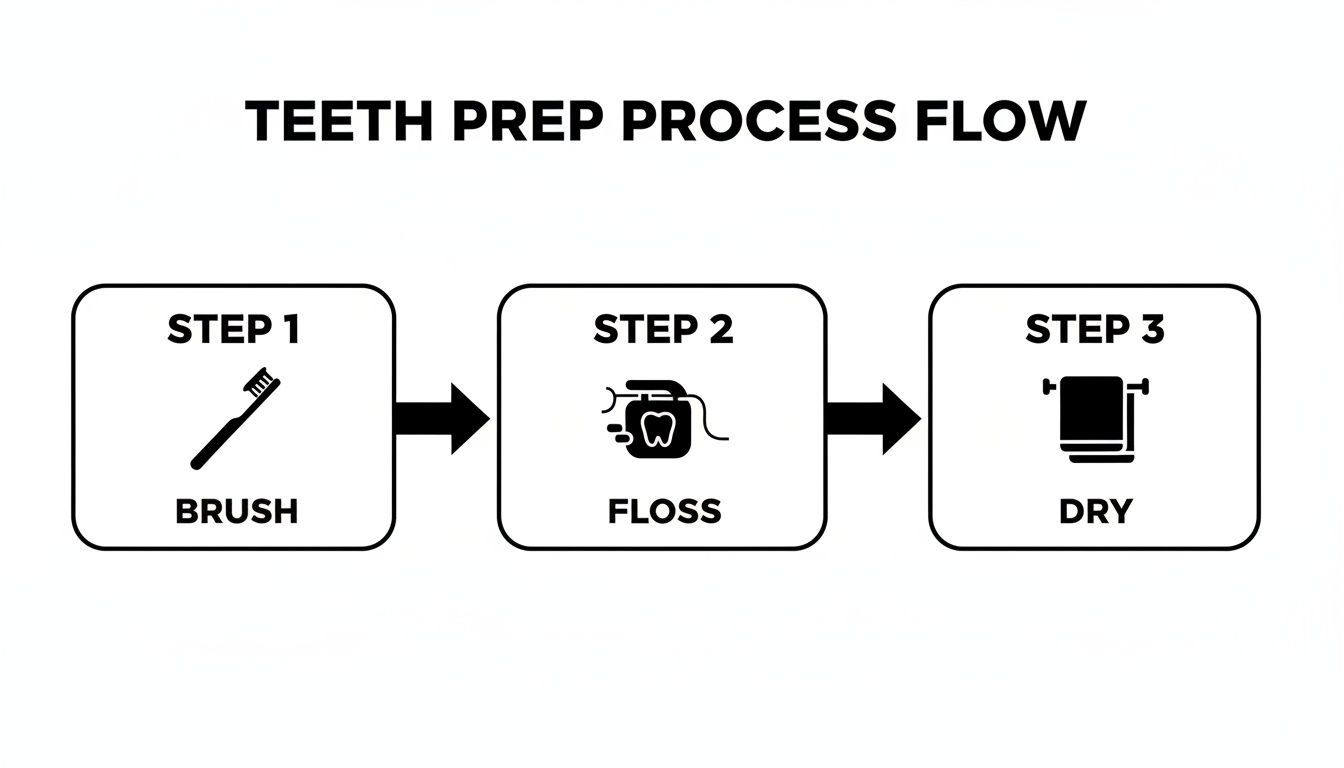
As the visual shows, brushing, flossing, and thoroughly drying your teeth are non-negotiable steps. They clear the way for the gel to work its magic evenly and effectively.
With that tiny bead of gel on the brush, use gentle, vertical strokes to "paint" the front surface of each tooth. I usually tell people to focus on the teeth that show when they smile, which are typically from canine to canine. Take your time and be careful to avoid painting the gel directly onto your gums, as the active ingredients can cause some temporary irritation.
Once the gel is on, you need to hold that wide smile for about 60 seconds. This is, without a doubt, the most important minute of the entire process. It gives the gel a chance to dry and form a concentrated whitening film right on your enamel. If you close your mouth too early, your saliva and lips will just wipe it all away before it has a chance to do anything.
Rushing the drying phase is one of the most common mistakes people make. That single minute allows the active ingredients to start sinking into the enamel, which is where the deep, set-in stains are hiding.
The ideal time to apply the gel is usually right before bed, after you've finished eating and drinking for the night. Remember that moisture is the enemy here; dental trials have shown that a wet tooth surface can slash the gel’s effectiveness by as much as 25%.
After you've held your smile for that crucial minute, just wait for the directed time—many fast-acting pens only need about 10 minutes. When your time is up, spit out any excess and give your mouth a gentle rinse. Hold off on brushing for at least 30 minutes to give the whitening agents time to be fully absorbed. If you're interested in learning more about the broader market for these kinds of products, you can review key findings on cognitivemarketresearch.com.
Keeping That Smile Bright After Treatment
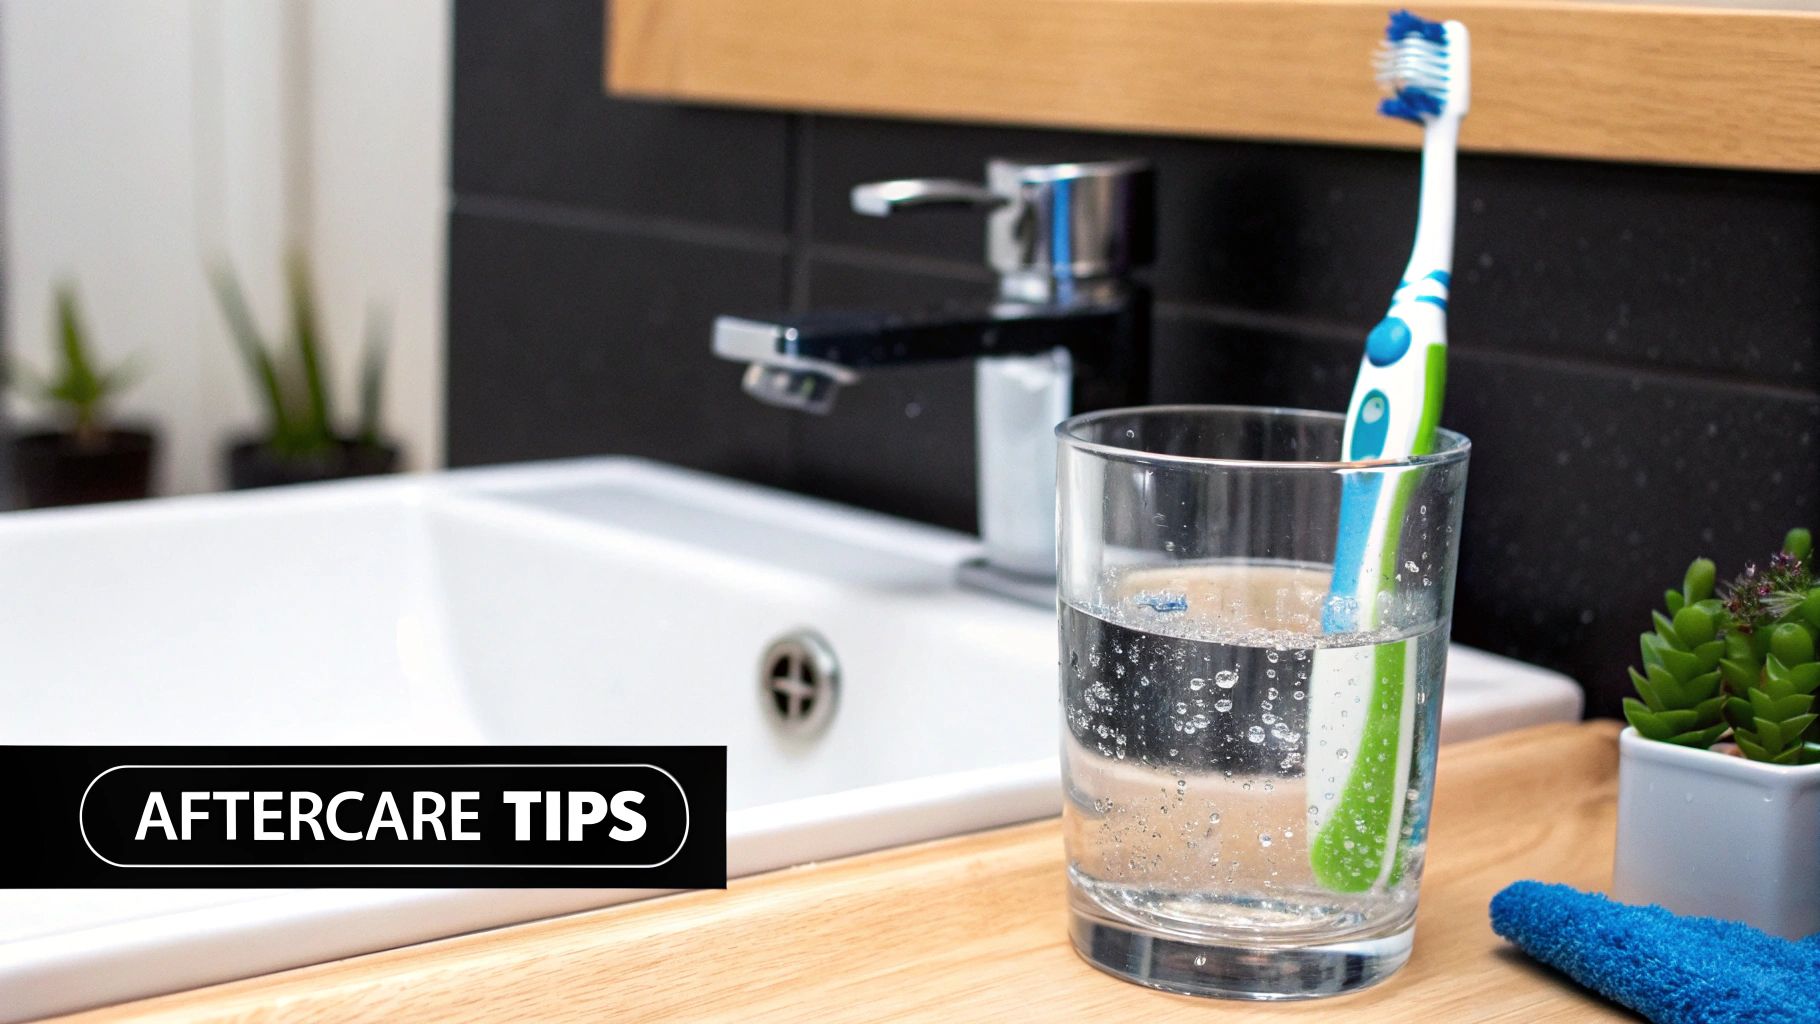
You’ve finished applying the whitening gel, but don't close up shop just yet. What you do in the next few hours is absolutely critical for locking in that brilliant new shade and making sure all your effort pays off. Think of it as the final, crucial "setting" phase for your new smile.
Once your timer goes off—whether that’s after 10, 15, or 30 minutes—the first thing you’ll want to do is deal with any leftover gel. Just spit out any excess that’s left and give your mouth a gentle rinse with some lukewarm water. Try to avoid any aggressive swishing or brushing right away; you want to give those whitening agents a chance to finish their work without interference.
Protecting Your Freshly Whitened Enamel
Right after a whitening session, your enamel is more porous than usual, which makes it a magnet for new stains. This is why you have to be a bit careful with what you eat and drink. Giving it a few hours is good, but waiting 24-48 hours is even better for achieving results that really last.
Your safest bet is to adopt what's known as a "white diet" for a day or two. It’s pretty simple: avoid anything with strong pigments that could easily latch onto your teeth.
You'll want to steer clear of these usual suspects:
- Dark Beverages like your morning coffee, red wine, tea, and colas.
- Colorful Sauces such as marinara, soy sauce, and anything with curry.
- Pigmented Fruits including blueberries, raspberries, and cherries.
Being mindful of what you consume right after whitening creates a protective window. It gives your enamel time to remineralize and become less vulnerable to staining, essentially securing the brilliant smile you just worked to achieve.
This small bit of discipline is what separates a good result from a great one, preventing frustrating new discoloration from undoing all your hard work.
Managing Sensitivity and Avoiding Common Mistakes
Let's talk about one of the biggest concerns people have when it comes to teeth whitening: sensitivity. If you've ever felt that little zing after a treatment, you know what I'm talking about. While a brighter smile is the goal, comfort is just as important.
That temporary sensitivity usually happens when the active whitening ingredients, like peroxide, get a little too close to the nerves inside your teeth. The great news is, this is almost always temporary and totally manageable. You don't just have to grin and bear it.
A fantastic pro tip is to plan ahead. Try switching to a desensitizing toothpaste that contains potassium nitrate for about a week before you even start your whitening journey. This simple step helps soothe the nerves in your teeth ahead of time, making the whole process much smoother. For a more detailed guide, we've put together some great tips on how to reduce teeth sensitivity after whitening.
It's also smart to be aware of the other common teeth whitening side effects so you know what to expect and how to handle anything that comes up.
Mistakes to Avoid for a Better Experience
Beyond managing sensitivity, a few common slip-ups can easily get between you and the bright smile you're aiming for. Honestly, knowing what not to do is just as crucial as following the instructions.
The most effective whitening routines are built on consistency and proper technique. Avoiding simple mistakes ensures the active ingredients work as intended, giving you a comfortable and effective path to a brighter smile.
To help you get the best results, here’s a quick rundown of the most common mistakes people make with whitening pens and, more importantly, how to sidestep them.
Common Whitening Pen Mistakes and How to Fix Them
| Mistake | Why It's a Problem | How to Fix It |
|---|---|---|
| Over-applying the gel | More gel doesn't mean whiter teeth, faster. It just leads to gum irritation and wasted product. | Twist the pen just enough to get a thin, even layer of gel. A little goes a long way. |
| Applying to wet teeth | Saliva is the enemy of whitening gel! It dilutes the formula, making it far less effective. | Before applying, gently pat your teeth dry with a clean tissue or cotton round. Simple but effective. |
| Overusing the pen | Using the pen more often than recommended won't speed up results. It can cause serious sensitivity and even damage your enamel. | Stick to the recommended usage, typically 1-2 times per day for the duration of the treatment period. |
| Not waiting long enough | Rinsing, eating, or drinking too soon after application washes the gel away before it has a chance to work its magic. | Check the instructions for the recommended wait time (usually 30 minutes) and set a timer. |
Avoiding these little errors makes a huge difference. It not only ensures you get the brilliant results you're after but also keeps your teeth and gums happy and healthy throughout the process.
Answering Your Questions About Teeth Whitening Pens
Even after reading a guide, a few questions are bound to pop up. Getting the specifics down before you start is the best way to feel confident and get the bright smile you’re looking for. Let's dig into some of the most common things people ask.
How Often Should I Use a Teeth Whitening Pen?
When you first start, consistency is everything. For that initial whitening push, most pens are meant to be used daily for about one to two weeks. You'll typically apply the gel once or twice a day, usually after your nighttime brushing routine. This steady application is what really breaks down those older, stubborn stains.
Once you’ve hit that perfect shade, you can ease up. At that point, it’s all about maintenance. Using the pen just once or twice a week is usually enough to tackle new surface stains from coffee, tea, or red wine, keeping your smile looking its best.
Always double-check the instructions that came with your specific pen. The strength of the whitening gel can differ from brand to brand, which changes how often and for how long you should use it.
How Long Does It Take to See Results?
While a little patience goes a long way, you probably won't be waiting long to see a change. Many people notice their teeth looking a shade or two brighter within just the first few days of daily use.
The real "wow" moment, however, usually comes after you’ve completed the full one- or two-week treatment. That’s when you’ll see the most dramatic results—often several shades lighter. How white your teeth get depends on a few things:
- Your starting point: If your teeth are darker to begin with, the final transformation will look much more significant.
- The kind of stains you have: Surface-level stains from food and drinks tend to lift away more easily than deeper, older discoloration.
- How well you stick to the plan: Following the application and aftercare steps closely makes a huge difference.
Here’s a great tip: snap a "before" picture in good, natural lighting. It's the easiest way to see just how much progress you’ve made when you're done.
Can I Use a Whitening Pen on Crowns or Fillings?
This is a really important question for anyone with dental work. The whitening gels in these pens, whether they use hydrogen or carbamide peroxide, are designed to work only on natural tooth enamel.
They won't have any effect on the color of dental restorations. This includes materials like:
- Porcelain crowns
- Veneers
- Composite fillings or bonding
If you have any of this work done on your front teeth, be careful. Whitening the natural teeth around them could create an uneven look, making your dental work seem more yellow or darker in contrast. If you have crowns, veneers, or fillings, it's always best to have a quick chat with your dentist before starting any whitening routine.
Ready to get that brighter smile with professional-grade products you can trust? At DentalHealth.com, we stock leading brands like Opalescence, PolaDay, and GLO, all delivered right to your door. Explore our full collection of teeth whitening solutions and start your journey today.