

How to Use Whitening Pen for Teeth: A Brighter Smile Guide
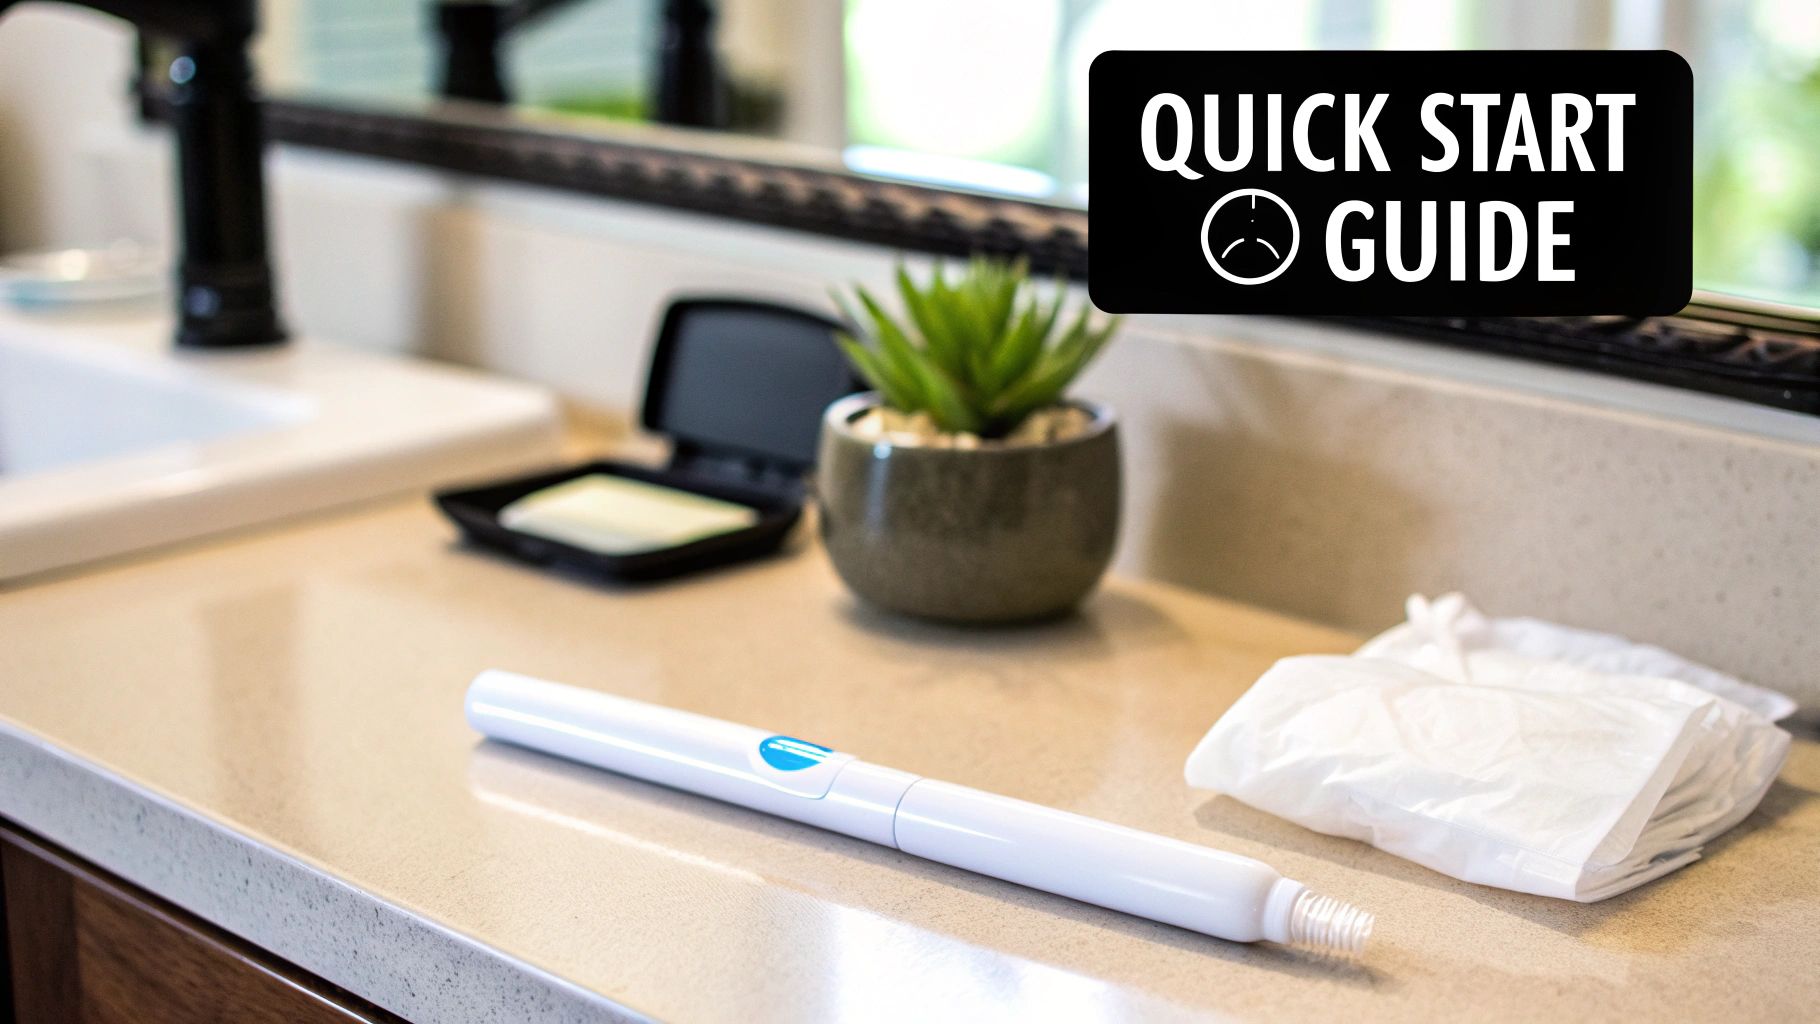
Using a teeth whitening pen is refreshingly simple. All it really takes is brushing and drying your teeth, twisting the pen to get the gel flowing, painting a thin layer onto your visible teeth, and letting it dry for about 60 seconds. It's a straightforward way to target stains directly for a brighter smile, completely skipping the hassle of messy trays or strips.
Your Quick Start Guide to Using a Teeth Whitening Pen
Teeth whitening pens have quickly become a go-to for their sheer convenience and precision. They offer a fast, effective way to tackle those pesky surface stains from coffee, tea, and red wine, fitting easily into just about any daily routine. The real magic is in the targeted brush-tip applicator—it lets you "paint" the whitening gel exactly where you need it, which means even coverage and less contact with your sensitive gums.
The market for these pens is absolutely booming, and it's easy to see why. People are looking for professional-style results at home, and pens deliver. Did you know the global teeth whitening pens market was valued at a massive USD 574.6 million in 2025 and is projected to climb to USD 918.2 million by 2035? That kind of growth shows a real consumer shift toward accessible whitening solutions.
For the best results, always make sure you brush and floss thoroughly right before you apply the gel. This simple prep step helps the gel penetrate the enamel more effectively. If you're curious about other methods, you can explore our guide on how to whiten teeth at home fast.
Whitening Pen Application At a Glance
To give you a clear picture of the process, here’s a quick rundown of the key stages. Think of this as your cheat sheet before we get into the finer details.
| Stage | Action | Key Tip |
|---|---|---|
| Preparation | Brush, floss, and thoroughly dry your teeth. | A dry tooth surface is critical for the gel to adhere properly and work effectively. |
| Application | Twist the pen to dispense gel and paint a thin layer onto each tooth. | Smile wide to keep your lips away from your teeth, avoiding gum contact. |
| Activation | Keep your lips away from your teeth for at least 60 seconds. | This allows the gel to dry and form a film, starting the whitening process. |
| Aftercare | Avoid eating or drinking for at least 30-60 minutes post-application. | This prevents new stains from forming while the enamel is more porous. |
Following these basic steps will set you up for success, but as with any dental product, the devil is in the details. The following sections will walk you through exactly how to master each part of the process.
Prepping Your Teeth for Maximum Whitening Results
The real secret to getting a flawless, even smile from a whitening pen isn’t just about the application—it all starts with the prep work. You have to think of your tooth's surface like a painter’s canvas. If the canvas is clean, smooth, and dry, the whitening gel can stick perfectly and do its job without anything getting in the way.
If you skip this crucial first phase, you’re setting yourself up for splotchy results or just plain weak whitening. Any plaque or leftover food on your teeth creates a barrier, stopping the active ingredients in the gel from actually reaching your enamel to break down stains.
Start with a Thorough Cleaning
Before you even think about twisting open that whitening pen, your teeth need to be spotless. And I don't mean a quick thirty-second scrub.
- Brush Properly: You need to spend a full two minutes brushing your teeth, ideally with a soft-bristled toothbrush. Make a point to clean every single surface—the fronts, the backs, and all the chewing surfaces.
- Floss Meticulously: Flossing is absolutely non-negotiable here. It's the only way to clear out the plaque and tiny food particles hiding between your teeth. This ensures the whitening gel can get into those often-missed spots for a truly uniform result.
This initial deep clean is what prepares your enamel to fully absorb the whitening formula, giving you the best possible shot at a great outcome.
Key Takeaway: Think of it like this: trying to whiten teeth that haven't been properly prepped is like trying to paint on a dusty wall. The results are always going to be subpar. Proper prep can seriously boost the gel's effectiveness by creating the perfect surface for it to adhere to.
The Importance of a Dry Surface
Once your teeth are clean, the next critical step is making sure they are completely dry. Saliva is the enemy of whitening gel. Any moisture will dilute the formula, significantly weakening its stain-fighting power.
You don’t need any fancy equipment for this. Just grab a clean tissue or a soft cloth and gently pat the front surfaces of your teeth dry. A big, wide smile will help expose all the teeth you're planning to treat. This little step takes just a few seconds but makes a massive difference in how well the gel clings to the enamel and works as intended.
Common Prep Mistakes to Avoid
Even when you're trying to do everything right, a few common mistakes can trip you up. A big one I see is people using a high-fluoride or remineralizing toothpaste right before they whiten.
While these products are fantastic for overall dental health, some specialty formulas can leave a temporary film on the teeth that blocks the whitening gel. For example, if you're managing sensitivity, you might find some useful info in our guide on how to use MI Paste Plus, but it’s something you’d want to apply at a totally different time, not right before your whitening session. For pre-whitening prep, a simple, standard, non-whitening toothpaste is your safest bet to ensure no residue gets left behind.
Mastering the Art of Flawless Application
Applying a whitening pen might seem simple enough, but there's a real technique to it. Getting it right is the difference between a quick touch-up and a truly polished, professional-looking smile. It all comes down to precision and control—you want to create a thin, even film of gel that works its magic without irritating your gums or leaving behind splotchy patches.
Think of it like painting a thin coat of nail polish. You’re aiming for smooth, deliberate strokes that cover the whole surface without flooding the edges. The same idea applies here. Careful application means you don't waste gel, and the active ingredients get concentrated right where they need to be.
Before you even uncap the pen, getting your teeth ready is half the battle. This simple prep work makes a huge difference.
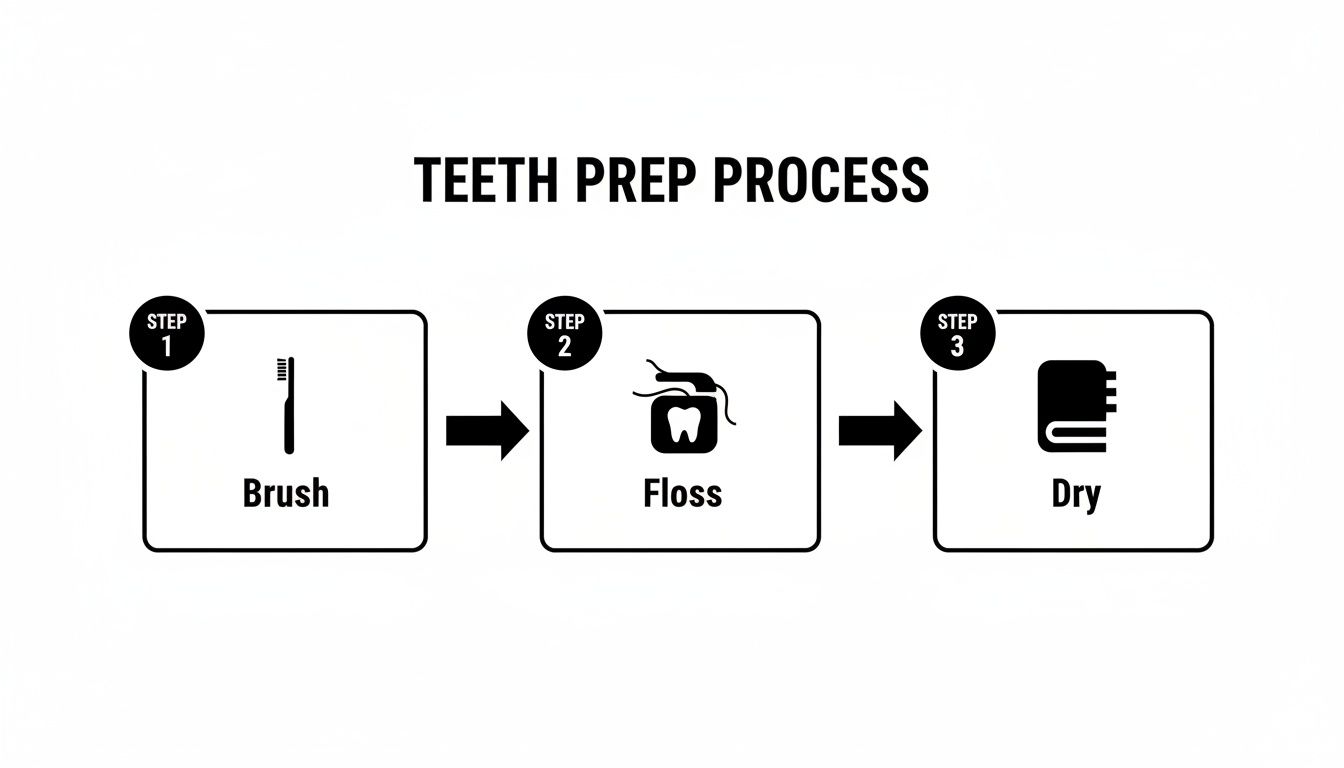
As you can see, a clean, dry surface is the foundation for an effective treatment. Brushing, flossing, and patting your teeth dry are non-negotiable first steps.
Dispensing the Perfect Amount of Gel
First things first, you need to get the gel flowing. Most pens have a twist or click mechanism at the bottom. If your pen is brand new, you might need to give it 10-20 twists to get things started. Be patient; you'll see a small bead of gel appear right at the brush tip.
The real key here is control. You only need a tiny amount for each tooth. One of the most common mistakes is dispensing way too much, which just creates a goopy mess that gets all over your gums and lips.
Pro Tip: Don't wait for a big drop of gel. Just twist until the brush tip looks moist, not dripping. A little goes a long way, and making this a habit will help your pen last a lot longer.
Painting on an Even Layer
With the brush loaded, it's time to apply. Pull your lips back in a wide smile. This simple move is crucial because it keeps your lips from wiping the gel right off and protects the sensitive tissue from contact.
Now, use short, vertical strokes to paint a thin layer onto the front of each tooth you want to whiten. Don't worry about the backs of your teeth; just focus on your smile line.
- Top to Bottom: I find it easiest to start with the upper teeth and then move down to the lower ones.
- Keep Off the Gums: Be really careful to stop just shy of your gumline. If the gel gets directly on your gums, you might feel a bit of temporary irritation or a slight burning sensation.
- Spot Treat Stains: If you have a few spots that are noticeably darker, you can dab a tiny bit of extra gel there, but remember to keep the layer thin overall.
Precision is why whitening pens have become such a force in the USD 7.88 billion teeth whitening industry. They offer control that other methods just can't match. In fact, some dental studies on whitening market trends have shown that moisture can reduce how well the gel sticks by 25%. That's why drying your teeth with a tissue first is so important. By applying thin layers to only the front surfaces, you also sidestep the 20% increase in drips and gum irritation that often comes with over-application.
Letting the Gel Set Correctly
You've applied the gel—now the next minute is critical. You need to keep that wide smile and hold your lips away from your teeth for at least 60 seconds. This gives the gel a chance to dry and form a thin film on your enamel, which is when the whitening agents really start to work.
Try not to talk, swallow, or close your mouth during this short window. After that first minute, you can relax. The majority of formulas are designed to be left on, so there's no need to rinse unless the product's instructions specifically tell you to. Always give the directions a quick read, as the ideal leave-on times can vary from one brand to another.
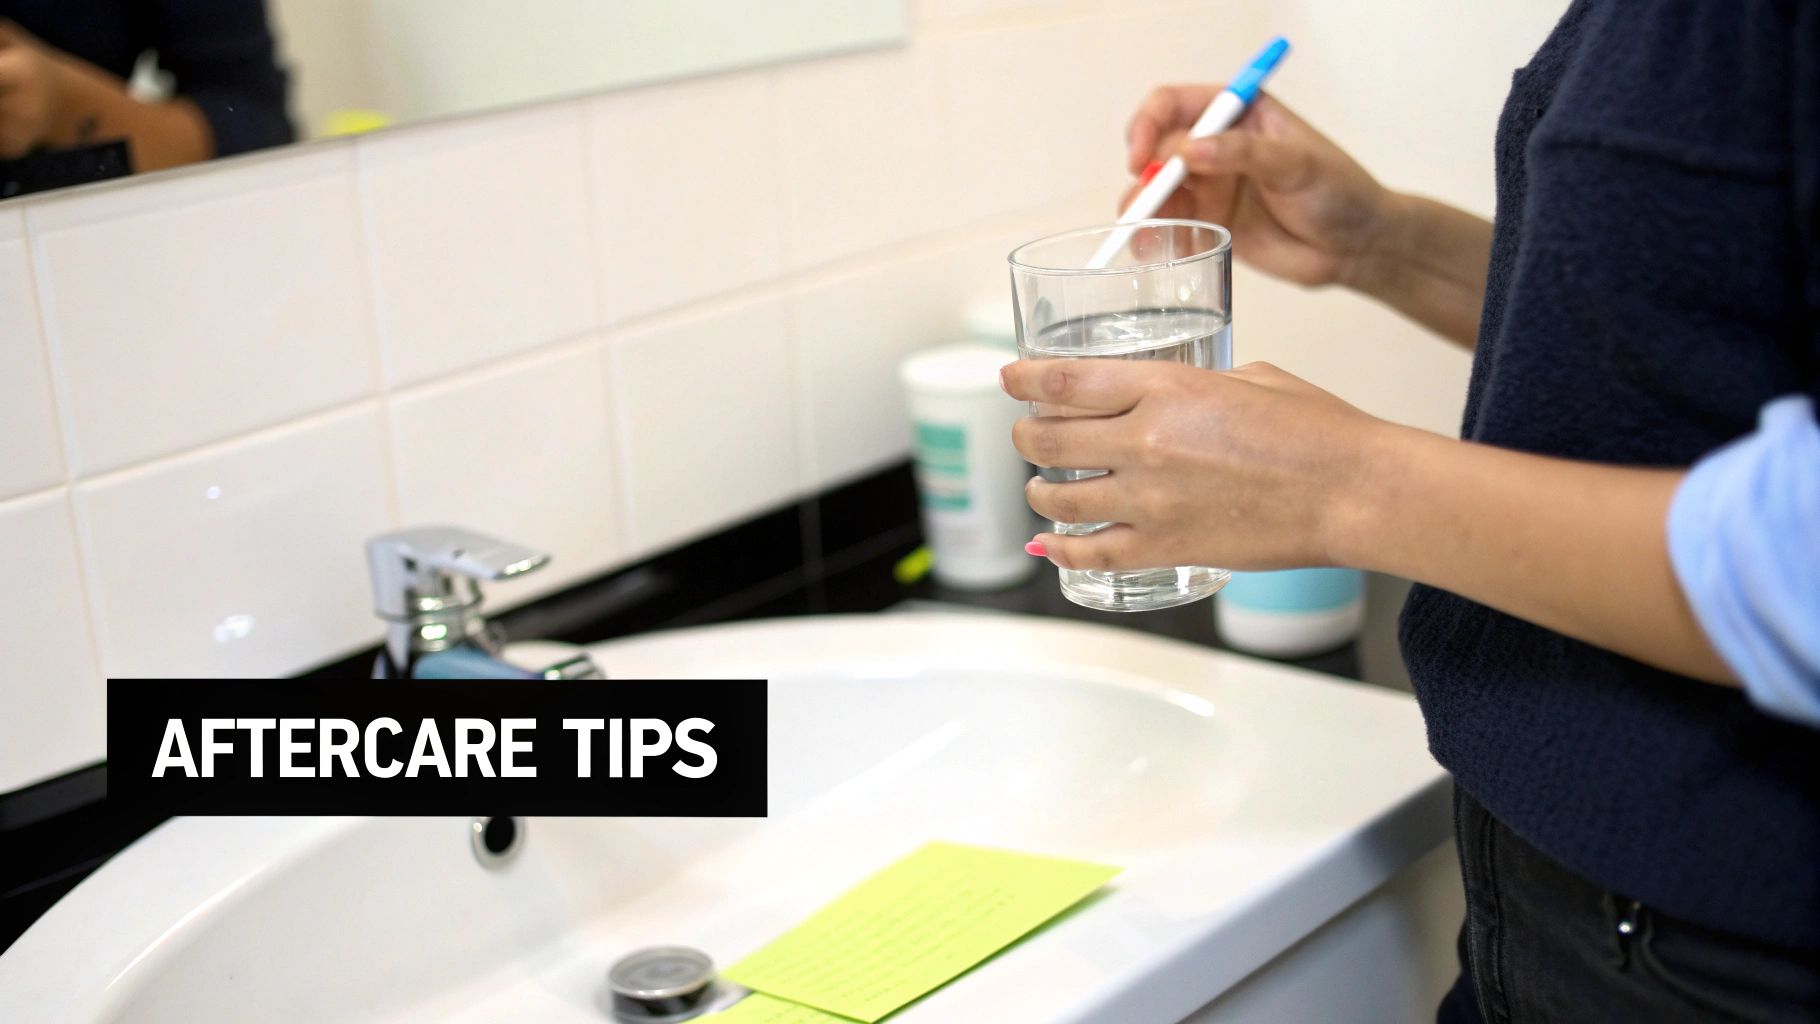
Post-Application Care to Maintain Your Bright Smile
What you do after applying the whitening gel is just as important as the application itself. Think of this as the critical window to lock in your results. Proper aftercare protects your teeth when they’re most vulnerable to new stains, ensuring all your effort pays off with a lasting, brilliant smile.
Most of today's whitening pens have a simple "leave-on" formula, which means you don't have to rinse. The gel just naturally dissolves. Still, it's always a good idea to quickly double-check the product's instructions. Some brands might suggest a gentle rinse with lukewarm water after a certain amount of time, usually somewhere between 5 and 15 minutes.
The Crucial Waiting Period
Right after the gel has done its job, your tooth enamel is temporarily a bit more porous. This is prime time for staining agents to swoop in and undo all your hard work. To stop that from happening, you’ll need to stick to a "white diet" for a little while.
For at least 30 to 60 minutes right after you apply the pen, you have to avoid all food and drinks. The only exception is plain water. This waiting period is completely non-negotiable if you want the best possible outcome.
Once that initial hour is up, it's smart to continue avoiding highly pigmented foods and drinks for the next 24 hours. The usual suspects are the biggest problem:
- Dark Beverages: Coffee, black tea, red wine, and colas.
- Colorful Sauces: Soy sauce, tomato sauce, and balsamic vinegar.
- Vibrant Fruits: Think berries, cherries, and pomegranates.
This cautious approach really matters. The global teeth whitening market has exploded from USD 6 billion in 2019 and is projected to hit USD 8 billion by 2026, all because people want effective at-home options. The data backs it up: 82% of users keep their whitening results for six months or more with good maintenance. On the flip side, studies show that 45% of stain reversion happens when people consume acidic or staining foods too soon after a treatment. If you're interested in the numbers, you can explore the full research on the global teeth whitening market.
Expert Tip: If you just can't skip your morning coffee, grab a straw. It’s a simple trick that helps the liquid bypass the front surfaces of your teeth, which drastically reduces direct contact with the staining culprit.
Long-Term Maintenance and Touch-Ups
A whitening pen isn't a one-and-done solution; it's really a maintenance tool. To keep that bright smile going, you'll want to work touch-ups into your regular oral care routine.
How often you do it really depends on your lifestyle and what you’re trying to achieve. For most people, a quick touch-up with the pen once or twice a week is perfect for fighting off daily stains from food and drinks. If you're a heavy coffee or tea drinker, you might want to do a brief application every other day.
Just think of it as ongoing upkeep for your smile. A quick, targeted application right after you brush your teeth at night can counteract the stains from your day. This consistent, low-effort habit is the real secret to keeping your smile radiant without needing to schedule more intensive whitening sessions.
Troubleshooting Common Issues and Managing Sensitivity
Even when you know exactly what you're doing with a whitening pen, you might still hit a few minor bumps in the road. Things like uneven results or a sudden jolt of tooth sensitivity are pretty common, but don't worry—they're usually easy to fix with a few small tweaks to your technique.
Don't let a little sensitivity or a patchy spot get you down. Most of the time, these are just signs that you need to adjust your application or give your teeth a short breather. The goal is a brighter smile without the discomfort, and that’s completely within reach.
Solving Uneven Whitening
Seeing splotchy or uneven whitening can be frustrating. This almost always comes down to how you're applying the gel, not a problem with the product itself. If your results look inconsistent, the gel probably wasn't spread uniformly across every tooth.
To get things back on track, focus on these key areas next time:
- Make Sure Your Teeth Are Dry: This is a big one. Go back to the prep stage and make sure you’re starting with a dry surface. Any leftover saliva can dilute the gel and lead to weaker results in those spots. Just pat each tooth dry with a clean tissue right before you start.
- Be Systematic: Don't just paint the gel on randomly. Work methodically from one side of your smile to the other, covering each tooth with deliberate, even strokes.
- Focus on Full Coverage: You want a thin, consistent layer from the gumline down toward the biting edge. Pay close attention to avoid letting the gel pool in certain areas or missing spots entirely.
When you treat the application process with a bit more precision, you'll ensure every tooth gets the same amount of whitening agent. The result? A much more uniform and polished look.
How to Manage Tooth and Gum Sensitivity
Tooth sensitivity is probably the most common side effect of any whitening product. It happens when the peroxide in the gel temporarily seeps through the enamel and irritates the tooth's nerve. This is almost always mild and doesn't last long.
If you start feeling those sharp little "zingers" or a dull, persistent ache, don't panic. There are simple ways to handle it.
One of the best things you can do is just back off a bit. Instead of applying the gel every day, try switching to every other day. This gives your teeth time to recover and adjust while you still make steady whitening progress.
For more stubborn discomfort, you might need to adjust your routine. Try shortening how long you leave the gel on; if the instructions say 15 minutes, dial it back to 5-10 minutes.
If you accidentally got some gel on your gums and they feel irritated, gently wipe it away with a cotton swab and rinse your mouth with cool water. That irritation usually goes away pretty quickly. For a deeper dive, our guide on how to reduce teeth sensitivity after whitening has more advanced tips and product ideas.
For those with naturally sensitive teeth, choosing a pen with a lower peroxide concentration can also make a world of difference. Many formulas are specifically designed to be gentle while still delivering noticeable results over time.
Your Top Questions About Teeth Whitening Pens, Answered
Even when you've got the hang of using a whitening pen, it's natural to have a few questions pop up. Getting those details sorted out is key to using your pen safely, effectively, and with the right expectations. Let's dig into some of the most common things people ask.
How Often Should I Use a Whitening Pen?
This really comes down to the specific pen you're using and what you're trying to achieve. Most brands will recommend applying the gel once or twice a day for a focused treatment period, which usually lasts about 14 consecutive days.
Once you've completed that initial whitening push, you're not done for good—you just shift into maintenance. For most people, a quick touch-up once or twice a week is all it takes to fight off new daily stains from things like coffee, tea, or red wine. This keeps your smile looking bright without overdoing it.
Are Whitening Pens Safe for My Dental Work?
This is a really important one. Whitening pens are formulated to work on one thing: natural tooth enamel. The active ingredients, whether it's hydrogen peroxide or carbamide peroxide, simply can't change the color of the materials used in dental restorations.
This means the whitening gel will have no effect on:
- Crowns: The color of your crown is baked in and won't lighten.
- Veneers: Just like crowns, porcelain and composite veneers are color-stable.
- Fillings: Composite fillings are color-matched to your tooth when they're placed and won't respond to whiteners.
The risk here is that your natural teeth could get brighter than your dental work, which creates an obvious and uneven color difference. The best practice is to carefully apply the gel only to your natural teeth, avoiding any restorations.
Important Takeaway: If you have crowns, veneers, or fillings on your front teeth, please talk to your dentist before starting any whitening routine. They can save you from getting a mismatched result and recommend the best approach for your unique smile.
How Long Until I Actually See Results?
When it comes to at-home whitening, patience is your best friend. These pens are definitely effective, but they work by gradually lifting stains over time. You won't see a Hollywood smile after a single use.
Most people start seeing a noticeable difference within 3 to 7 days of consistent, daily application. To get the full benefit, you really should stick with it for the entire recommended treatment cycle, which is typically about 14 days. Just remember, these pens are fantastic for lifting common surface stains by a few shades; they aren't designed to fix deep, intrinsic discoloration.
Can I Eat or Drink Right After Applying It?
You’ll definitely want to hold off for a bit. Immediately after you apply the gel, your enamel is a little more porous than usual, which ironically makes it extra susceptible to picking up new stains.
For the best possible results, you need to avoid all food and colored drinks for at least 30 to 60 minutes after the gel has been applied and has set. Plain water is fine. This window gives the whitening ingredients the time they need to work their magic without getting washed away or diluted. If you jump the gun, you could seriously undermine your efforts.
Ready to get a brighter, more confident smile on your own schedule? The professional-grade whitening pens at DentalHealth.com give you a convenient and effective way to handle surface stains. Check out our collection of dentist-recommended brands to find the perfect tool for maintaining your brilliant smile. Shop now and get free shipping on all USA orders at https://dentalhealth.com.