

Opalescence 20 Instructions for a Brighter Smile
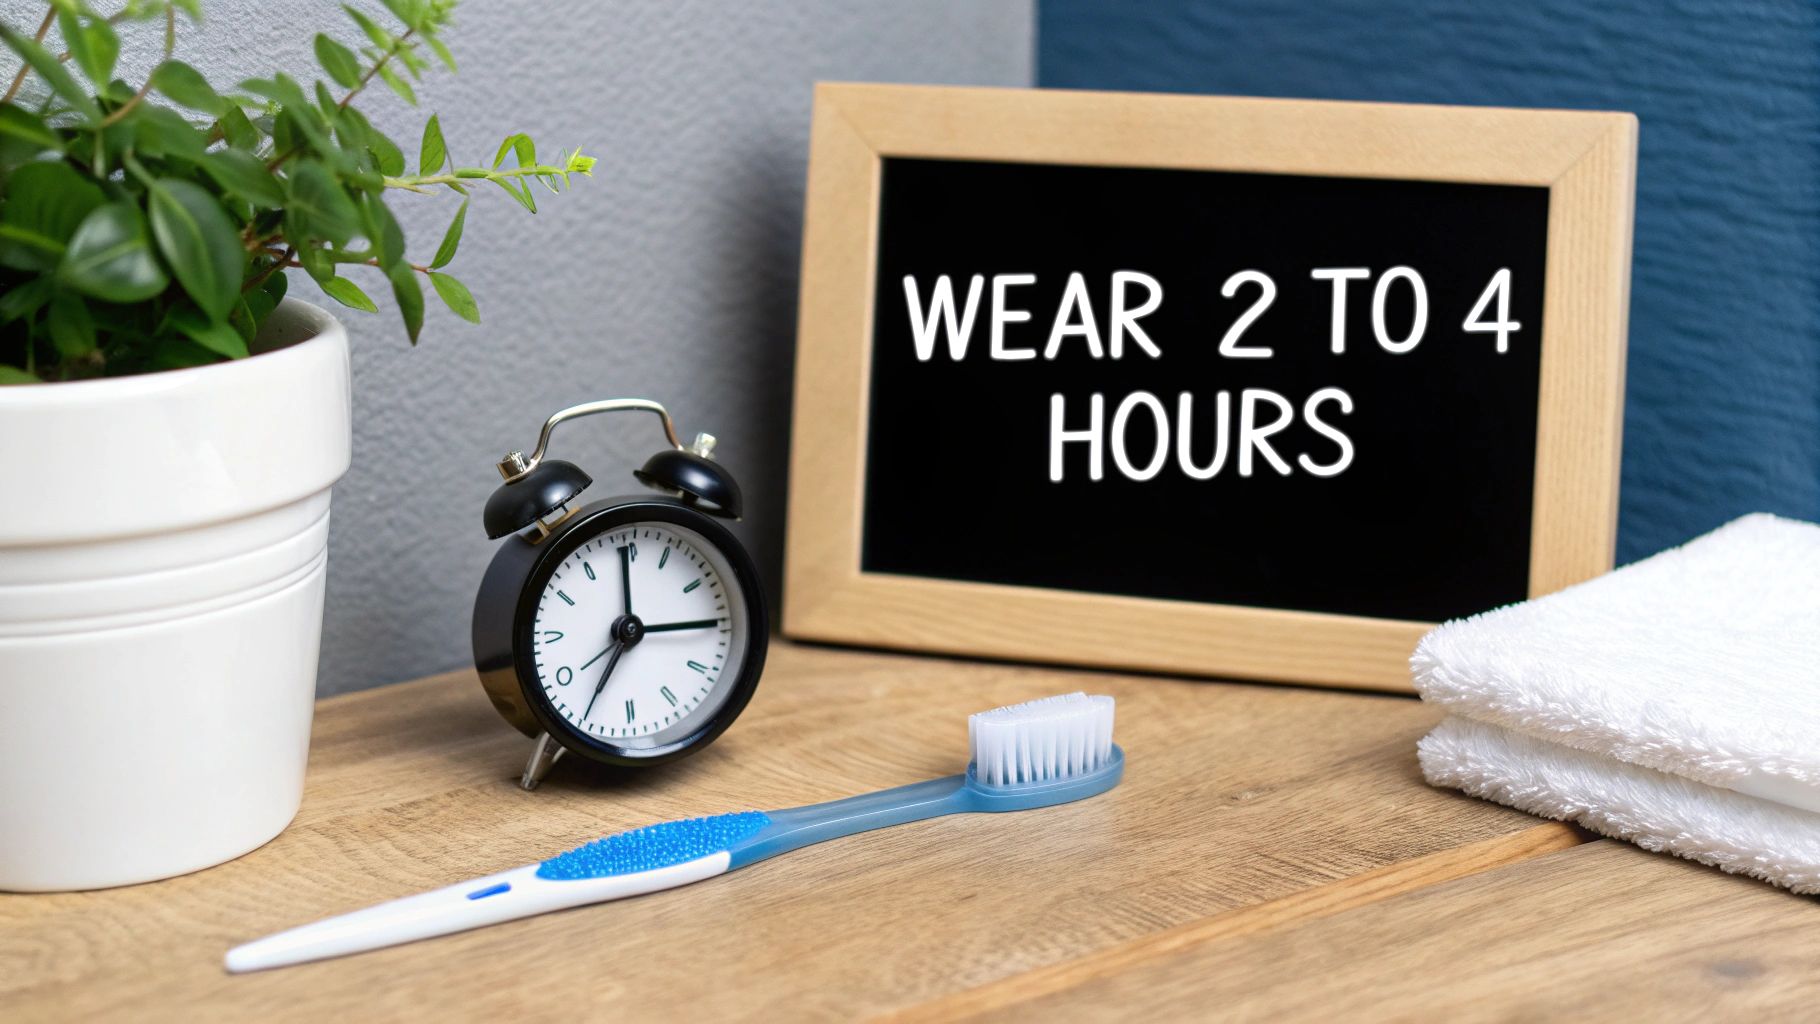
So, you're ready to start your journey with Opalescence 20% whitening gel. You've made a great choice. Getting a brighter smile really comes down to one simple routine: carefully loading your custom trays with a thin line of gel and wearing them for just 2 to 4 hours each day.
This guide is more than a set of instructions. It's packed with real-world tips I've gathered from years of experience to help you get fantastic results safely and comfortably.
Why Opalescence 20 Is a Go-To Whitening Gel
Opalescence 20% is a professional-strength carbamide peroxide gel, the kind dentists trust and often recommend for at-home use. It hits that sweet spot—powerful enough to tackle deep-set, stubborn stains but gentle enough that you don't need to sit in a dental chair to use it.
This balance is exactly why it’s become such a popular option. Before you jump in, it's always helpful to have a little context on general teeth whitening options to see where this fits in.
Think of this page as your personal whitening coach. I'm here to walk you through everything, making sure you feel confident from start to finish. We'll cover all the essentials for a successful treatment.
Here's what we'll dive into:
- Applying the Gel Just Right: I'll show you how to load your trays perfectly to avoid wasting gel and irritating your gums.
- Keeping Sensitivity at Bay: We’ll go over some easy, proactive steps to make sure your whitening experience is a comfortable one.
- Nailing the Wear Time: Sticking to the recommended schedule is key for getting the best, most even results.
- Protecting Your New Smile: Learn the simple aftercare habits that will keep your teeth bright and beautiful long after the treatment ends.
By following these pointers, you’ll be whitening like a pro. For a deep dive into the product itself, you can always check out the full details on Opalescence 20.
Let’s get you on the path to that brighter, more confident smile you've been wanting.
Getting Ready for Your Best Whitening Session
Think of it this way: you wouldn't wax a dirty car. The same idea applies here. To get that beautiful, even whitening result you’re looking for with Opalescence 20%, you need to start with a clean slate.
Before you even think about grabbing the whitening gel, give your teeth a thorough brushing and flossing. You want to get rid of any plaque and food debris. Plaque can act like a little shield, blocking the gel from making full contact with your tooth enamel, which can lead to splotchy or uneven results. This step isn't optional if you want a professional-looking smile.
Make Sure Your Trays Are Spotless and Dry
Next up, take a look at your whitening trays. They need to be perfectly clean and, just as importantly, completely dry. Any water, saliva, or old gel left in the tray can dilute the fresh Opalescence gel, making it less effective.
Here’s a tip I give my patients: Right before you put the trays in, gently pat your front teeth dry with a tissue or a clean, soft cloth. It only takes a second, but it creates the ideal surface for the gel to get to work immediately.
Taking just a couple of minutes to prep properly really sets you up for success.
- Plaque-Free Teeth: This ensures the gel touches every part of your tooth surface for uniform whitening.
- A Dry Surface: Prevents the gel from getting watered down, so you get the full whitening power you paid for.
- Clean Trays: Avoids mixing old, used-up gel or bacteria with your fresh application.
This little bit of prep work is what separates good results from great ones.
Applying Whitening Gel Like a Professional
The secret to a flawless, evenly white smile isn't just about the professional-grade gel; it's all in the application. How you load Opalescence 20% into your custom trays is probably the most important step for getting consistent results without irritating your gums. Nailing the right amount prevents sensitivity and makes sure you don’t waste a single drop of product.
Your goal is to apply just enough gel to cover the front surface of each tooth that shows when you smile. The best way I've found to do this is with the continuous bead technique. You simply squeeze a single, even line of gel along the inner front side of the tray, running it from one end to the other.
This visual guide breaks down the simple prep work that sets you up for a perfect application every time.

Starting with clean teeth and bone-dry trays is non-negotiable. It's the only way to ensure the gel can work at its full potential.
The "Less Is More" Rule
Overfilling the trays is the number one mistake people make, and it's the main cause of gum irritation and sensitivity. It’s also the fastest way to burn through your whitening gel. You only need about one-third to one-half of a syringe to fill both the upper and lower trays for a single session. And remember, there’s no reason to load gel in the molar area—those teeth aren't visible when you smile.
Pro Tip: I always tell my patients to imagine placing a tiny "teardrop" of gel into the little depression for each individual tooth. This mental image is a fantastic way to prevent overfilling and get a comfortable, effective treatment.
Once the gel is loaded, gently place the tray over your teeth and press it into position with your fingers. If you see any gel oozing out onto your gums, just grab a cotton swab or a soft, dry toothbrush and wipe it away immediately. This one step is crucial for avoiding irritation. The carbamide peroxide in Opalescence is powerful stuff, and you can learn more about how different types of hydrogen peroxide gels work in our detailed article.
Mastering this precise application technique will make your entire whitening experience smooth, comfortable, and successful.
Nailing Your Whitening Schedule and Aftercare
If you want to unlock that brilliant smile with Opalescence 20%, consistency is everything. This is where your daily schedule comes into play. The recommended wear time from dentists for this specific gel is 2 to 4 hours per day. This gives the carbamide peroxide the perfect window to work its magic and break down stains without being too harsh on your enamel.
A common mistake is thinking that wearing the trays longer—or even overnight—will get you faster results. In reality, it doesn't really boost the whitening effect, but it does significantly ramp up the risk of sensitive teeth and irritated gums. Sticking to the 2-4 hour sweet spot is genuinely the safest and most effective way to go.
Your Post-Whitening Game Plan
Once your time is up, what you do next is simple but super important for protecting both your teeth and your trays.
Here’s the routine to follow right after you take the trays out:
- Remove Trays & Rinse Your Mouth: Pop the trays out gently. Give your mouth a good rinse with lukewarm water—never hot or cold—to wash away any leftover gel.
- Brush Your Teeth: Now, grab a soft-bristled toothbrush and give your teeth a light brushing. You don’t need to scrub hard at all. The goal is just to clean off any film the whitening agent left behind.
- Clean Your Trays (Don't Skip This!): This step is critical. Clean your trays right away with cool water and a soft toothbrush. Using hot water is a big no-no, as it can warp the plastic and ruin their custom fit.
Cleaning your trays immediately prevents the gel from getting sticky and hardening, which makes them a real pain to clean later. A clean tray is absolutely essential for your next whitening session to be effective.
Protecting Your Freshly Brightened Smile
For a couple of hours after each whitening session, your enamel is a bit more porous than usual, making it a magnet for new stains. Think of it like a freshly painted wall—you want to avoid touching it while it dries.
To make sure you get the best results from your Opalescence 20 instructions, try to steer clear of common stain culprits for at least a few hours after treatment. That means avoiding things like:
- Coffee and black tea
- Red wine
- Dark sodas
- Berries and soy sauce
- Any tobacco products
Following this simple aftercare plan ensures every session builds on the last, getting you closer to that bright, confident smile without any frustrating setbacks.
How to Manage and Prevent Tooth Sensitivity
Let's talk about one of the most common worries with teeth whitening: sensitivity. It's totally normal to feel a few temporary "zingers." The whitening agent works by opening up the pores in your enamel to lift stains, and this process can make your teeth a bit more responsive to hot and cold. The good news is, it's almost always manageable and short-lived.
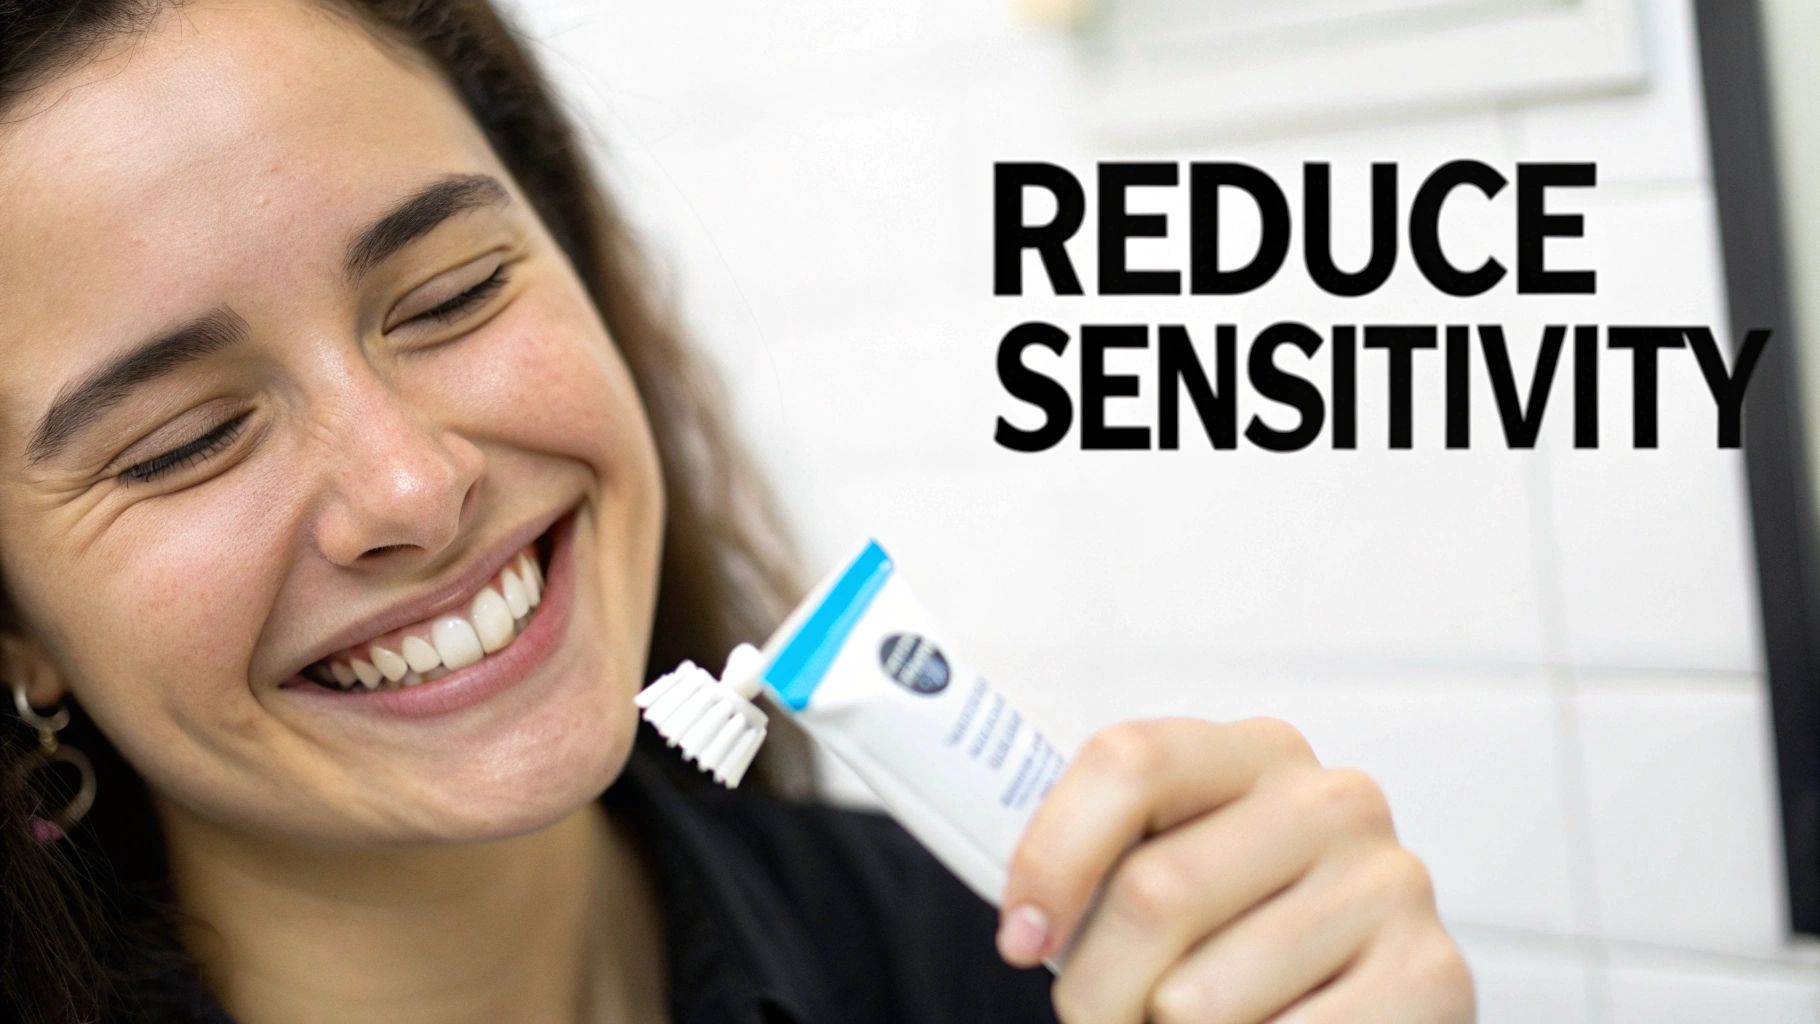
Thankfully, Opalescence gels already have a leg up. They’re formulated with potassium nitrate and fluoride (PF), which actively help calm sensitivity and strengthen your enamel during the process. Even so, taking a few proactive steps can make your whitening journey completely comfortable from start to finish.
Get Ahead of Discomfort
The best way to deal with sensitivity is to prevent it before it even starts. Don't wait around for the discomfort to kick in.
A simple and super effective strategy is to switch to a desensitizing toothpaste about a week or two before you even start your Opalescence 20 treatment. Brushing twice a day with one of these toothpastes helps build up a protective barrier over the nerves in your teeth, getting them ready for whitening.
Adjusting Your Routine for Comfort
If you do start to feel some sensitivity, just remember that you are in complete control of your whitening schedule. The most important thing is to listen to what your teeth are telling you.
A fantastic rhythm that many people find works perfectly is alternating days. Whiten one day, then use a desensitizing gel like UltraEZ the next. This approach lets you get to your ideal shade without rushing the process or causing unnecessary irritation.
Here are a few easy adjustments you can make based on your own comfort level:
- Shorten Your Wear Time: If the standard 2-4 hours feels like a bit much, cut it back to just 1 or 2 hours. You'll absolutely still get great whitening results; it might just take a few more sessions to get there.
- Whiten Every Other Day: Giving your teeth a day off between whitening sessions allows them time to rehydrate and recover. This is the go-to strategy for anyone with a history of sensitivity.
- Use a Desensitizing Gel: Applying a product like UltraEZ in your trays for 15-30 minutes, either right before or after your whitening session, can provide some serious relief.
These small tweaks can make a world of difference. For a deeper dive into managing sensitivity, be sure to check out our detailed guide on how to reduce teeth sensitivity after whitening.
Common Questions About Using Opalescence 20
Even with perfect instructions, it's natural for a few questions to come up when you start whitening. Getting those answers sorted out helps you stick with the program and feel confident you're doing it right. Let's tackle some of the most common things people ask about using Opalescence 20% gel.
What Happens If I Accidentally Swallow Some Gel?
This is probably one of the top concerns we hear, but rest assured, swallowing the tiny bit of gel that might escape from your trays isn't a reason to panic. The peroxide active ingredient breaks down very quickly and safely inside the body.
More often than not, this is simply a sign that you might be overfilling your trays. If it happens, just use a little less gel next time. All you really need is a thin, continuous bead along the front-facing side of the tray to get fantastic results without any excess.
Can I Wear Opalescence 20 Trays Overnight?
Definitely not. The Opalescence 20 instructions are very specific on this point: this particular formula is designed for a wear time of 2-4 hours per session. Trying to wear it overnight is a recipe for significant tooth sensitivity and gum irritation, and it won't make your teeth any whiter.
Expert Tip: If you're set on the idea of whitening while you sleep, you'll need a different product. Ask your dentist about a lower concentration formula, like Opalescence 10%, which is specifically made for safe, extended wear.
How Long After Whitening Can I Eat or Drink?
Right after you take your trays out, the pores in your enamel are a little more open than usual, making them extra susceptible to picking up new stains. It's a good idea to wait at least 30 minutes before having anything other than plain water.
To protect your new, brighter shade for the long haul, try your best to avoid common stain-culprits—think coffee, red wine, tea, or dark berries—for the next 24-48 hours. This gives your teeth plenty of time to rehydrate and build back their natural protective barrier.
What Is the Best Way to Store My Syringes?
Proper storage is crucial for keeping the whitening gel effective. You'll want to keep your Opalescence syringes in a cool, dark place to maintain the potency of the active ingredients. The refrigerator is perfect for this, as it helps prolong the gel's shelf life.
Just be sure to never freeze the gel. You also want to keep it far away from direct sunlight or any heat sources, which can cause the peroxide to degrade and lose its whitening power.
Ready to get that brilliant smile you've been wanting? You can have professional-grade Opalescence 20% whitening gel delivered right to your door from DentalHealth.com.