

Your Complete Guide to Opalescence Instructions 20
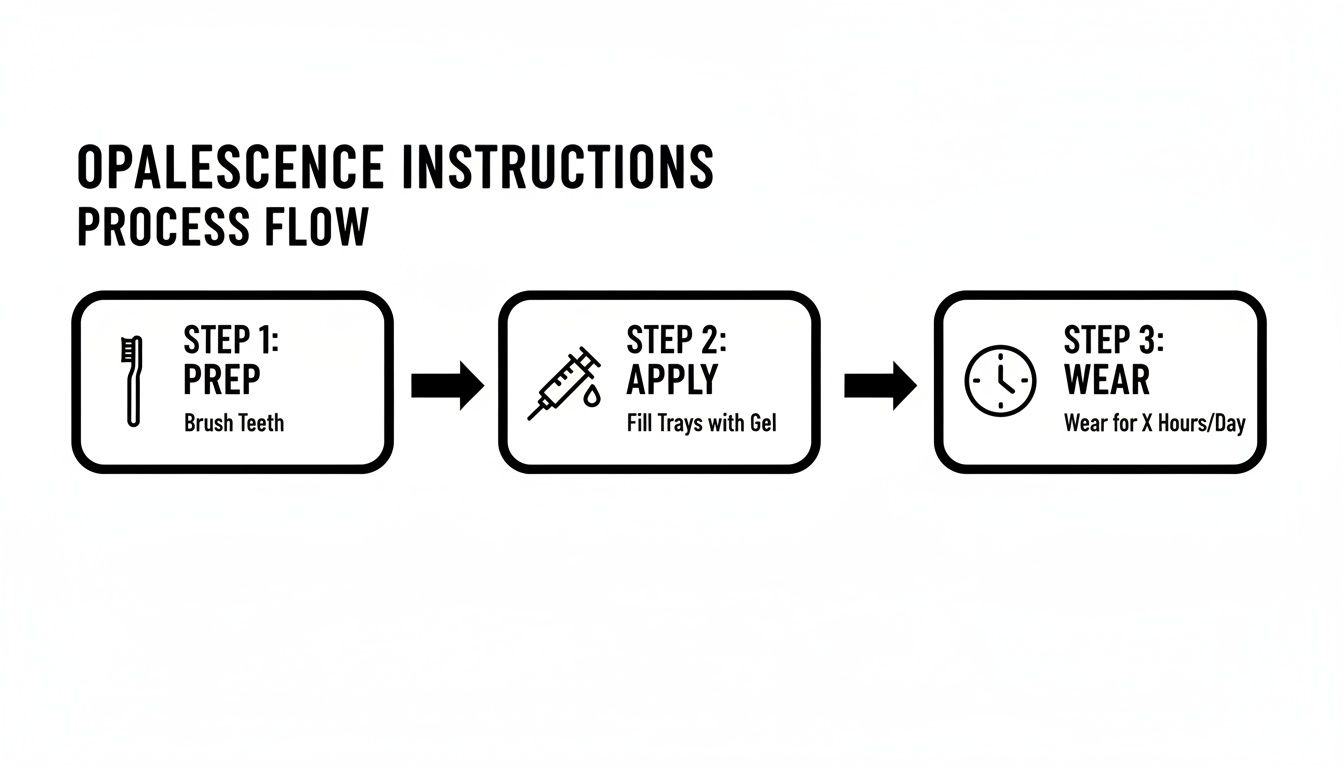
Ready for a brighter smile? Let's get right to it. The core instructions for Opalescence 20 are simple: apply a small dot of gel to the front part of each tooth impression in your custom trays and wear them for 2–4 hours per day.
Getting that application technique right and wearing the trays consistently are the two biggest factors in achieving professional results safely at home.
Your Quick Start Guide to a Brighter Smile
Jumping into at-home teeth whitening is exciting, but doing it right is what really matters. Opalescence 20% carbamide peroxide gel is a professional-grade product, the kind of stuff dentists trust for their patients to use at home. It’s formulated to deliver noticeable results without needing an in-office appointment.
This strength is the sweet spot—it’s powerful enough to break down deep-set stains from years of coffee, tea, or just life, but it’s also designed for manageable wear times to keep sensitivity in check.
The real key here is consistency. A typical treatment cycle usually runs between one to two weeks, but this can vary depending on your starting tooth shade and how white you want to go. Sticking to that daily 2–4 hour window is crucial. It gives the whitening agent enough time to work its magic without overexposing your teeth and causing unnecessary sensitivity.
The Whitening Process At a Glance
To make this super easy to follow, I've broken down the entire process into a simple table. Think of it as your cheat sheet for every whitening session. Each step builds on the last, helping you sidestep common mistakes like using way too much gel or leaving the trays in for too long (we've all been tempted).
Here’s a snapshot of what your routine will look like.
Opalescence 20 Percent Whitening At a Glance
This table breaks down the core instructions for a successful Opalescence 20% treatment cycle, from prep to maintenance.
| Phase | Key Action | Expert Tip |
|---|---|---|
| Preparation | Brush and floss thoroughly before each session. | A clean tooth surface is everything. It allows the gel to make direct contact with your enamel for more even, consistent whitening. |
| Application | Place one small teardrop of gel in each tooth's space. | Don't overfill the trays! You only need to whiten the visible front surfaces, not the entire tooth. Less is definitely more here. |
| Treatment | Wear trays for the recommended 2–4 hours. | If you feel any sensitivity, start with a shorter wear time, like 2 hours, and gradually work your way up as you get more comfortable. |
| Aftercare | Remove trays, rinse your mouth, and clean the trays. | Use a soft-bristled brush and cool water to clean your trays immediately after you take them out. This prevents that sticky gel from building up. |
Following this kind of systematic approach is precisely why professional take-home products are so effective. People are catching on, too. The global teeth whitening market was valued at $8.52 billion and is projected to climb to $12.77 billion by 2032, with dentist-recommended gels like Opalescence leading the charge in the at-home category.
For those who want to explore more advanced techniques or need personalized solutions for tougher stains, it's always a good idea to consult a professional specializing in expert teeth whitening services (Di Beyazlatma). Understanding all your options is the first step toward a smile you can't wait to show off.
Perfecting Your Gel Application Technique
The secret to getting that flawless, evenly white smile isn't just about the professional-grade gel; it’s all in the details of your technique. How you apply Opalescence 20% into your custom trays is probably the single most important factor for getting consistent results without irritating your gums. The process is straightforward, but a little precision goes a long way.
Before you even think about picking up a gel syringe, get your teeth perfectly clean. Brush thoroughly with your regular, non-whitening toothpaste and make sure to floss between every tooth. Think of it as creating a clean canvas—this allows the carbamide peroxide gel to make direct contact with your enamel, so it can tackle stains without plaque getting in the way.
Don't skip this step. It's non-negotiable if you want the best possible outcome.
Dispensing the Gel Correctly
The golden rule with Opalescence gel is simple: less is more. Overfilling your trays is the number one reason people experience gum irritation, and frankly, it just wastes a good product. The goal is to apply just enough gel to cover the front surface of each tooth you see when you smile.
Squeeze a single, continuous bead of gel from one end of the tray to the other. You're aiming for the part of the tray that will sit against the front of your teeth.
- For the Upper Tray: The line of gel should run about halfway up the inner front wall of the tray.
- For the Lower Tray: Place the gel in the same spot, along the inner front side.
You should only need about one-third to one-half of a syringe to fill both the upper and lower trays for one session. There's no need to put gel in the molar area, since those teeth aren't usually visible when you talk or smile.
Expert Tip: I always tell my patients to imagine placing a tiny 'teardrop' of gel in the depression for each tooth. This mental picture is a great way to prevent overfilling and ensures you use the right amount for a comfortable, effective treatment.
This simple routine is the core of every successful at-home whitening treatment.
This basic flow—prep, apply, and wear—is the foundation you'll build on for every whitening session.
Seating the Tray and Managing Overfill
Once you've loaded the gel, gently place the tray over your teeth and press it into position with your fingers. Don't bite down hard—that can squeeze the gel out onto your gums. A well-made custom tray should adapt snugly to your teeth with just light pressure.
After the tray is seated, take a quick look in the mirror for any excess gel that might have oozed onto your gums. If the gel makes contact with your gums, it can cause gingival blanching (a temporary whitening of the tissue). If you see this, just take a soft toothbrush, a cotton swab, or even your finger and gently wipe away the extra gel immediately. This one small action is crucial for preventing irritation.
This kind of careful application is a hallmark of the professional kits that now dominate the at-home whitening market. Valued at $2.68 billion, the professional teeth whitening sector is projected to hit $3.73 billion by 2030, with effective gel-based systems like this commanding 62% of the segment. You can read the full research about the professional teeth whitening market to see just how much at-home kits are shaping the industry.
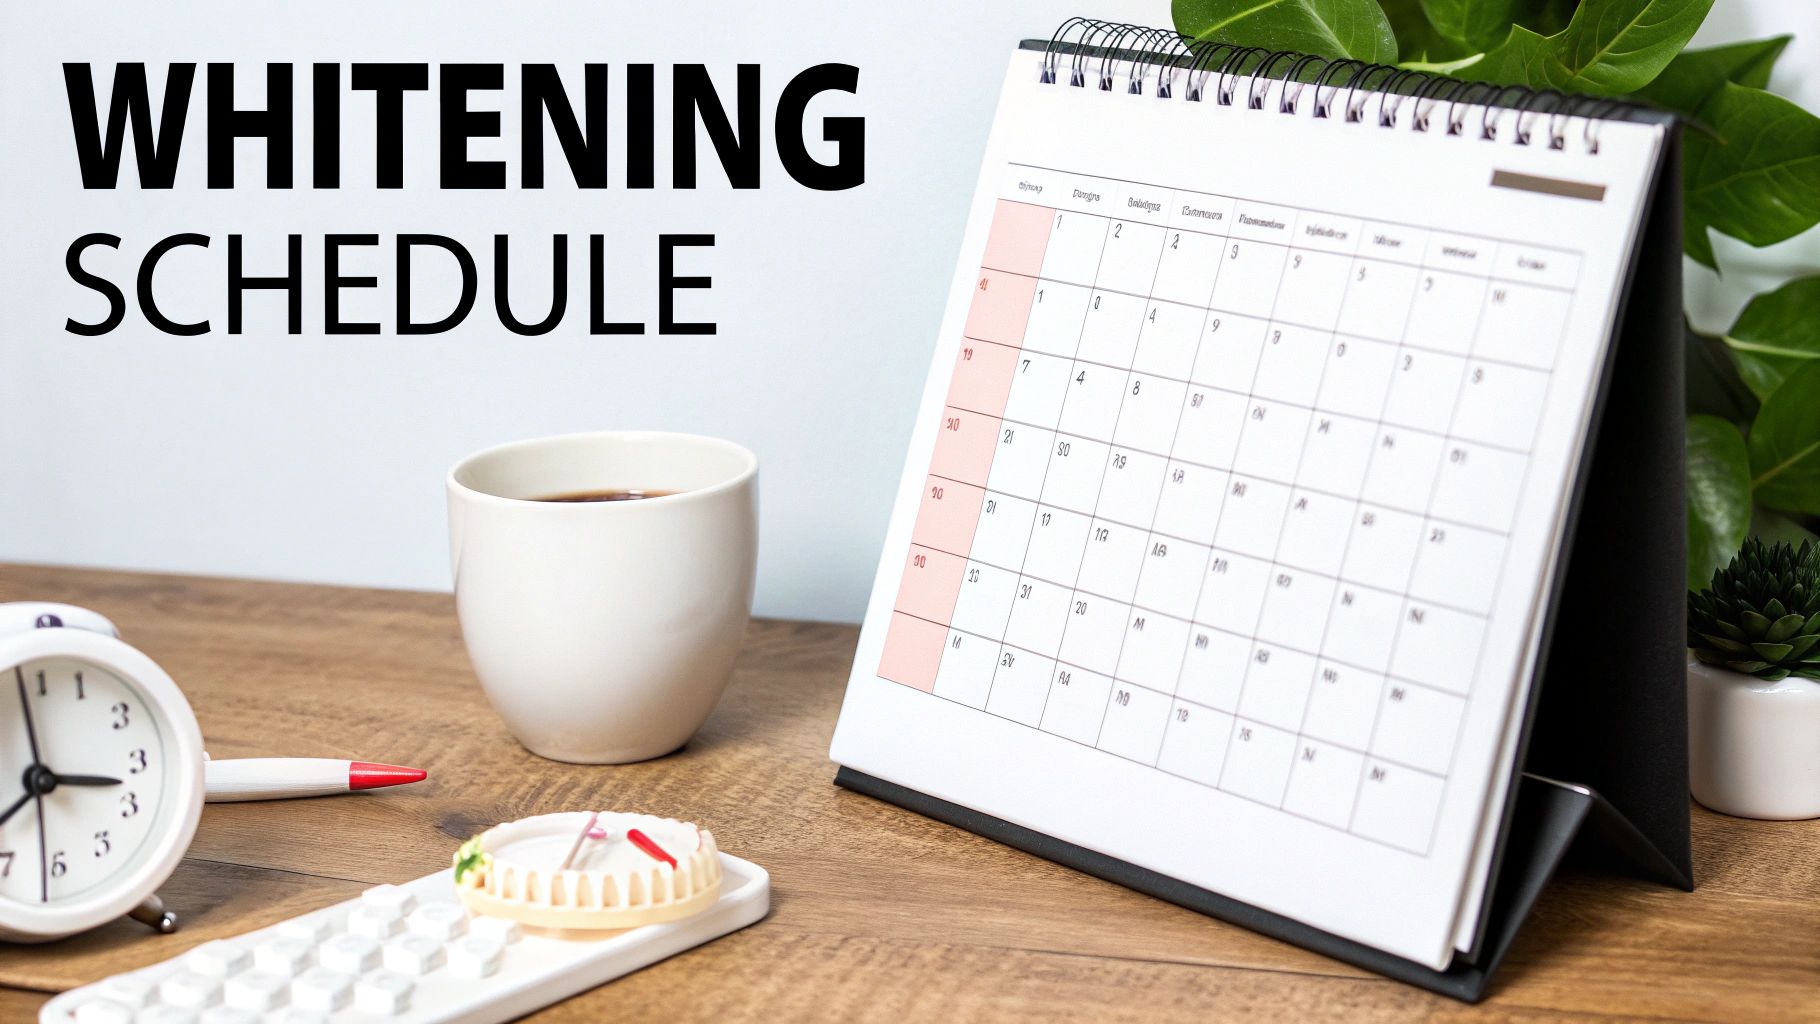
Creating Your Ideal Whitening Schedule
Consistency is the secret ingredient for transforming your smile with Opalescence 20%. While the gel itself is powerful, your results really hinge on building a routine that actually fits into your life. The dentist-recommended wear time is typically 2 to 4 hours per day, which gives you a pretty flexible window to work with.
Finding the right time to whiten is a personal thing. Some people pop their trays in during the morning while they’re working from home, checking emails and sipping on water. Others find it much easier to whiten in the evening while they're kicking back with a movie or a good book. The key is just picking a time when you can commit without feeling rushed or interrupted.
Protecting Your Progress with a White Diet
While you're actively whitening, your tooth enamel becomes slightly more porous, making it a magnet for stains. This means what you eat and drink suddenly becomes incredibly important. To protect your investment and get the brightest possible results, it’s best to temporarily sidestep foods and drinks known to cause discoloration.
My go-to rule of thumb is this: if it would stain a white t-shirt, it will probably stain your teeth. For the one or two weeks you're whitening, that means steering clear of some common culprits.
- Dark Beverages: Coffee, black tea, red wine, and dark sodas are the usual suspects.
- Colorful Sauces: Think soy sauce, marinara, and curry—they can quickly undo your hard work.
- Staining Fruits: Berries like blueberries and blackberries, and even dark grapes, should be put on pause.
- Tobacco Products: Smoking or chewing tobacco will actively work against the whitening gel.
Sticking to a "white diet"—things like chicken, rice, potatoes, and pasta with white sauces—helps ensure the gel can do its job without constantly fighting off new stains.
By minimizing your exposure to staining agents, you’re not just whitening—you’re creating a clean slate for the carbamide peroxide to work effectively. This simple dietary adjustment is one of the most impactful parts of the at-home whitening process.
Maintaining Your New Smile Long Term
Once you’ve hit that perfect shade, the goal is to make it last. How long your results stick around really depends on your lifestyle and daily oral hygiene habits. With good care, most people find their bright smile lasts for many months, sometimes even years. For a deeper look at this, you can learn more about how long professional teeth whitening lasts in our detailed guide.
To keep that smile looking its best, periodic touch-ups are your best friend. A typical touch-up only involves whitening for one or two sessions every 3 to 6 months, depending on your needs. It’s a quick refresh that combats the gradual staining that happens from, well, living life.
A great tip is to store your leftover Opalescence gel in the refrigerator. This helps maintain its potency for those future touch-ups, making sure you're always ready to bring back that brilliant shine.
How to Manage and Prevent Tooth Sensitivity
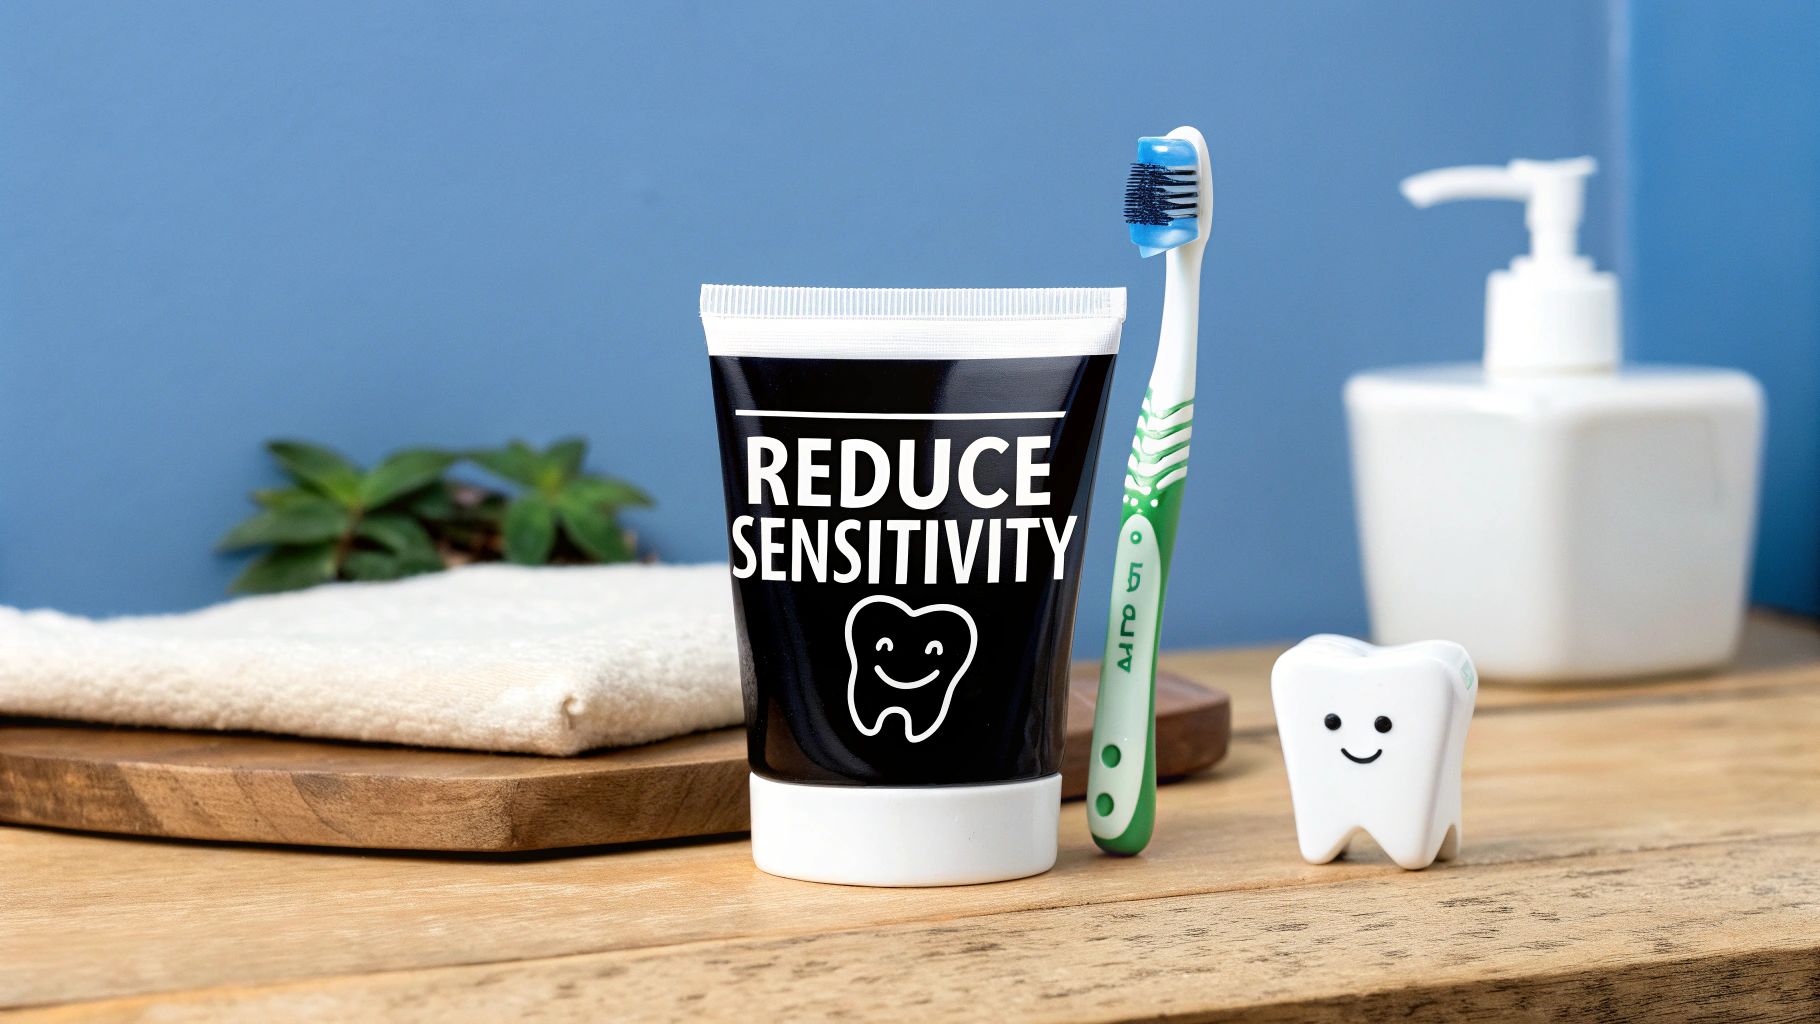
Let's talk about one of the most common concerns with whitening: sensitivity. Feeling a few "zingers" is pretty normal, and it's almost always temporary. The carbamide peroxide in the gel has to open up the pores in your enamel to work its magic and lift stains. This can make your teeth temporarily more responsive to hot and cold.
Knowing this ahead of time is half the battle. Opalescence gels actually come with a built-in advantage—they're formulated with potassium nitrate and fluoride (PF). These are your allies for reducing sensitivity, strengthening enamel, and even helping to prevent cavities. Even with that protection, a few proactive steps can make your whitening journey much smoother.
Be Proactive Before You Whiten
The best way to deal with sensitivity is to stop it before it starts. Don't just wait for discomfort to show up. A little prep work can make a world of difference.
One of the easiest and most effective things you can do is switch to a desensitizing toothpaste a week or two before you start your Opalescence 20 treatment. Brushing with it twice a day helps build up a protective layer, making your teeth less reactive once the whitening begins.
Adjusting Your Whitening Routine
If you do start to feel some sensitivity, the first place to look is your whitening schedule. You are in complete control here. Your teeth will tell you what they need, so it's important to listen. Not everyone needs to whiten every single day to get fantastic results.
Here are a few simple tweaks you can make:
- Shorten Your Wear Time: If the standard 2–4 hours feels like too much, dial it back to just 1 or 2 hours. You’ll still get great results; it just might take a few extra sessions to reach your goal.
- Whiten Every Other Day: Giving your teeth a day off between whitening sessions allows them time to recover and rehydrate. This is a go-to method for anyone with a history of tooth sensitivity.
- Use a Desensitizing Gel: A product like Opalescence's own UltraEZ gel is a lifesaver. You can wear it in your trays for 15–30 minutes either before or after your whitening session to help calm the nerves and bring relief.
A lot of people find their perfect rhythm by alternating days: one day for whitening, the next day for a desensitizing gel. It's a fantastic way to achieve your dream shade comfortably, without rushing the process or causing unnecessary irritation.
Below is a quick guide to help you gauge your sensitivity and decide on the best course of action.
Sensitivity Level and Action Plan
| Sensitivity Level | What It Feels Like | Recommended Action |
|---|---|---|
| Mild | Occasional, brief "zingers" when drinking something cold. | Continue whitening, but consider shortening wear time by an hour. Use a desensitizing toothpaste daily. |
| Moderate | More frequent, sharp pains with hot or cold stimuli. | Switch to whitening every other day. Use a desensitizing gel like UltraEZ on your "off" days for 15-30 minutes. |
| Severe | Lingering, persistent discomfort even without a trigger. | Stop whitening for 2-3 days completely. Use a desensitizing gel daily. Consult your dentist before resuming treatment. |
These small adjustments can make a huge impact on your comfort. For a deeper dive into managing sensitivity, check out our guide on how to reduce teeth sensitivity after whitening.
Following your Opalescence instructions 20 while making smart, simple changes is the key. You can absolutely get to a brighter, more confident smile without the pain.
Solving Common At-Home Whitening Problems
Even when you follow the instructions to a T, at-home whitening can throw a few curveballs your way. The good news is that most common issues are easy to fix with a few simple adjustments. Things like uneven results or a little gum irritation are usually temporary and totally fixable, so there's no need to panic.
Understanding what causes these minor hiccups is the first step to getting back on track. A little troubleshooting will keep your journey to a brighter smile smooth and comfortable.
Fixing Uneven Whitening and Blotchy Spots
Ever look in the mirror after a whitening session and notice some spots seem brighter than others, creating a slightly mottled or blotchy effect? This is one of the most frequent concerns people have when they start, but it’s almost always just a temporary phase.
Those white spots are often areas where your enamel was a bit dehydrated before you started. As the gel gets to work, these drier areas whiten faster, which makes them stand out. The great part is that as your teeth naturally rehydrate after each session, these spots typically blend in and even out beautifully.
Another common culprit is plaque. If you have any plaque buildup, the whitening gel just can't penetrate those areas effectively, leading to patchy results.
- Start with a Clean Slate: Always brush and floss thoroughly right before putting in your trays. This gives the gel a clean, even surface to work its magic on.
- Stay the Course: Keep up with your whitening schedule. The unevenness usually sorts itself out within the first few days of treatment as your enamel rehydrates and the overall shade lightens.
- Check with Your Dentist: If the spots are still there after you've finished your full treatment, it might just be due to natural variations in your enamel's density. A quick chat with your dentist can clear things up.
The key takeaway here is patience. Those initial white spots are a sign the gel is working hard. Just give your teeth time to adjust and rehydrate, and you'll almost certainly see a beautifully uniform result emerge.
What to Do About Gum Irritation
Feeling a little tenderness or seeing your gums look pale right after you take out your trays? This is a classic sign that a bit too much gel escaped and got onto your soft tissues. It's called gingival irritation or blanching, and it’s completely avoidable.
The offender is almost always overfilling the trays. You really only need a tiny teardrop of gel for each tooth that shows when you smile. Anything extra is just going to get squeezed out onto your gums when you seat the tray.
Here’s your action plan if this happens:
- Wipe Away Excess Gel Immediately: As soon as you place your trays, use a cotton swab or a soft toothbrush to gently wipe away any gel that has oozed onto your gums.
- Use Less Gel Next Time: On your next application, make a conscious effort to use less. A good rule of thumb is to use about one-third to one-half of a syringe for both trays combined.
- Take a Short Break: If your gums feel sore, just take a day off from whitening to let them recover. They heal very quickly.
By mastering the "less is more" approach detailed in your Opalescence instructions 20, you can prevent gum irritation entirely. This will make your whole whitening experience comfortable from start to finish.
Answering Your Opalescence 20 Questions
Even with the best instructions, you're bound to have a few questions once you start your whitening journey. Getting those questions answered is the key to feeling confident and getting the smile you want. Here, we'll tackle the most common things people ask when using Opalescence 20% gel, based on real-world experience.
We'll cover everything from how fast you can expect results to whether your morning coffee is off-limits. Let's get into the details so you can whiten with total peace of mind.
How Quickly Will I See Results?
This is always the first question, and the good news is, it's often faster than people expect. Every smile is different, of course, but many people see a noticeable change within just 3 to 5 days of consistent use. For some, especially those with lighter surface stains, things can start looking brighter after the very first application.
The really significant, more dramatic results tend to show up after about a week of sticking to the 2–4 hour daily wear time. You'll typically see the final, brilliant outcome after the full 1 to 2-week treatment cycle is complete.
Can I Eat or Drink While Wearing the Trays?
Simply put, no. You'll want to avoid eating or drinking anything at all—except for cool water—while your Opalescence trays are in. There are a few important reasons for this.
- Staining: Drinks like coffee, tea, red wine, or even dark sodas can seep into the trays and stain your teeth, completely working against the whitening gel.
- Tray Damage: Chewing can easily warp or damage your custom trays. A compromised fit means the gel won't work as effectively in the future.
- Gel Ingestion: Food and drinks can mix with the whitening gel, causing you to swallow it, which isn't recommended.
A Little Pro Tip: Try to schedule your whitening sessions for a time you know you won't be tempted to eat or drink. Right after dinner while you're relaxing and watching TV is often the perfect, interruption-free window.
Can I Whiten Just My Upper or Lower Teeth?
Absolutely. It's actually very common for the top and bottom rows of teeth to be slightly different shades. You can definitely whiten just one arch to get a perfectly even, matched smile.
This is also a smart way to make your gel last longer. If you see your top teeth have reached your goal shade but the bottom ones need a bit more time, just load the gel into the lower tray only. This kind of precise control is one of the biggest advantages of a custom tray system and a key part of following proper Opalescence instructions 20.
What If I Miss a Day?
Don't worry about it. Life gets busy, and missing a single day of whitening is not going to derail your progress or undo your results.
Just pick up where you left off the next day. The whole treatment might take one day longer to finish, but that's it. The goal is consistency, not perfection. Whatever you do, don't try to "make up" for the missed day by wearing the trays for a longer session—stick to the recommended 2–4 hours to keep sensitivity at bay.
Ready to start your journey to a brighter smile with a product trusted by dentists? At DentalHealth.com, we offer authentic Opalescence gels and a full range of professional at-home dental care products. Shop Opalescence 20% and get free US shipping on your order today.