

Teeth whitening at home tips: Safe steps for a brighter smile
Getting a brighter smile from the comfort of your own home is not only possible but can be incredibly effective when you do it right. The best approach boils down to three key stages: starting with a quick dental check-up, choosing a quality product you'll actually use, and prepping your teeth properly before every single application. Getting this foundation right is what separates so-so results from a truly radiant smile.
Your Foundation for a Brighter Smile at Home
Before you even think about putting a whitening product on your teeth, you need to set the stage. This isn't just about avoiding rookie mistakes; it's about getting the absolute best results possible and making sure the whole process is comfortable from start to finish.
Start with a Professional Opinion
Your very first step, and this one is non-negotiable, should be a visit to your dentist. A quick check-up confirms that your teeth and gums are healthy enough to handle a whitening treatment. Trust me, you don't want to whiten over an undiagnosed cavity or inflamed gums—that's a recipe for some serious pain. A dentist can spot these potential problems and give you the green light.
A professional can also help you set realistic goals for what you can achieve at home.
Choosing the Right Whitening Product
Walking down the dental aisle can be overwhelming with all the choices out there. The at-home teeth whitening market is booming—it was valued at $2.1 billion globally and continues to grow, largely thanks to effective options like LED-accelerated peroxide gels from reputable brands. In fact, some studies have shown these kits can brighten your smile by up to eight shades in just two weeks with consistent use.
So, how do you choose? Here's a quick comparison of the most popular methods to help you decide what fits your life and your goals.
Choosing Your At-Home Whitening Method
| Whitening Method | Best For | Average Treatment Time | Potential Results |
|---|---|---|---|
| Whitening Strips | Beginners, mild staining, convenience | 30-60 minutes daily | Moderate whitening over 2-3 weeks |
| Whitening Gels with Trays | Deeper, more significant stains | 30 minutes to a few hours, depending on strength | More dramatic, professional-level results |
| LED Whitening Kits | Faster results, tech-savvy users | 10-30 minutes daily | Accelerated whitening, noticeable in days |
Ultimately, the best choice comes down to your lifestyle. If you can spare 30 minutes a day while you watch TV, strips are a fantastic, no-fuss option. But if you’re aiming for more dramatic results and can commit to a slightly more involved routine, a gel and tray system is going to give you more bang for your buck.
Your lifestyle and whitening goals should guide your choice. If you have 30 minutes a day, strips are great. If you can commit to a more structured routine for more dramatic results, a gel and tray system is superior.
Preparing Your Teeth for Application
Once you've got your dentist's approval and your product in hand, this last prep step is simple but absolutely crucial. For any whitening agent to do its job, it needs clean, direct contact with your tooth enamel.
Ideally, you'd start with a professional cleaning to get rid of any stubborn plaque or tartar. Then, right before each at-home application, make sure you brush and floss thoroughly. This removes any food particles or film that could get in the way, ensuring the gel or strip adheres properly and whitens every part of your tooth evenly. No one wants a splotchy smile.
Taking these steps also helps build the great habits you'll need to keep your smile bright long after you're done whitening. For more tips, you can check out our guide on how to prevent teeth staining.
Mastering Whitening Gels and Custom Trays
If you're looking for results that rival a dental office visit, using professional-grade whitening gels with custom-fit trays is the way to go. It's truly the gold standard for at-home whitening. But their incredible effectiveness hinges entirely on your application technique—getting it right means maximizing whitening power while minimizing gum irritation.
The single most common mistake I see is people overfilling their trays. You really only need a tiny, teardrop-sized dot of gel in the reservoir for each tooth you plan on whitening, which is typically from canine to canine. More gel doesn't equal faster or better results; it just means the excess will inevitably ooze out onto your sensitive gum tissue.
This simple workflow lays out the essential prep work before you even open the gel, setting you up for a smooth and effective session from the start.
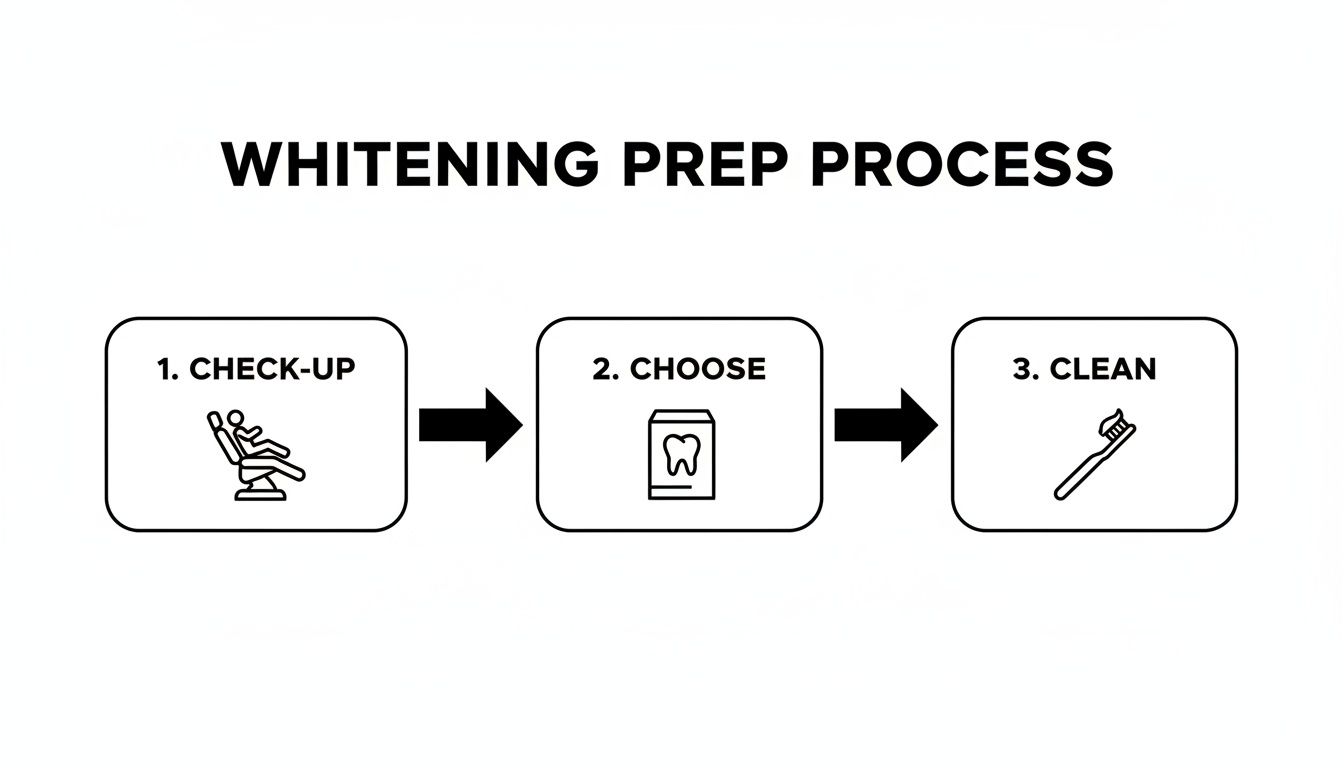
As you can see, a great whitening experience always starts with a professional check-in, choosing the right product for you, and beginning with a perfectly clean dental surface.
Perfecting the Application Process
After placing that precise amount of gel into your trays, it's time to gently insert them, one at a time. Press the tray firmly but gently against the front of your teeth. You’re aiming for a snug fit that creates a complete seal around each tooth. This is what keeps the gel in and saliva out.
A good seal is absolutely crucial. If you see a significant amount of gel squishing out onto your gums, you've definitely used too much. The best thing to do is take the tray out, wipe it clean, and just start over with less gel. It's worth the extra minute.
For any minor excess that might have escaped, simply wipe it away with a soft-bristled toothbrush or a cotton swab.
Key Takeaway: The goal is simple: the whitening gel should only touch your tooth enamel. Proper tray seating and using just the right amount of gel are your best defenses against gum sensitivity, which is the most common side effect of at-home whitening.
Understanding Wear Times for Different Gels
Not all whitening gels are the same. Their wear times are dictated by the type and concentration of peroxide they contain, and following the manufacturer's instructions is non-negotiable for both your safety and your results.
Here’s a general guide to what you can expect with common gel concentrations:
- High-Concentration Gels (e.g., 20%-35% Carbamide Peroxide): These are powerful and fast-acting. They're designed for shorter wear times, typically from 15 to 60 minutes per session.
- Lower-Concentration Gels (e.g., 10%-16% Carbamide Peroxide): These are gentler and often recommended if you have sensitive teeth. Some, like PolaNight, are even formulated for overnight use, meaning they can be worn for several hours or while you sleep.
If you happen to notice temporary white spots or a bit of blanching on your gums after a session, don't panic. This is usually just a sign of minor chemical irritation from the peroxide and it typically fades within an hour or two. Think of it as a helpful reminder to be even more careful with your gel placement next time.
For a deeper dive into trays, you can learn more about getting the perfect fit with custom-fit teeth bleaching trays in our detailed guide.
Getting the Most from Whitening Strips and LED Kits
Whitening strips and LED kits are wildly popular for a reason—they're easy to use and can deliver great results right at home. But getting professional-level results often comes down to a few simple techniques that aren't printed on the box. These are the little tricks you learn over time that can make a huge difference.
Let's break down how to turn these basic tools into a seriously effective whitening system.
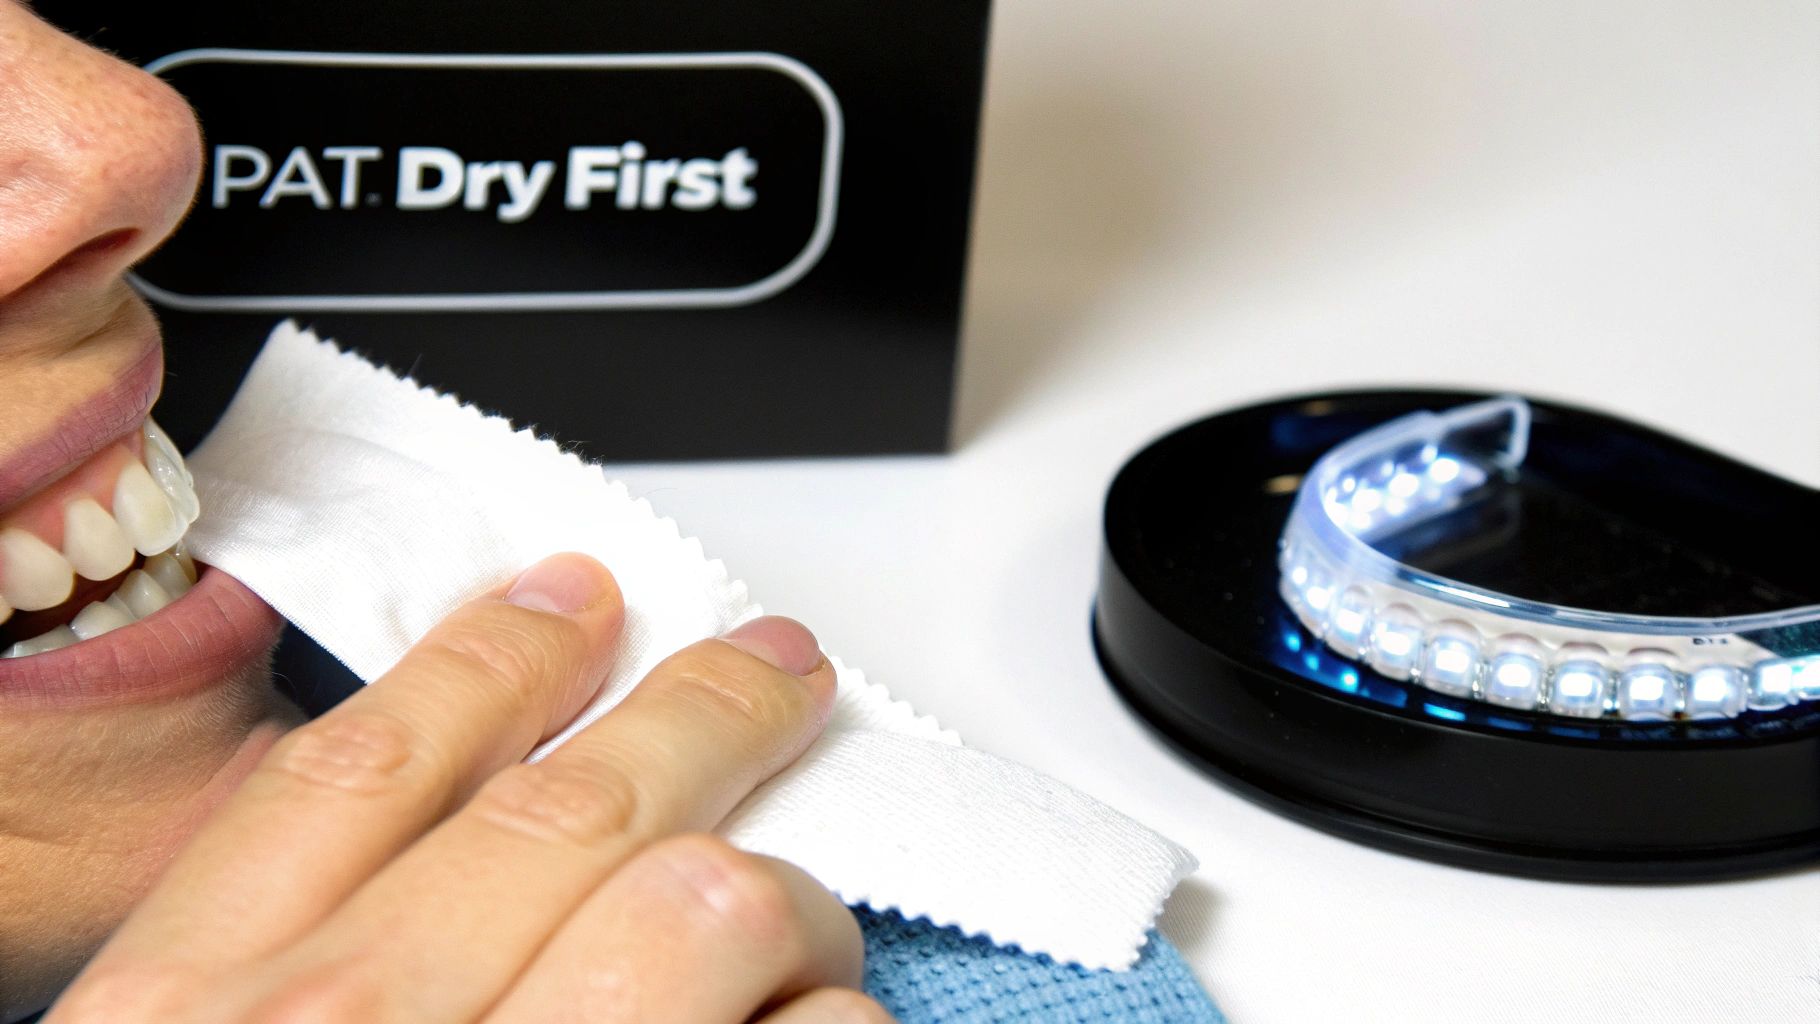
With whitening strips, the number one enemy is slippage. If a strip is sliding around your teeth, the whitening agent isn't being applied evenly. This is how you end up with those frustratingly blotchy or spotty results.
The fix is almost laughably simple, but it's a game-changer. Before you even think about putting a strip on, grab a clean cloth or a paper towel and gently pat the front surface of your teeth dry. This wicks away any excess saliva, creating a much better surface for the strip to adhere to.
This single step ensures maximum contact and prevents the strip from sliding, letting the peroxide gel do its job without any interruptions.
Maximizing Your LED Whitening Kit
LED kits are the next level up, using a specific wavelength of blue light to kick the peroxide gel into high gear. The light itself doesn't actually do any whitening; it acts as an accelerator, energizing the peroxide molecules so they can break down stains faster and more effectively. Think of it as a turbo-boost for your whitening gel.
To get the absolute most out of your kit, stick to these best practices:
- Apply the Gel Evenly: Just like with whitening trays, you only need a thin, even layer of gel. You can apply it directly to your teeth or into the mouthpiece tray. Whatever you do, don't overdo it—more gel doesn't mean better results, just more mess and potential sensitivity.
- Optimal Light Exposure: Most kits recommend a session lasting between 10 to 30 minutes. Resist the urge to go longer. Extended exposure won't make your teeth whiter any faster and can definitely increase the risk of sensitivity.
- Consistency Is Key: The real magic happens over time. Use your kit consistently for the full recommended treatment period, which is usually around 7-14 days, to see the most dramatic change.
This combination of peroxide gel and blue light is so effective that it's fueling massive growth in the oral care world. The entire teeth whitening market is expected to surge to $14.31 billion by 2034. For at-home users, pairing a carbamide peroxide gel with a blue LED light can boost whitening results by 20-30%. While it's true that about half of users report some sensitivity, this discomfort can usually be managed with desensitizing toothpaste or rinses. You can dig deeper into the teeth whitening innovations driving these trends to learn more.
A common mistake is thinking the light does all the work. The truth is, the LED device is a catalyst. Its job is to make your whitening gel work harder and faster, so the quality and application of your gel are still the most important factors.
How to Whiten Without Tooth Sensitivity
Let's talk about the single biggest reason people put off whitening their teeth: that sharp, sudden zing of sensitivity. It’s a completely valid concern. Nobody wants that. The good news? It's almost entirely preventable with a few smart moves. You really don't have to choose between a brighter smile and a comfortable one.
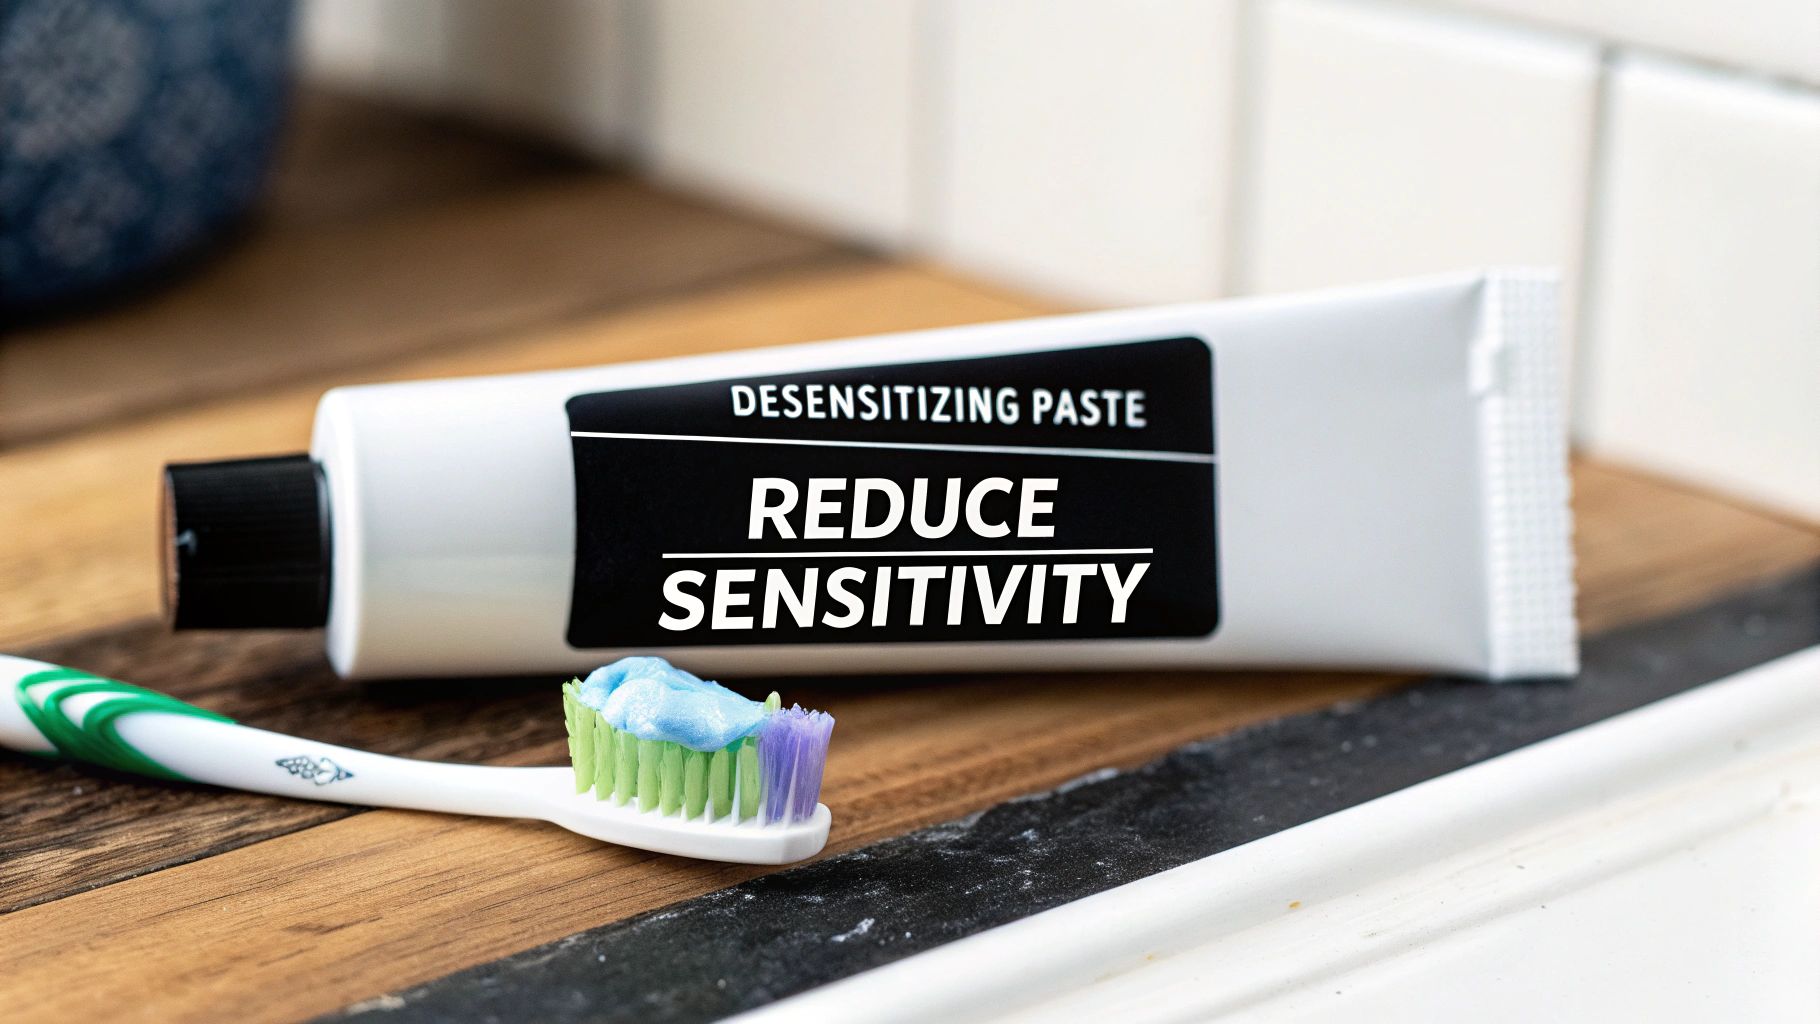
A little bit of prep work goes a seriously long way here. One of the most effective things you can do is swap out your regular toothpaste for one made for sensitive teeth. Start using it one to two weeks before you even open your whitening kit. This gives the active ingredients, like potassium nitrate or stannous fluoride, enough time to work their magic. They build up a protective barrier over the microscopic channels in your dentin, basically blocking the path for pain signals.
Building a Smart Whitening Schedule
Your teeth need a break. Just like your muscles after a workout, they need downtime to recover and rehydrate between whitening sessions. Going all-in and whitening every single day is a surefire way to end up with sensitivity. Instead, build a schedule that gives your enamel a chance to rest.
A fantastic approach is to whiten every other day. This rhythm allows your teeth to bounce back while still giving you consistent, noticeable results. If you already know your teeth are on the sensitive side, you could even try a "one day on, two days off" schedule.
The most important thing is to listen to your body. If you feel any twinges or discomfort, take an extra day off. Slow and steady is so much better than rushing the process and having to stop completely because of pain.
Soothing and Protecting Your Teeth and Gums
Even with the best-laid plans, you might still feel some mild sensitivity. This is where your aftercare routine becomes your best friend. Right after a session, try applying a remineralizing gel or paste, like MI Paste. These products are packed with calcium and phosphate—the literal building blocks of your enamel—which helps replenish minerals and calm down nerve endings.
Gum irritation is another common complaint, and it's usually just from the whitening gel sneaking onto your soft tissues. A simple but incredibly effective trick is to apply a tiny bit of vitamin E oil or even Vaseline to your gum line with a cotton swab before you put in your trays or on your strips. It creates a barrier that keeps the peroxide where it belongs: on your teeth.
A few other simple habits can make a world of difference:
- Avoid Temperature Extremes: For a few hours after a session, when your teeth are most vulnerable, try to steer clear of ice-cold drinks or piping hot coffee.
- Use a Soft-Bristled Brush: Be extra gentle when you brush on whitening days. You don't want to aggravate your enamel or gums.
The desire for a brighter smile is nearly universal—in fact, 90% of Americans want whiter teeth. While at-home kits are a go-to solution, sensitivity does affect about half of the people who use them. This is why incorporating remineralizing products is so key; they can restore enamel and dramatically cut down on discomfort. You can learn more about the growing teeth whitening market from Grand View Research.
For a deeper dive into managing any discomfort that pops up, be sure to check out our complete guide on how to reduce teeth sensitivity after whitening.
Keeping Your Smile Bright for the Long Term
Getting your teeth to that perfect shade of white feels incredible, but the real secret to a lasting bright smile is what you do after the treatment. Think of it less like a one-time project and more like a simple new routine. The key is building a few easy habits that shield your smile from picking up new stains.
Right after you whiten, your enamel is a bit more porous than usual, making it extra susceptible to staining for a short while. This makes your immediate aftercare crucial. The habits you lock in now will be the foundation for keeping that sparkle for months and years to come.
Navigating Staining Foods and Drinks
Don't worry, you don't have to give up your morning coffee or that occasional glass of red wine forever. It’s all about being strategic. The biggest culprits are anything intensely pigmented enough to stain a white t-shirt—coffee, tea, red wine, dark sodas, and colorful berries come to mind immediately.
Here are a few practical tips I always share for enjoying them without undoing all your hard work:
- Use a Straw: A straw is your absolute best friend for iced coffee, tea, or soda. It helps the liquid bypass the front surfaces of your teeth, minimizing direct contact.
- Rinse Immediately: Finished your coffee or wine? Just swish with plain water for 30 seconds. This incredibly simple step washes away most of the staining compounds before they even have a chance to settle.
- Eat "Scrubber" Foods: Crunchy fruits and veggies like apples, celery, and carrots act like nature's toothbrushes. They gently scrub your teeth as you chew, helping to clear away surface stains.
Creating a Sustainable Touch-Up Schedule
No matter how careful you are, some new staining is just a fact of life. That’s where a smart touch-up schedule comes into play. This isn't about re-doing the whole multi-day whitening process. We're talking about quick, periodic maintenance to keep your smile consistently bright.
A proactive touch-up is far more effective than waiting for stains to become deeply set. Consistency is the most important factor in long-term whitening maintenance.
Your personal schedule really depends on your lifestyle. If you're a heavy coffee drinker, using a single whitening strip or one tray application once a month might be perfect. If you're pretty careful, you might only need a short series of treatments—maybe two or three sessions—every six months. The goal is simply to stay ahead of any new discoloration.
Choosing the Right Maintenance Products
Beyond occasional touch-ups, your daily products can make a huge impact on preserving your results. Swapping in a whitening toothpaste once or twice a week is a great way to polish away new surface stains as they appear. Just look for one with gentle abrasives; you don’t want anything harsh that could wear down your enamel.
And for those of you using custom trays, keeping them pristine is non-negotiable. Using a product like Retainer Brite is a smart move. It's specifically designed to kill odor-causing bacteria and prevent gunk from building up without damaging the tray itself. This ensures every touch-up session is both effective and totally hygienic. It's these small choices that protect your investment and keep your smile radiant.
Common Questions About Whitening Teeth at Home
When you start looking into whitening your teeth at home, a bunch of questions usually pop up. How long will the results really last? What's the deal with those different ingredients? Getting straight answers is the key to whitening safely and feeling good about it.
Let's dive into the most common questions we hear so you can make the best choices for your smile.
How Long Do At-Home Teeth Whitening Results Actually Last?
This is the big one, and the honest answer is: it all comes down to your lifestyle. If you're careful, the results from a good professional-grade kit can stick around for anywhere from six months to two years. Your daily habits are the number one factor here.
If you’re a fan of coffee, tea, or red wine, you'll probably notice new stains trying to creep back in sooner. In that case, a quick touch-up treatment every three to six months is usually all it takes to keep your smile looking its best.
Simple habits make the biggest difference in keeping your teeth white. Using a whitening maintenance toothpaste and—most importantly—avoiding smoking will protect your investment and keep your smile radiant.
Can I Whiten My Teeth If I Have Crowns or Fillings?
This is a really important point to get straight before you start. Whitening gels and strips are designed to work on one thing only: natural tooth enamel. They won't change the color of any dental work you have.
That means crowns, veneers, bonding, or fillings won't lighten up at all. If you whiten the natural teeth around them, you could end up with a very noticeable, uneven color difference. It's not the look anyone is going for.
This is exactly why you should always chat with your dentist before starting a whitening routine. They can tell you the best way to approach it. Sometimes, they might even suggest replacing older dental work after you’ve whitened to get a perfect, seamless match.
What Is the Difference Between Carbamide and Hydrogen Peroxide?
Both of these are fantastic whiteners, but they go about their business on different schedules.
- Hydrogen Peroxide: Think of this as the fast-acting whitener. It breaks down quickly and releases most of its whitening power in a short burst, making it perfect for treatments that last 30-60 minutes.
- Carbamide Peroxide: This one takes its time. It actually breaks down into hydrogen peroxide, releasing about half its strength in the first two hours and then continuing to work for several more hours.
Because carbamide peroxide has that slower, more sustained release, it's often considered a bit gentler on teeth. That's why you'll see it in a lot of at-home and overnight whitening kits. As a quick comparison, a 10% hydrogen peroxide gel has about the same whitening punch as a 30% carbamide peroxide gel.
Ready to find the perfect professional-grade products for your at-home whitening journey? DentalHealth.com offers a curated selection of dentist-recommended brands like Opalescence and PolaNight, shipped directly to your door. Explore our teeth whitening gels and kits and start your path to a brighter smile today.